Some iPhone users run into a frustrating issue: you send an email from Gmail using the built-in Apple Mail app, it briefly shows up in Sent, and then—minutes later—it moves into Trash or disappears from the Sent folder entirely.
This isn’t a Gmail glitch.
It’s caused by how the iOS Mail app maps Gmail folders.
What’s Actually Happening
Gmail uses its own IMAP folder structure (like [Gmail]/Sent, All Mail, etc.). Apple Mail sometimes maps outgoing messages to a local “On My iPhone” Sent folder instead of Gmail’s actual Sent folder. When Gmail syncs, the mismatch can cause the message to be moved or treated like a deleted or duplicate item.
This issue is well-documented across user forums, and many people experience the same disappearing-sent-mail behavior.
The Simple Fix
Skip Apple Mail entirely for Gmail.
Install the Gmail app from the App Store. Open Settings → Gmail → Default Mail App and set Gmail as the system-wide default. Use the Gmail app for sending and receiving email going forward.
The Gmail app uses Google’s own folder mapping and sync engine, so sent messages always go to the correct place—and stay there.
Why This Matters
Whether you’re running a small business, doing tech support, or managing client communication, losing track of sent messages can cause follow-up failures and confusion. Using the Gmail app ensures consistent, predictable behavior across all your devices.
If you’re tired of spam calls interrupting your day and endless hold music draining your patience, iOS 26 has arrived with two game-changing features that transform how you handle phone calls. Apple’s latest update includes Call Screening and Hold Assist—tools designed to give you back control over your phone.
Call Screening: Your Personal Gatekeeper Against Scammers
Call Screening is iOS 26’s answer to the relentless wave of telemarketing and scam calls that plague smartphone users. Instead of your phone ringing every time an unknown number dials in, this feature creates a protective barrier between you and potential nuisances.
How It Works
When someone who’s not in your contacts calls, a Siri-style voice automatically answers and asks them to provide their name and reason for calling. The information is transcribed to text and shown to you, allowing you to decide whether to accept, decline, or ask for more information. The beauty of this system? You never have to engage directly with the caller unless you choose to.
For telemarketers and scammers, this creates an immediate obstacle. Robocalls and spam operations typically can’t interact with the screening prompts effectively, making this feature particularly powerful at filtering out unwanted calls.
Setting It Up
Call Screening isn’t enabled by default—you need to turn it on yourself. Here’s how:
Update your iPhone to iOS 26 (available for iPhone 11 and newer models)
Open Settings, then go to Apps
Tap Phone
Scroll to “Screen Unknown Callers”
You’ll see three options: “Never” (call screening off), “Ask Reason for Calling” (screening enabled), or “Silence” (unknown calls go straight to voicemail with transcription).
Screen Unknown Callers
Real-World Impact
The results can be dramatic. After leaving this on for a few days, my number of spam calls has dropped dramatically. The feature has been described as bringing “pure bliss” to iPhone users weary of constant interruptions.
Hold Assist: Never Wait on Hold Again
While Call Screening protects you from unwanted incoming calls, Hold Assist tackles the other phone frustration we all face: being stuck on hold with customer service.
How It Works
Hold Assist automatically kicks in when you’re placed on hold during a call. Your iPhone detects the hold music and offers to wait for you. If you accept, your phone monitors the line in the background while you go about your day. When a real human picks up, you receive a notification alerting you to return to the call.
Unlike Call Screening, Hold Assist requires no setup—it works automatically from the moment you install iOS 26, and it’s available on all devices that support the update, not just Apple Intelligence-enabled phones.
The Convenience Factor
This feature is especially valuable when dealing with airlines, insurance companies, or tech support lines where wait times can stretch into hours. Instead of sitting by your phone listening to elevator music, you can respond to emails, make dinner, or do literally anything else productive.
Privacy First
Both features process information on-device, meaning your privacy isn’t compromised by sending data to cloud services. Everything happens securely on your iPhone.
The Bottom Line
iOS 26’s calling features represent Apple’s most significant phone improvements in years. Call Screening helps you avoid distractions, protect your privacy, and filter out robocalls and scams before they ever reach you. Meanwhile, Hold Assist saves you countless hours of listening to repetitive hold music.
If you haven’t updated to iOS 26 yet and you’re constantly battling spam calls or lengthy customer service wait times, these features alone make the upgrade worthwhile. In an era where our phones do everything from AI assistance to mobile payments, it’s refreshing to see Apple innovating on the most fundamental function: actually making and receiving phone calls.
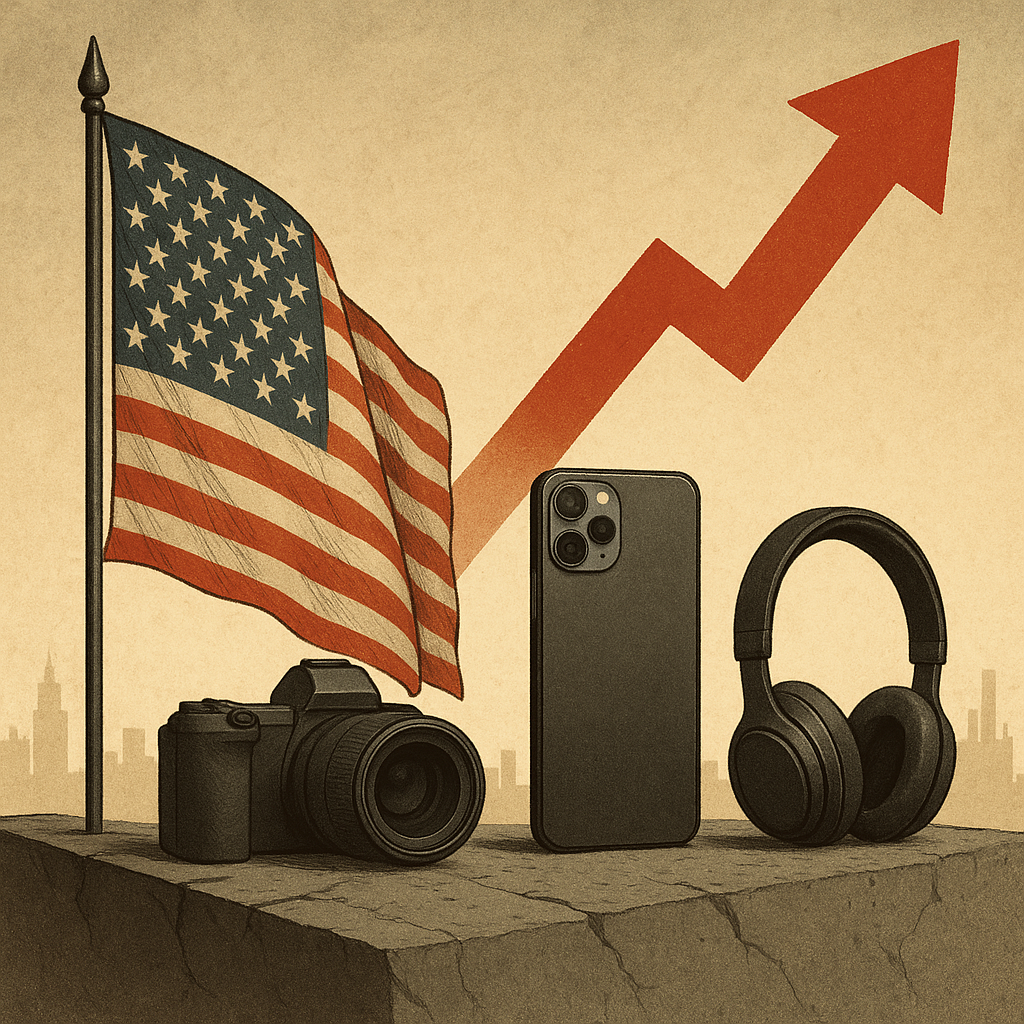
The US is rapidly losing its position as a competitive market for consumer electronics. Recent tariffs have increased prices 15-45% on major categories while Canada now offers better value and Europe’s VAT-inclusive pricing has become competitive. The era of cheap American electronics—already a myth (the US ranked only #8 globally in 2016)—is definitively over.
Analysis of late 2024/early 2025 pricing data reveals a fundamental shift. Escalating tariffs have overwhelmed traditional US tax advantages. Most surprisingly, manufacturing location provides no pricing benefit—Japanese cameras cost more in Tokyo, Chinese-made iPhones are pricier in Beijing. Shopping vacations abroad make no economic sense once you factor in travel costs, warranty limitations, and customs hassles.
Global pricing reveals US no longer competitive
Audio equipment: US becomes most expensive
The Audient iD24 audio interface (made in the UK) costs $549.99 in the US—the highest price globally. European retailers sell it for €323 ($351) including 19-20% VAT. After all taxes, California buyers pay $589 total while German buyers pay $351, a 40% premium for Americans. The UK manufacturing country offers it at £299 ($382 including VAT). Canada charges $437 USD equivalent before taxes.
Cameras: Canada leads, Japan costs more
Both the Fujifilm X100VI and Ricoh GR IV show Canada delivering the best value despite neither being manufactured there. The X100VI costs $1,577 in Canada (pre-tax) versus $1,600 US, $1,859 Japan, and $1,956 Europe. The GR IV costs $1,386 in Canada versus $1,497 US, $1,555 Japan, and $1,630 Europe.
The myth that electronics are cheaper in their country of manufacture is false—both cameras cost substantially more in Japan than North America despite Japanese manufacturing.
Smartphones: US-Japan tied for now, but tariffs threaten everything
The iPhone 16 Pro Max (256GB) ties at $1,199 in the US and Japan—globally cheapest. Canada follows at $1,218, while Europe pays $1,548 (29% more due to VAT). Hong Kong costs $1,312, and China—where iPhones are manufactured—charges $1,370.
The Samsung Galaxy S24 Ultra shows similar patterns: South Korea at $1,294, US at $1,300, Canada at $1,334, Europe at $1,548.
However, Trump administration tariffs threaten 26-40% smartphone price increases. Though temporarily exempted in April 2025, industry officials warn that $1,199 iPhone could jump to $1,700-2,300 when sector-specific electronics tariffs arrive.
US tariffs systematically eroding competitiveness
Multi-layered tariff structures implemented 2018-2025 create effective rates of 30-145% on electronics: Section 301 China tariffs (7.5-50%), Section 232 national security tariffs (15-50%), and 2025 reciprocal tariffs by country (10-46%). Country-specific rates include Japan 15%, South Korea 15%, Germany/France 15%, Vietnam 46%, and Mexico 25-35%—no manufacturing location offers tariff-free US access.
Camera manufacturers implemented 15-25% price increases in April-May 2025. The Consumer Technology Association projects 26% smartphone increases, 45% laptop increases, and 40% video game console increases under full tariff implementation. Average US households face $1,300 additional annual costs according to Tax Foundation estimates.
Supply chain relocation provides no escape—Apple’s production shift to India faces 26% tariffs there, while Samsung’s Vietnam manufacturing encounters 46% tariffs. Semiconductor industry relocation requires 5+ years minimum, with TSMC’s Arizona fabrication carrying 30% cost premiums versus Taiwan.
The myth of American electronics pricing dominance
The 2016 Linio Technology Price Index analyzing 71 countries ranked the US 8th globally—behind Kuwait, Saudi Arabia, Malaysia, Canada, UAE, Qatar, and Japan. Middle Eastern countries with near-zero VAT consistently beat American prices by 15-25%.
America’s past advantages—12-20 percentage point tax differential versus European VAT, large market scale, and aggressive big-box retail competition—have been overwhelmed by tariffs. Electronics prices declined 96% from 1997-2015, making electronics consistently deflationary. That trend reversed sharply starting 2018, with tariff-driven inflation representing a permanent structural change.
Middle Eastern markets maintain 15-25% advantages through near-zero VAT. Canada now undercuts US prices on cameras and smartphones by 7-15% pre-tax. Japan offers fierce retail competition but products typically cost 4-16% more than the US. Poland and Czech Republic emerged as the EU’s cheapest markets, with Czech prices at 64% of EU average.
Hong Kong’s decline as an electronics destination
Hong Kong’s reputation as a bargain electronics hub rests on outdated 1990s-2010s reality when zero taxes, proximity to Shenzhen manufacturing, and vibrant gray markets created 20-40% savings. The market has contracted: -0.7% annual growth 2017-2022 with projections of just 1.20% growth through 2029.
Global price convergence eliminated arbitrage. Manufacturers now enforce pricing globally, online marketplaces enable instant comparisons, and gray market crackdowns reduced parallel imports. Current pricing shows iPhone 16 Pro Max at $1,312—competitive but not cheapest (US and Japan beat it at $1,199). Hong Kong works only if visiting for other reasons, not as a dedicated electronics destination.
Shopping vacations are economically irrational
International shopping trips make no financial sense once you factor in flights, hotels, meals, and time costs. Add US Customs $800 exemption limits, warranty limitations (most manufacturers impose region-specific coverage—a gray-import device may have no US warranty at all), power/compatibility issues, impossible returns, and opportunity costs.
Shopping trips make sense only if already traveling for other reasons with no incremental costs. For typical consumer purchases, stay home and buy from authorized US dealers with warranties.
Gray market temptation and risks
Gray market goods—genuine products sold outside authorized channels—can offer 15-40% savings but carry serious risks. While generally legal in the US under first-sale doctrine, manufacturers track serial numbers, can blacklist devices, and may refuse all service including paid repairs.
A $1,000 laptop with no warranty is a potential $1,000 total loss from one defect—any “savings” evaporate with a single warranty claim. Additional risks: authentication challenges, region-specific firmware/software, incompatible LTE/5G bands, voltage differences, reduced resale value, no customer support or safety updates.
For typical consumers, the warranty risk alone makes gray market purchases imprudent.
What this means for American consumers
The evidence reveals a fundamental shift in global electronics pricing. American consumers face permanently higher electronics prices—the 15-45% increases already implemented represent structural changes, not temporary inflation. Even if future administrations reverse tariffs, supply chain costs and manufacturer pricing adaptations create lasting effects.
Key findings:
Canada emerges as North America’s value leader, undercutting US prices 7-15% on cameras and remaining competitive on smartphones
Europe’s VAT-inclusive pricing proves more competitive than assumed, with stable pricing absent tariff volatility
Manufacturing location provides no advantage—Japanese cameras cost more in Tokyo, Chinese iPhones more in Beijing
Hong Kong’s golden age ended as global pricing converged and gray markets disappeared
Middle Eastern markets maintain genuine 15-25% advantages through near-zero taxation
Practical advice for Americans:
Forget shopping vacations—travel costs, warranty risks, and hassles eliminate any savings
Avoid gray market purchases—warranty loss can exceed any price savings
Wait for domestic sales—Black Friday and Prime Day still offer 20-40% discounts
Consider previous-generation products for significant savings
Buy from authorized dealers and use credit card warranty extensions
The golden age of cheap imported electronics has ended. American exceptionalism in electronics pricing never existed to the degree assumed—the US ranked only 8th globally even in 2016. Recent tariff policies ensure it won’t improve. Americans will pay substantially higher prices for years regardless of whether reshoring goals succeed.
The latest AirPods Pro 2 fakes are quite convincing. But if you know what to look and listen for, you can spot them.
By going into the information screen of the AirPods Pro 2 (on iPhone, Settings – Bluetooth – “i”), you can run an Ear Tip Fit Test. This test will not run properly on fakes. It will run forever, not run at all, or glitch.
Sometimes fakes will have weird warranty information or show that they’ve been sent in for repair. This is because they use the same serial numbers as other fakes that have been brought in for repair.
The fakes sound tinnier and less full than real AirPods. While they will appear on the iPhone as having transparency and noise cancellation, these modes don’t really work well.
If you watch to the end of this video, you will see that the fake case can have the front cover pulled forward with a fingernail.
Stay alert and away from fakes. Save your money for real AirPods Pro, or buy a cheap no-name pair from Amazon.
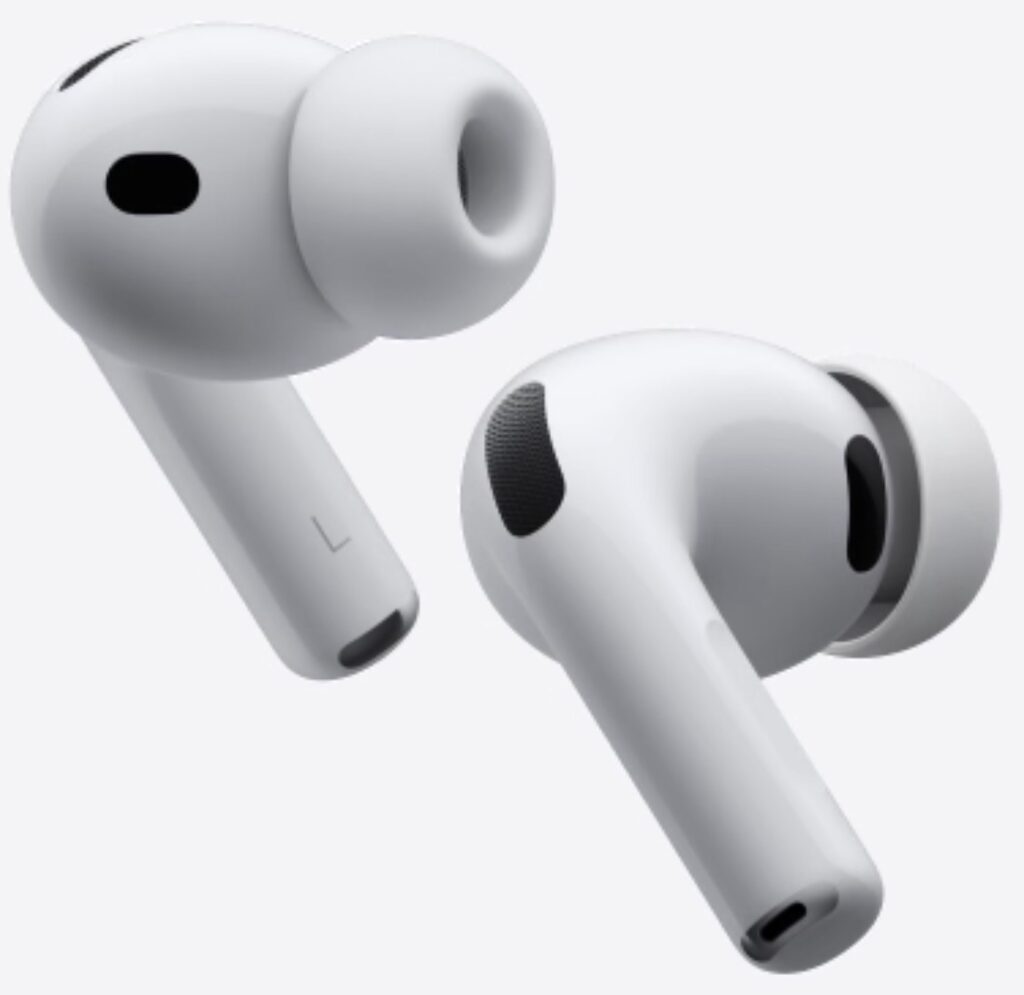
The AirPods Pro 3 are getting rave reviews, and I get it—the sound quality improvements are real, and the ANC is noticeably better. But after wearing them for over a week, I returned them, and here’s why: they’re less comfortable for me.
AirPods Pro 3
Apple made them slightly heavier and bigger, which may play some part in making them less comfortable. But it’s clearly the new foam-tipped ear tips that add more pressure to my ear canal. I could wear the Pro 2s for hours without thinking about them. The Pro 3s? They start to feel annoying after extended wear. And yes, I tried different size ear tips.
I’m not alone in this. Some of my friends love them, but others have had the same experience. It’s like the AirPods Max problem all over again—yes, they sound great, but they made a trade-off that doesn’t work for everyone. The Max are too heavy to wear comfortably for long periods. The Pro 3s aren’t as extreme, but they’re moving in that same direction.
For a product you wear, comfort should be the most important attribute. Sometimes the older version is better at the things that actually matter for daily use. For me, that’s the Pro 2s.