Amazon PrimePantry Review

Amazon recently launched a new service, currently just for Prime members, called Amazon PrimePantry.  The idea is you can order certain pantry-esque items (no cold food) and have them shipped in 1 big box for just $6.  I ordered an assortment of items that I thought might be challenging to deliver intact.  Amazon’s goal is to have it delivered within 4 business days.  The selection of items is rather limited but clearly Amazon is launching with items they believe they can handle successfully.

The first snafu came with the delivery timeframe.  It arrived late but Amazon did refund me the $6 shipping as they always do when an item is late.  Since I had ordered some detergent, toilet bowl cleaner, and water, that made the box rather heavy though it arrived with minimal damage.

amazonpantry2

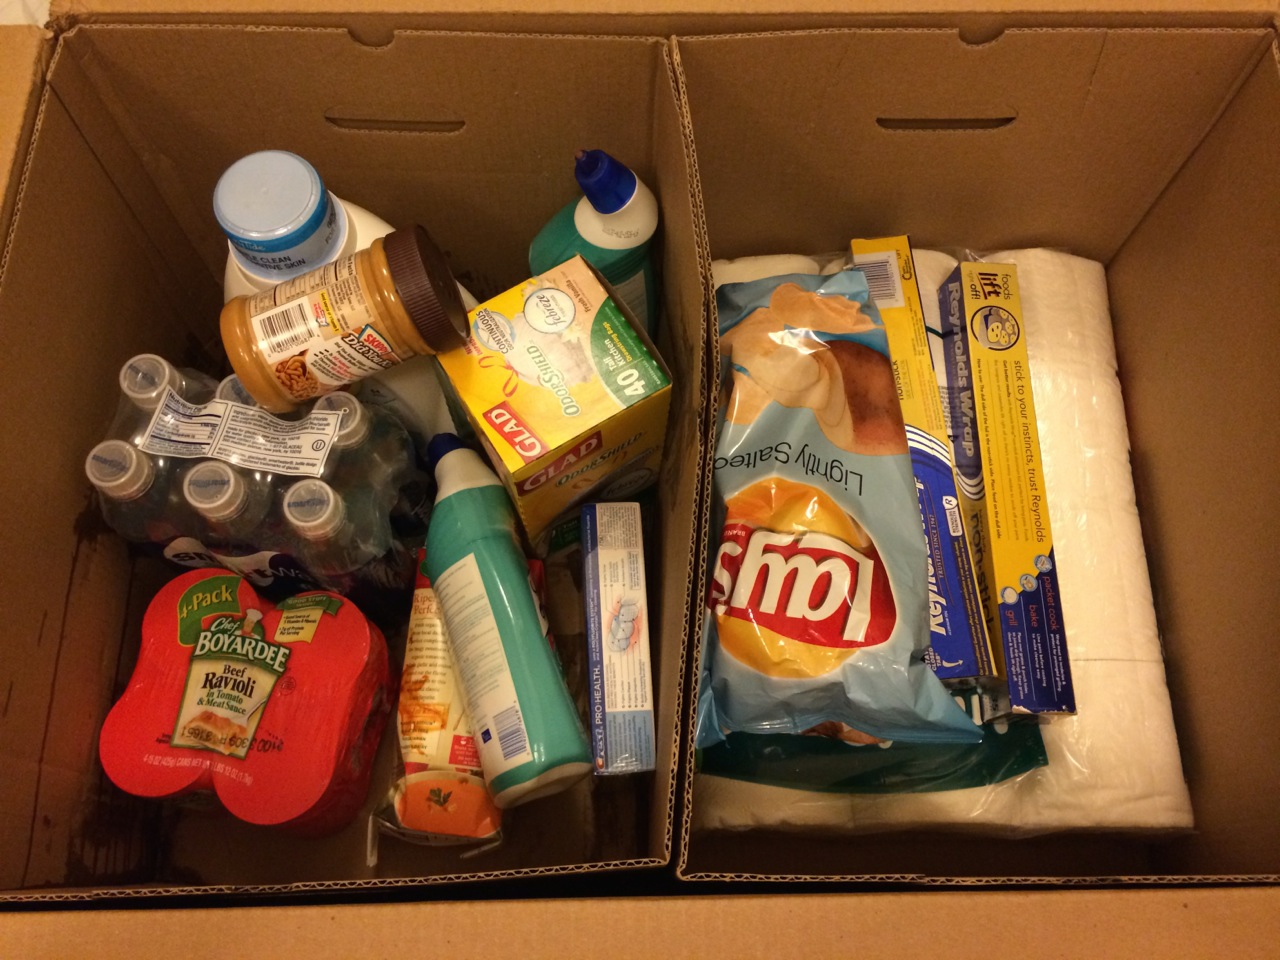
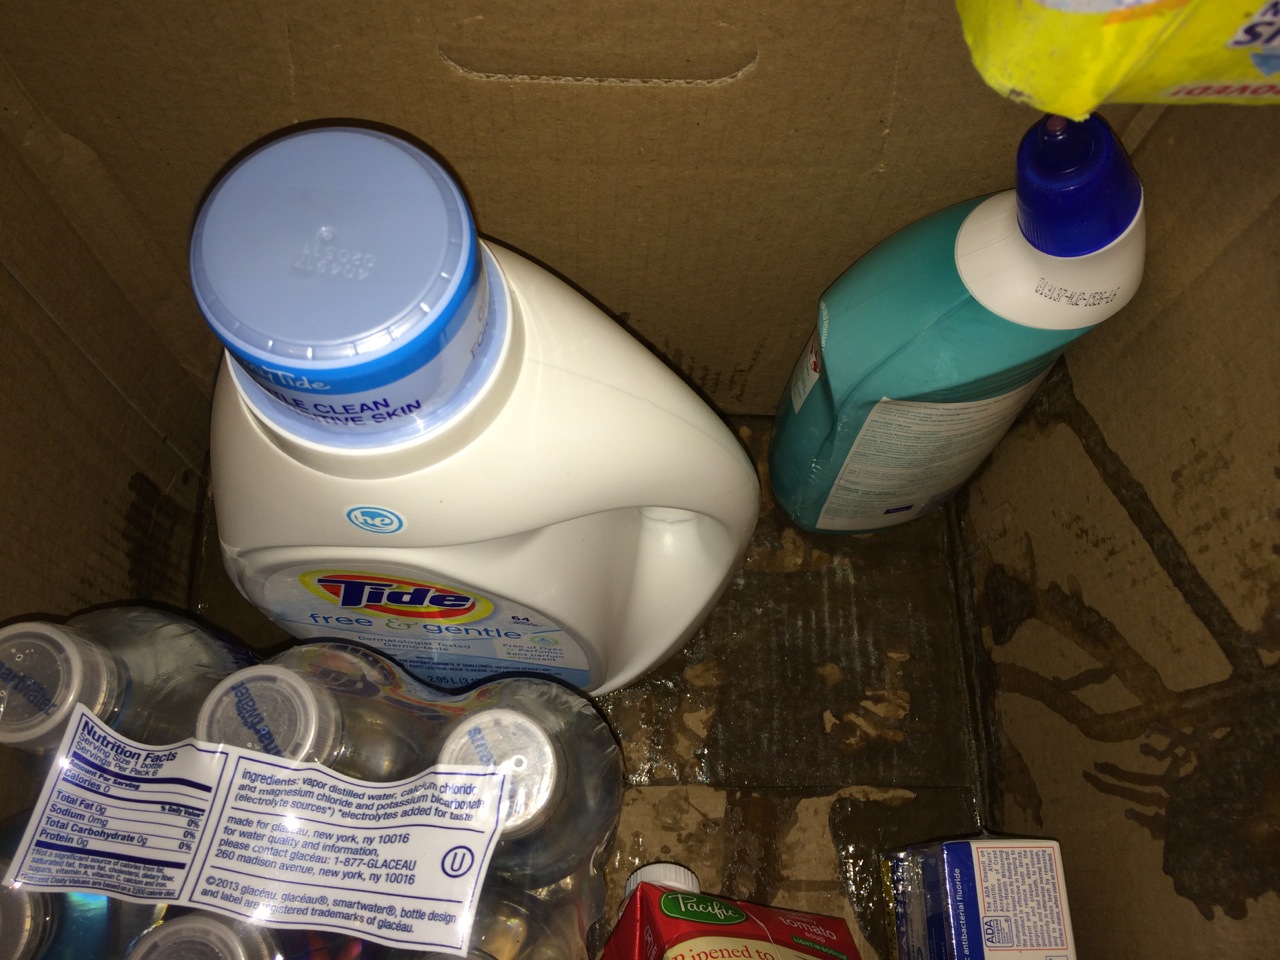
At first glance, things appeared fine.  The toilet paper and chips were not crushed.  Items were grouped into two compartments.  Unfortunately, once I started to remove items from the left side of the box, I noticed everything was sticky.  I assumed something must’ve leaked.  Sadly, two items had.  The detergent had a small crack in the bottom and the soup box had been malformed to the point of leakage.

amazonpantry5

amazonpantry3


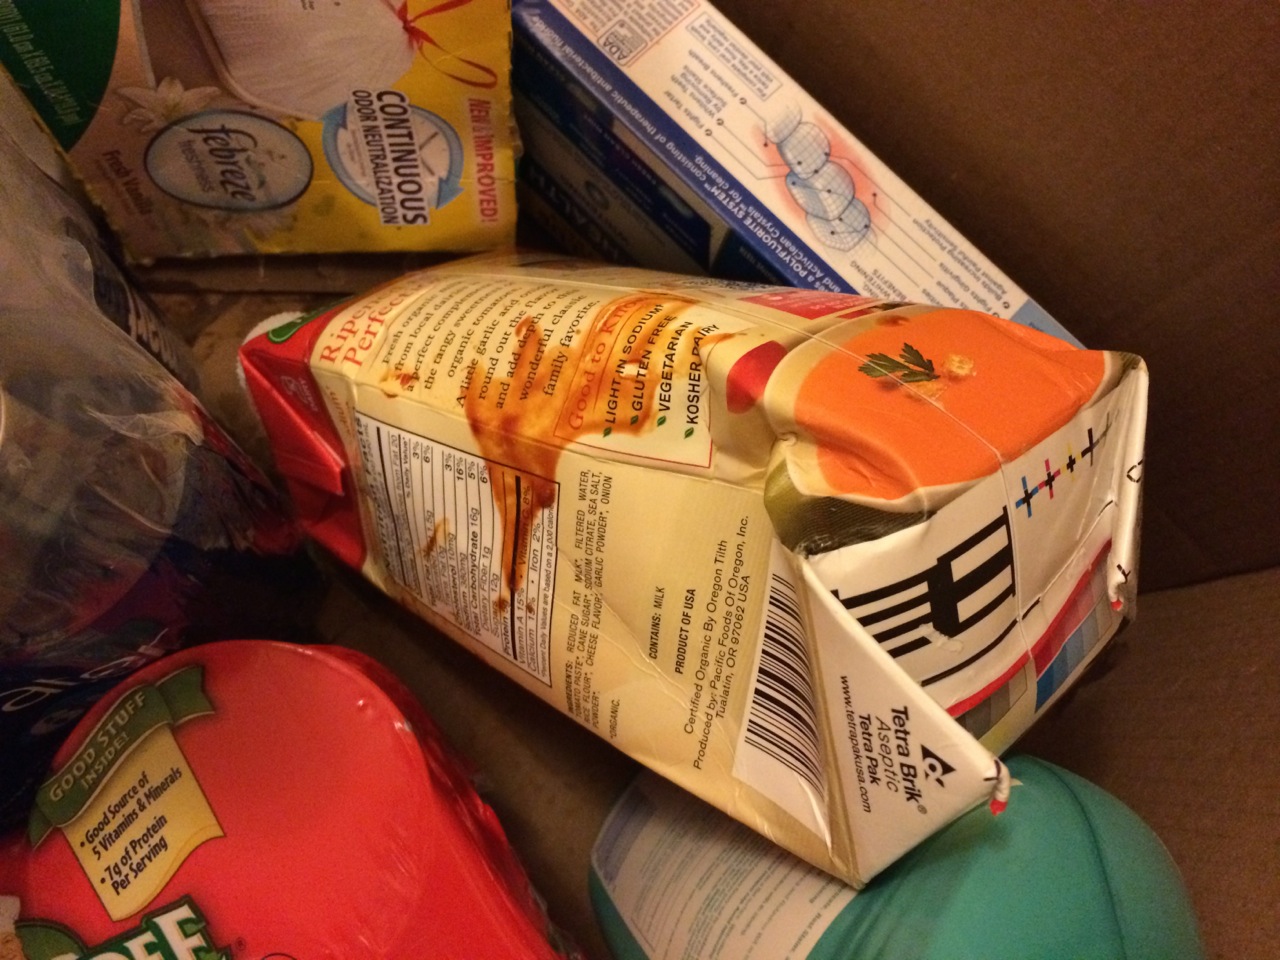
Oh, the carnage!  Someone has shot my soup!  Who would do such a thing?  I suspect Chef Boyardee.

Sadly, I think local groceries don’t have much to fear from PrimePantry quite yet.  The prices were nothing special and waiting 4 days is a little too long for most people.  The potential shipping problems are obvious.  I suspect this is currently just an experiment for Amazon which is why they’ve limited it to Prime members.  There are rumors that Amazon is looking into becoming their own delivery service which would replace the likes of UPS who delivered this order.  When and if that happens, Amazon might be able to provide the delicate care such a delivery needs.  In the meantime, its hard to recommend.


Adding iTunes Next Track Keyboard Shortcut for Logitech Easy-Switch Bluetooth Keyboard

The new Logitech Easy-Switch Keyboard for the Mac is an awesome keyboard.  It has a big advantage of 3 keys that quickly connect to 3 different Mac or iOS devices.  You can put your Mac on button 1, iPad on button 2 and iPhone on button 3.  Just one press and you’re ready to type on the device.  Unfortunately, to have these 3 buttons, the iTunes next track and previous track buttons aren’t there like on Apple keyboards.  I use those all the time and its just not the same having to take your hands off the keyboard and mouse over to iTunes to click next.  Fortunately, the Mac has the ability to define new keyboard shortcuts.

Step 1 – Create a new Service for iTunes Next Track via automator

Launch the Automator app and create a new Service.  In that service, Run AppleScript and select no input for what the service receives.  The AppleScript tells iTunes to go to the next track.  Save the service as iTunes Next Track.  You can create a new service and do the same for iTunes Previous Track.  It is exactly the same process except change the AppleScript “next track” to “previous track”.

Step 2 – Define the Keyboard Shortcut

Your new Services should appear under Keyboard Shortcuts in System Preferences.  They are at the bottom of the Services list.  Here you can select the shortcut and then enter the keyboard shortcut you want to use.  In my case, I chose to use “option command =” because the = key also has a + on it so + to go next track and – to go previous track.  You must choose this shortcut wisely or it may not work.  If an app that has focus has the same shortcut, it will overrule this one so you need to choose something that doesn’t seem present in the apps you are using.  That’s part of why I had to use “option command” because just one of those with = is already in use in some programs I use.

Fortunately, the play/pause and volume buttons are still there so those don’t need to be re-created on the Logitech Easy-Switch Keyboard.  Even though I now have to hit 3 keys at once instead of just the next button, the Logitech Easy-Switch Keyboard is the best wireless keyboard for the Mac.


How to Sell Domain Names

Got some unused domain names that you believe have value? Selling those domains rather than just letting them expire can be tricky. There are a lot of domain auction and resale sites on the internet but we believe only one approach is above the rest.


Afternic.com is one of the most popular domain selling services. The key is to use their Premium Promotional Level.  This allows your domain to appear on other domain sites for sale along with unowned domains.  In order for this to work, you must also set a Buy Now price.  This premium level is only available with certain domain name registrars.  We highly recommend hover.com.  Once afternic confirms you are the domain owner, your domain will then appear on many sites when people are searching for domain names to buy.

Fax a PDF from a Mac

Faxing seems to be an ancient technology that just won’t die.  It is still embraced, often even preferred or required, by many businesses.  Most people don’t want to have to own a fax machine any more but do have to fax from time to time.  There is a modern day solution.  You can easily fax any PDF from a Mac.  And since you can convert anything in a browser to a PDF easily on a Mac, it allows you to fax almost anything you could print out.

Apple makes a USB fax modem but sadly, they’ve not maintained it so it doesn’t work on the latest Macs any more.  Fortunately, US Robotics makes a great US Robotics USB Fax Modem that is compatible with a Mac.

Once plugged into a Mac, you’ll notice you have gained a new option via the Print PDF menu.

If you’re like me and have dropped your expensive home phone service for a cheaper Voice over IP phone line, then you may have a little more work to do to actually get a fax to go through.  In the case of the popular Ooma Telo Free Home Phone Service, you have to tell the line that you are about to fax so it can optimize the connection.  This is done by prepending a *99,, to the phone number you are faxing to.

Accidentally put an SD card in the iMac’s DVD drive?

Apple usually puts a lot of thought into the design of their hardware.  However, the placement of the SD card slot right below the DVD drive has always escaped me.  I always suspected people are looking directly at their screen and put the card in the slot by feel.  As a result, it is probably all too common to accidentally put the card in the DVD drive which is right above it.  I recently saw this happen for the first time.

My first thought was to take apart the iMac including the DVD drive.  Unfortunately, this requires specialized tools and 1-2 hours of time.  I tried shaking it out (a scary thought with an expensive piece of hardware) but it didn’t budge because of the foam guards at the end.  Finally, I created a high tech tool just for the job.

This is a piece of cardboard cutout to have a little extension at the bottom.  I inserted this at the top of the drive and pushed as far back as possible.  I then slide it down and pulled it forward and the extension pushed the SD card right out.  This is a rather thin piece of cardboard which is probably necessary.  Be sure to be gentle as you don’t want to damage the DVD drive in any way.