While we are shopping for the holidays, we should remember to recycle our old electronics. This article covers recycling information and locations for the Virginia, D.C., and Maryland area.
Dangers of Computer Waste
 Old computers and monitors have harmful materials that can seep into the ground water and air if thrown in your normal trash. The cadmium and mercury in displays can damage the nervous system. Computers also may contain lead (causing birth defects and learning disabilities) and CFCs (destroying the ozone layer).
Donations
If you have a working computer, you can get rid of it through:
- Craigslist (Washington D.C. metro area) has sections for selling or giving away free stuff.
- Freecycle is a free program to give people items for reuse. They have groups everywhere, including, Washington D.C., Virginia, and Maryland.
- D.C. Goodwill accepts computers that are not more than 5 years old. They will not take CRT monitors, the older large monitors that have been replaced by LCDs.
Recycling Computers and eWaste
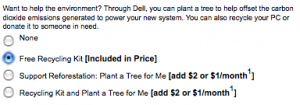
 The easiest way to recycle an old computer is to do it with the purchase of a new computer. Apple, Dell, HP, Sony, Toshiba and others have a corporate recycling program that allows you to give them your old computer after buying your new computer.
This image shows the Free Recycling Kit option that Dell provides in their services customization when you buy a new computer.
Drop-off Locations for Computers and other eWaste
The EPA eCycling site is the closest thing to a definitive set of inks to eCycling programs across the country. Below are the best links I found to the D.C. area programs:
Washington D.C.
DC Free Electronic Disposal Sites:
DPW (Department of Public Works) offers free, weekly Household Hazardous Waste (HHW) and electronic recycling (e-cycling) drop-off service at the Benning Road Trash Transfer Station, 3200 Benning Road, NE, and at the Ft. Totten Trash Transfer Station, 4900 Bates Road, NE, each Saturday from 8 am to 3 pm.
Virginia
Arlington, VA HAZMAT Program:
Arlington residential households can recycle computers and other electronic items at the County’s HHM drop off sites.
Virginia Department of Environment Computers and Electronics Recycling, List of Virginia Collections Centers
Maryland
Maryland Department of Environment Electronic Recycling Collection Events and Locations:
Montgomery Country Shady Grove Transfer Station and Recycling Center
Ink Cartridges
 Ink cartridges can be dropped off at Micro Center in Fairfax, Virginia. Office supply stores such as Staples, Office Max, and Office Depot take used toner cartridges and sometimes even give you credit toward a store purchase for dropping them off.
Cell Phones
Cell phones can be dropped off at cell phone stores. Working phones can also be donated to women’s shelters. Unactivated phones still have the ability to call 911 so they can be useful.
Recycling Can Be Easy
With many recycling options, you can easily dispose of your electronics safely.
Please let us know if you have any corrections or additions to this post.
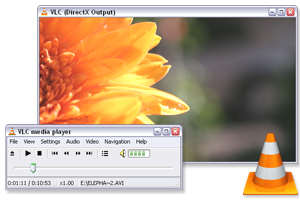
 VLC Media Player can play any kind of video or audio file you throw at it. Compared to Windows Media Player, it is very lightweight. It is available for Windows, Mac, and Linux.
 HandBrake
 MetaX
MetaX Old computers and monitors have harmful materials that can seep into the ground water and air if thrown in your normal trash. The cadmium and mercury in displays can damage the nervous system. Computers also may contain lead (causing birth defects and learning disabilities) and CFCs (destroying the ozone layer).

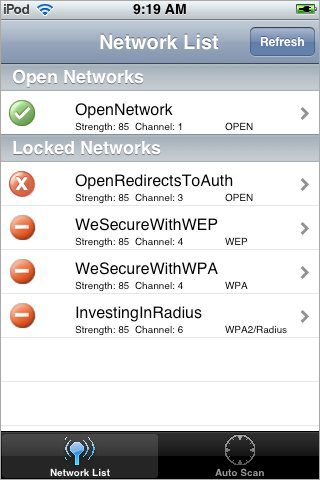
 WiFinder
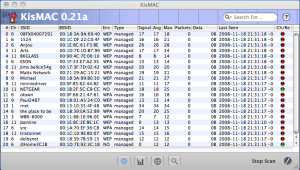
 KisMAC