Apple Vision Pro
I first used virtual reality goggles in 1994, when Sega set up a demo in Boulder, Colorado. It was very rudimentary. I virtually ran around for 20 minutes while vector-drawn teradactyls tried to attack me from above. I was disoriented, but fascinated. Apple has made a huge leap with the launch of the Vision Pro today. But I remain unconvinced that this is something most people will want to regularly use.
After using the Vision Pro for a week, I’m super impressed by the technology. It really feels like an amazing new interface. For Apple users, it’s both completely new and intuitive. Being able to place apps all around you is fun. Seeing immersive 3d videos and games is captivating.
But I don’t think many people will want to spend a lot of time with a headset on. The downsides are obviously weight and comfort. Even when that is improved, you’re still not in the real world. And the real world is great. There’s zero video jitter. You can make eye contact with people around you. There’s nothing smushed against your face.
I’ve ready many reviews saying that the Vision Pro is great, but that it’s really a preview of what’s coming in a few years. Just wait, they say, and the kinks will be ironed out. There will be more apps and we’ll find out how people really want to use this. I hope this is true. But I wonder if people are ever going to want to wear something on their head and live inside this for more than an hour at a time.
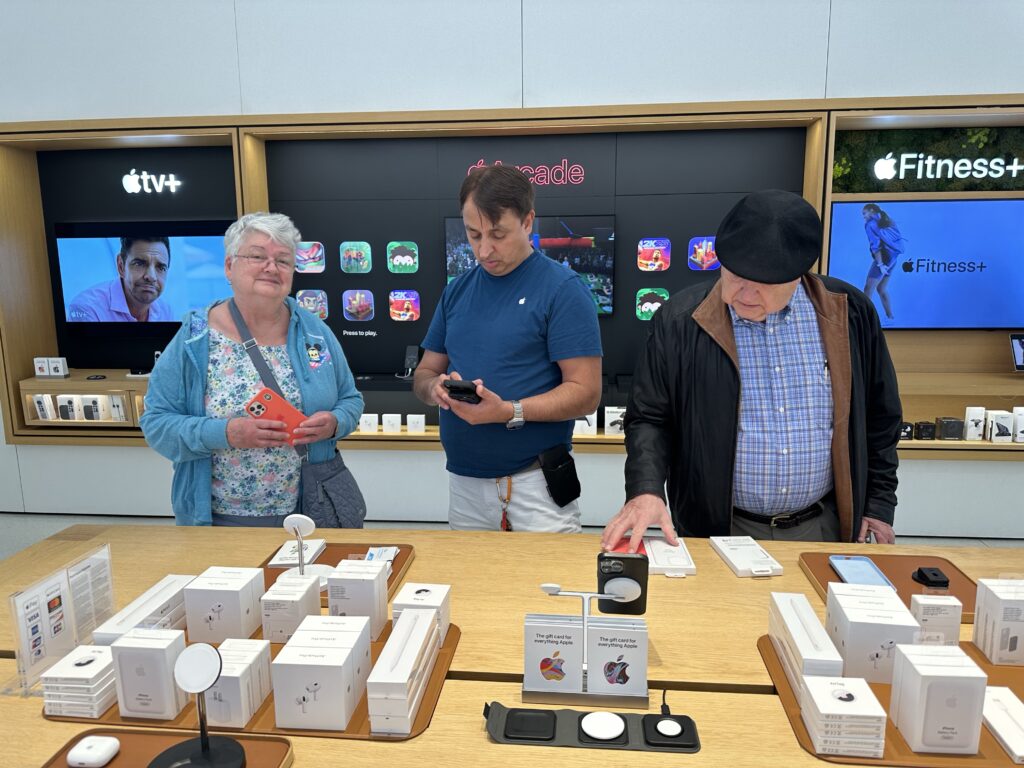
Like an immersive ride at Walt Disney World, it’s a lot of fun. I suggest signing up for a free demo at the Apple stores. These last about 20 minutes, and it really is a blast. But also like a Disney ride, you wouldn’t want it to last hours.