Panasonic DMC-TS3 Waterproof GPS Camera

Panasonic DMC-TS3

It’s summer. And if you’re like me, you want to get out and take pictures. But wait. Are you forgetting something? Yes, you forgot about your crushing fear of dementia which will inevitably make you forget where the photos were taken. Well, there’s a solution for that.

It’s the Panasonic DMC-TS3, my favorite adventure camera with built-in geotagging (the ability to add location metadata to the photo). This allows you to see where the photo was taken from iPhoto, Flickr, and other photo tools.

The DMC-TS3 isn’t a battery hog like other GPS cameras. But it does checks its position periodically so that it doesn’t take too long to find its new location.
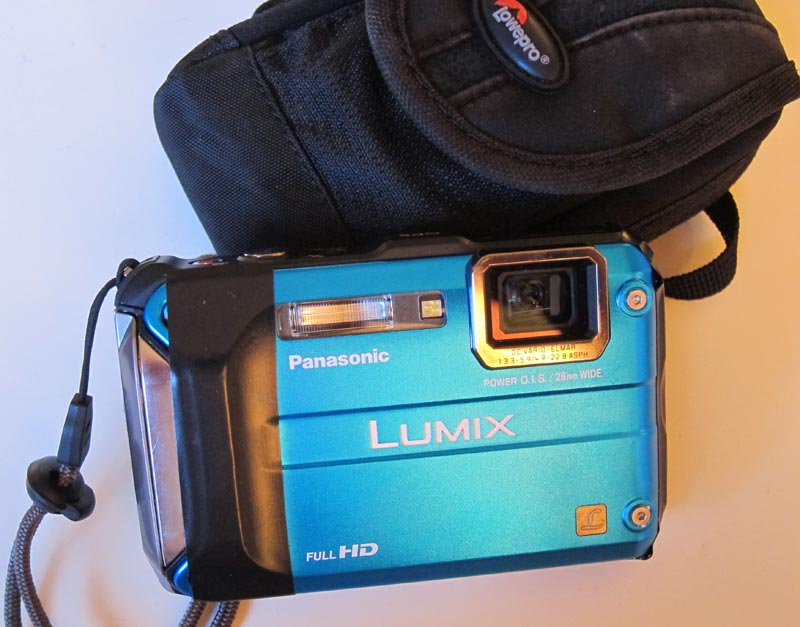
(Panasonic DMC-TS3 with the Lowepro Rezo 30 case.)

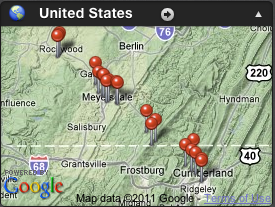
Here’s a map of geotagged photos from within iPhoto of my bike trip along the Great Allegheny.
Other Geotagging Solutions

There are unfortunately very few cameras with GPS tagging built-in. Cell phone cameras such as the iPhone will geotag photos automatically. You can use any camera with the neat iPhone app GeoLogTag but this requires several extra steps to add the location information later. I’d love to have geotagging built into a larger sensor compact camera like the Canon S95.


Waterproof

While the Panasonic DMC-TS3 won’t produce the same low-light shots a S95, it has the additional advantage of being waterproof. It takes amazing underwater photos and videos.

Being waterproof, it’s also great for skiing or any outdoor sports where rain or sweat would attack a normal camera.

The only thing I wish the DMC-TS3 kept from the DMC-TS2 is the rubberized case which made me feel better about bouncing it off rocks. It’s not a huge deal. I’ve put a little bit of black electrical tape on the camera to make it more grippy in wet situations (see photo).

Accidentally put an SD card in the iMac’s DVD drive?

Apple usually puts a lot of thought into the design of their hardware.  However, the placement of the SD card slot right below the DVD drive has always escaped me.  I always suspected people are looking directly at their screen and put the card in the slot by feel.  As a result, it is probably all too common to accidentally put the card in the DVD drive which is right above it.  I recently saw this happen for the first time.

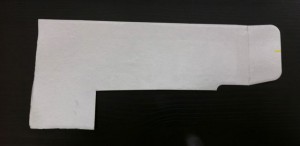
My first thought was to take apart the iMac including the DVD drive.  Unfortunately, this requires specialized tools and 1-2 hours of time.  I tried shaking it out (a scary thought with an expensive piece of hardware) but it didn’t budge because of the foam guards at the end.  Finally, I created a high tech tool just for the job.

This is a piece of cardboard cutout to have a little extension at the bottom.  I inserted this at the top of the drive and pushed as far back as possible.  I then slide it down and pulled it forward and the extension pushed the SD card right out.  This is a rather thin piece of cardboard which is probably necessary.  Be sure to be gentle as you don’t want to damage the DVD drive in any way.

Bamboo Stylus

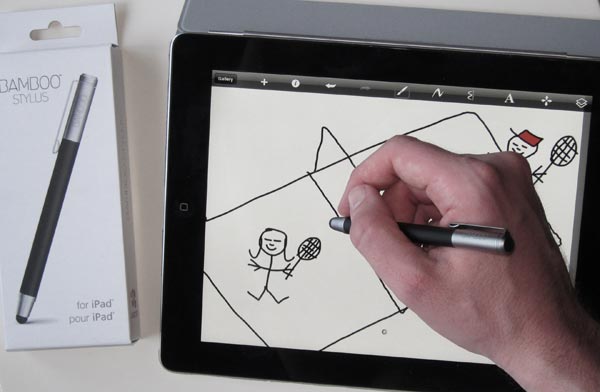
Although the iPad is designed and best used as a finger input device, I occasionally switch to using a stylus, especially when drawing (see my beautiful artwork below). I’ve tried nearly all of the styluses out there and found the new Bamboo Stylus to be the best available so far. The reason is that others have a thicker pointing area that slides poorly and is less precise. The Bamboo Stylus has a smaller more precise tip (they claim 25% smaller than competitors) and feels solid and properly weighted. It is well made in Japan.

Combining the Bamboo Stylus with Sketchbook Pro for iPad ($4.99) makes a powerful drawing system. I prefer this to using a Wacom tablet for drawing since I can directly see what I’m doing under the stylus.

I’m waiting on the Cosmonaut Stylus (should be out in August) to see how its wide-grip compares. But at least until then, the Bamboo Stylus to be the best available so far. The reason is that others have a thicker pointing area that slides poorly and is less precise. The Bamboo Stylus is the best out there.

There is still the inherent downside that you can not rest your hand on the iPad since that will be seen as a touch input. But even with that nit, I enjoy using this stylus.

Speed Up PC

I was recently asked to speed up a slow laptop. Here are the steps that I took:

  • Apply Windows Updates: The computer had downloaded lots of updates (including Vista Service Pack 2) that were just waiting to be installed. This was a multi-step process since not all the updates could be updated in one package.
  • Run Spinrite: This checks for and automatically fixes hard drive problems
  • Remove Browser Toolbars: Google, Yahoo, and other toolbars in Internet Explorer and Firefox just slow down and junk up the browser without any real benefits.
  • Remove Google Desktop: This is a redundant desktop search tool that just slows down the computer.
  • Open Windows Task Manager, search for processes, and remove unnecessary applications and start-up items. This is done from Add/Remove Programs, from the startup folder and from msconfig.
  • Turn off Windows sidebar: This feature available in Windows 7 and Vista by default just loads pictures and a clock which people don’t use.
  • Remove some Windows features, as mentioned in 12 Ways to Speed Up and Slim Down Windows Vista.
  • Update Firefox: Firefox 4 has significant speed improvements.
  • Remove paid Antivirus and install Microsoft Security Essentials which typically uses fewer system resources and is a good and free Antivirus.
  • Run Disk Defragmenter
  • Update Power Settings: This laptop’s settings were to run the CPU at a max of 50% both when unplugged (to save the battery) and also when plugged in. The max CPU should be set to 100% when plugged in unless the computer is having overheating problems.
  • Install Foxit Reader: This is faster and less annoying than Adobe Acrobat which I removed.

iKlear Cleaning Kit

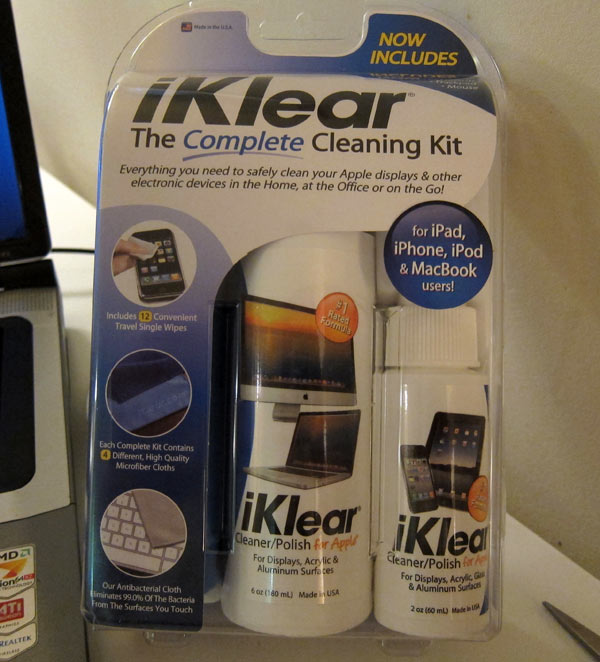
When clients give me computers that have lots of dirt and smudge on the screen, I grab iKlear to clean it. I saw a few years ago that it’s what Apple uses to clean laptops, especially the white MacBook prone to discoloration.

Now I also use iKlear to clean phones, tablets, and TVs. Do not to use Windex or other cleansers not specifically designed for monitors. They can permanently damage the screen. If you don’t want to spend the money, at least get a microfiber cloth and just use a small amount of plain water.