Upgrade iMac to Fusion SSD for Speed

TechDC iMac 27” 2017  HDD to SSD (should work if there’s no fusion too)

I recently upgraded a 2017 iMac with a Fusion drive (SSD plus hard drive) to an SSD only Fusion drive by replacing the hard drive (HDD) with an SSD. While the idea of a fusion SSD may sound weird, it works great. The SSD in iMacs (especially 2017 and beyond) are much faster than a standard SSD, so you still get the fusion benefit of combining a faster and slower drive. And replacing a HDD with SSD is a huge speed improvement that can make a computer feel much more responsive.

Parts List

Crucial 2TB SSD ($207) – this is a hair faster than the Samsung.  

Or

Samsung 4TB SSD ($400) – not a lot of 4TB options on amazon

iMac adhesive strips + opening wheel

Generic phone and iMac work kit (has the necessary plastic cards and scraping tools and many other parts not used)

3M pads to adhere SSD inside iMac

Preparation Steps (note that a colon on a step means its a terminal command)

Step – Backup via Time Machine (to be restored later)

Step – Create a macOS (Mojave) boot usb drive (9to5Mac Article)

Step – Boot off usb drive (hold option key) and secure erase the HDD.  Since the HDD will be left inside the iMac, best to be safe and securely erase it.

Step – Launch Terminal from top menu Utilities 

Step -: diskutil list (to determine the name of the synthesized fusion disk drive such as /dev/disk2)

Step -: diskutil secureErase 0 /dev/diskX (where diskX is the name of the disk to HDD) (This can take hours depending on your drive size) (this does a single pass of zeros written for security, there are options to do more)

Installing SSD Steps 

Based on https://www.ifixit.com/Guide/iMac+Intel+27-Inch+Retina+5K+Display+Hard+Drive+Replacement/30522

& https://www.ifixit.com/Guide/How+to+Add+An+SSD+To+The+27-Inch+iMac+(Late+2015)/67309

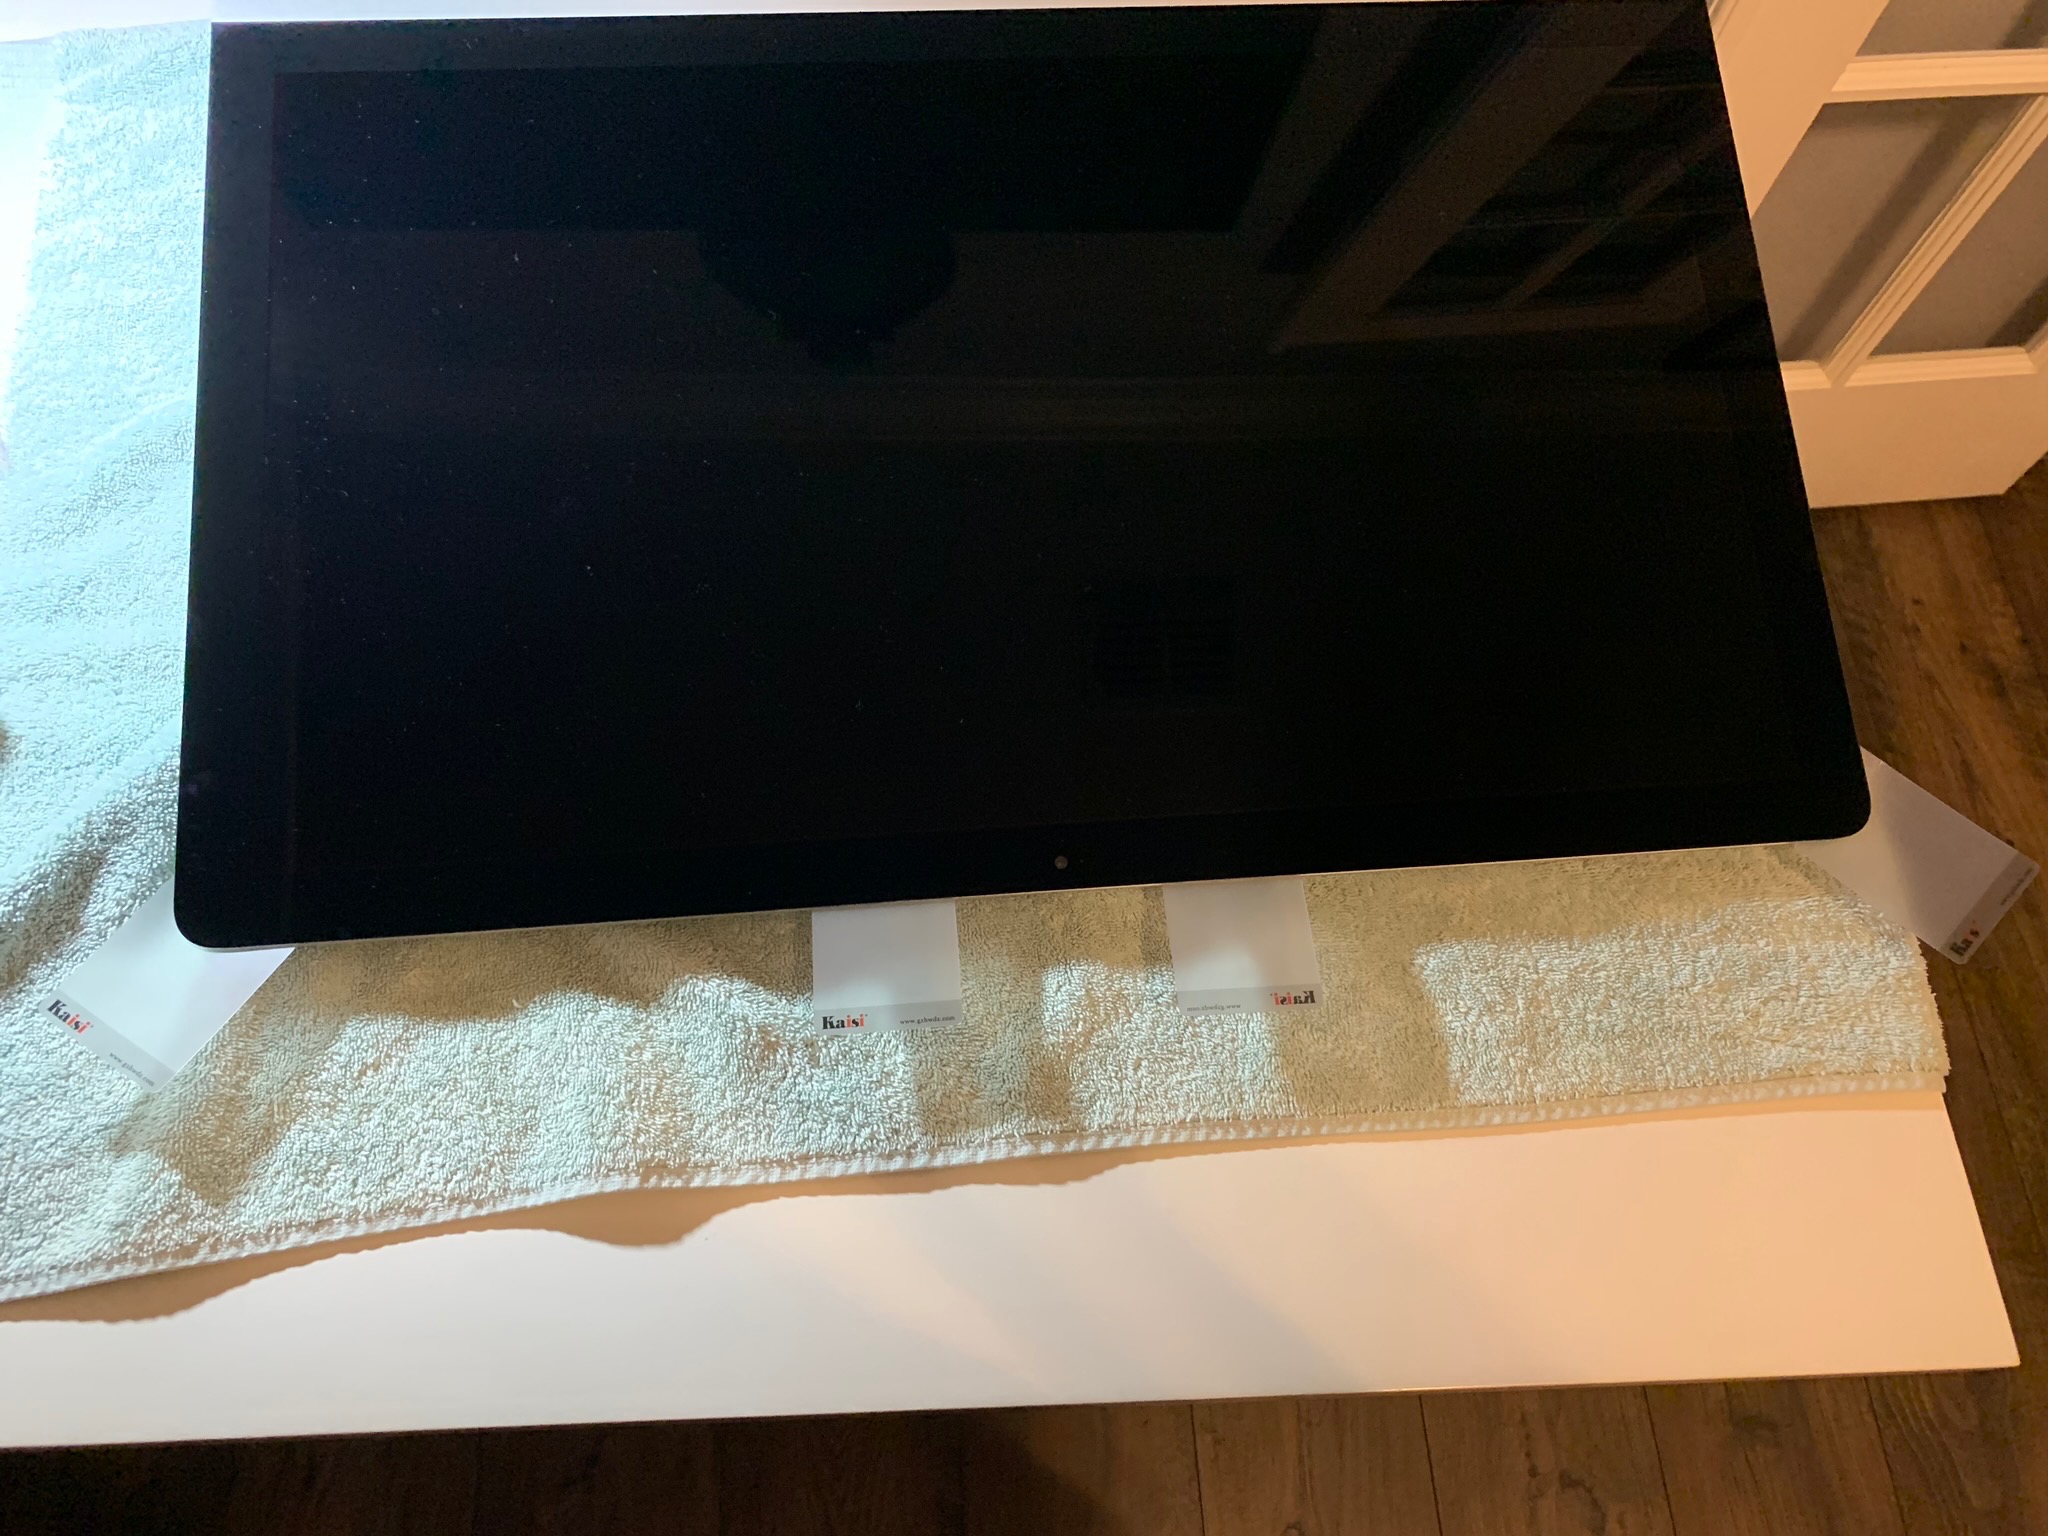
Step 1 – Lay iMac on its back 

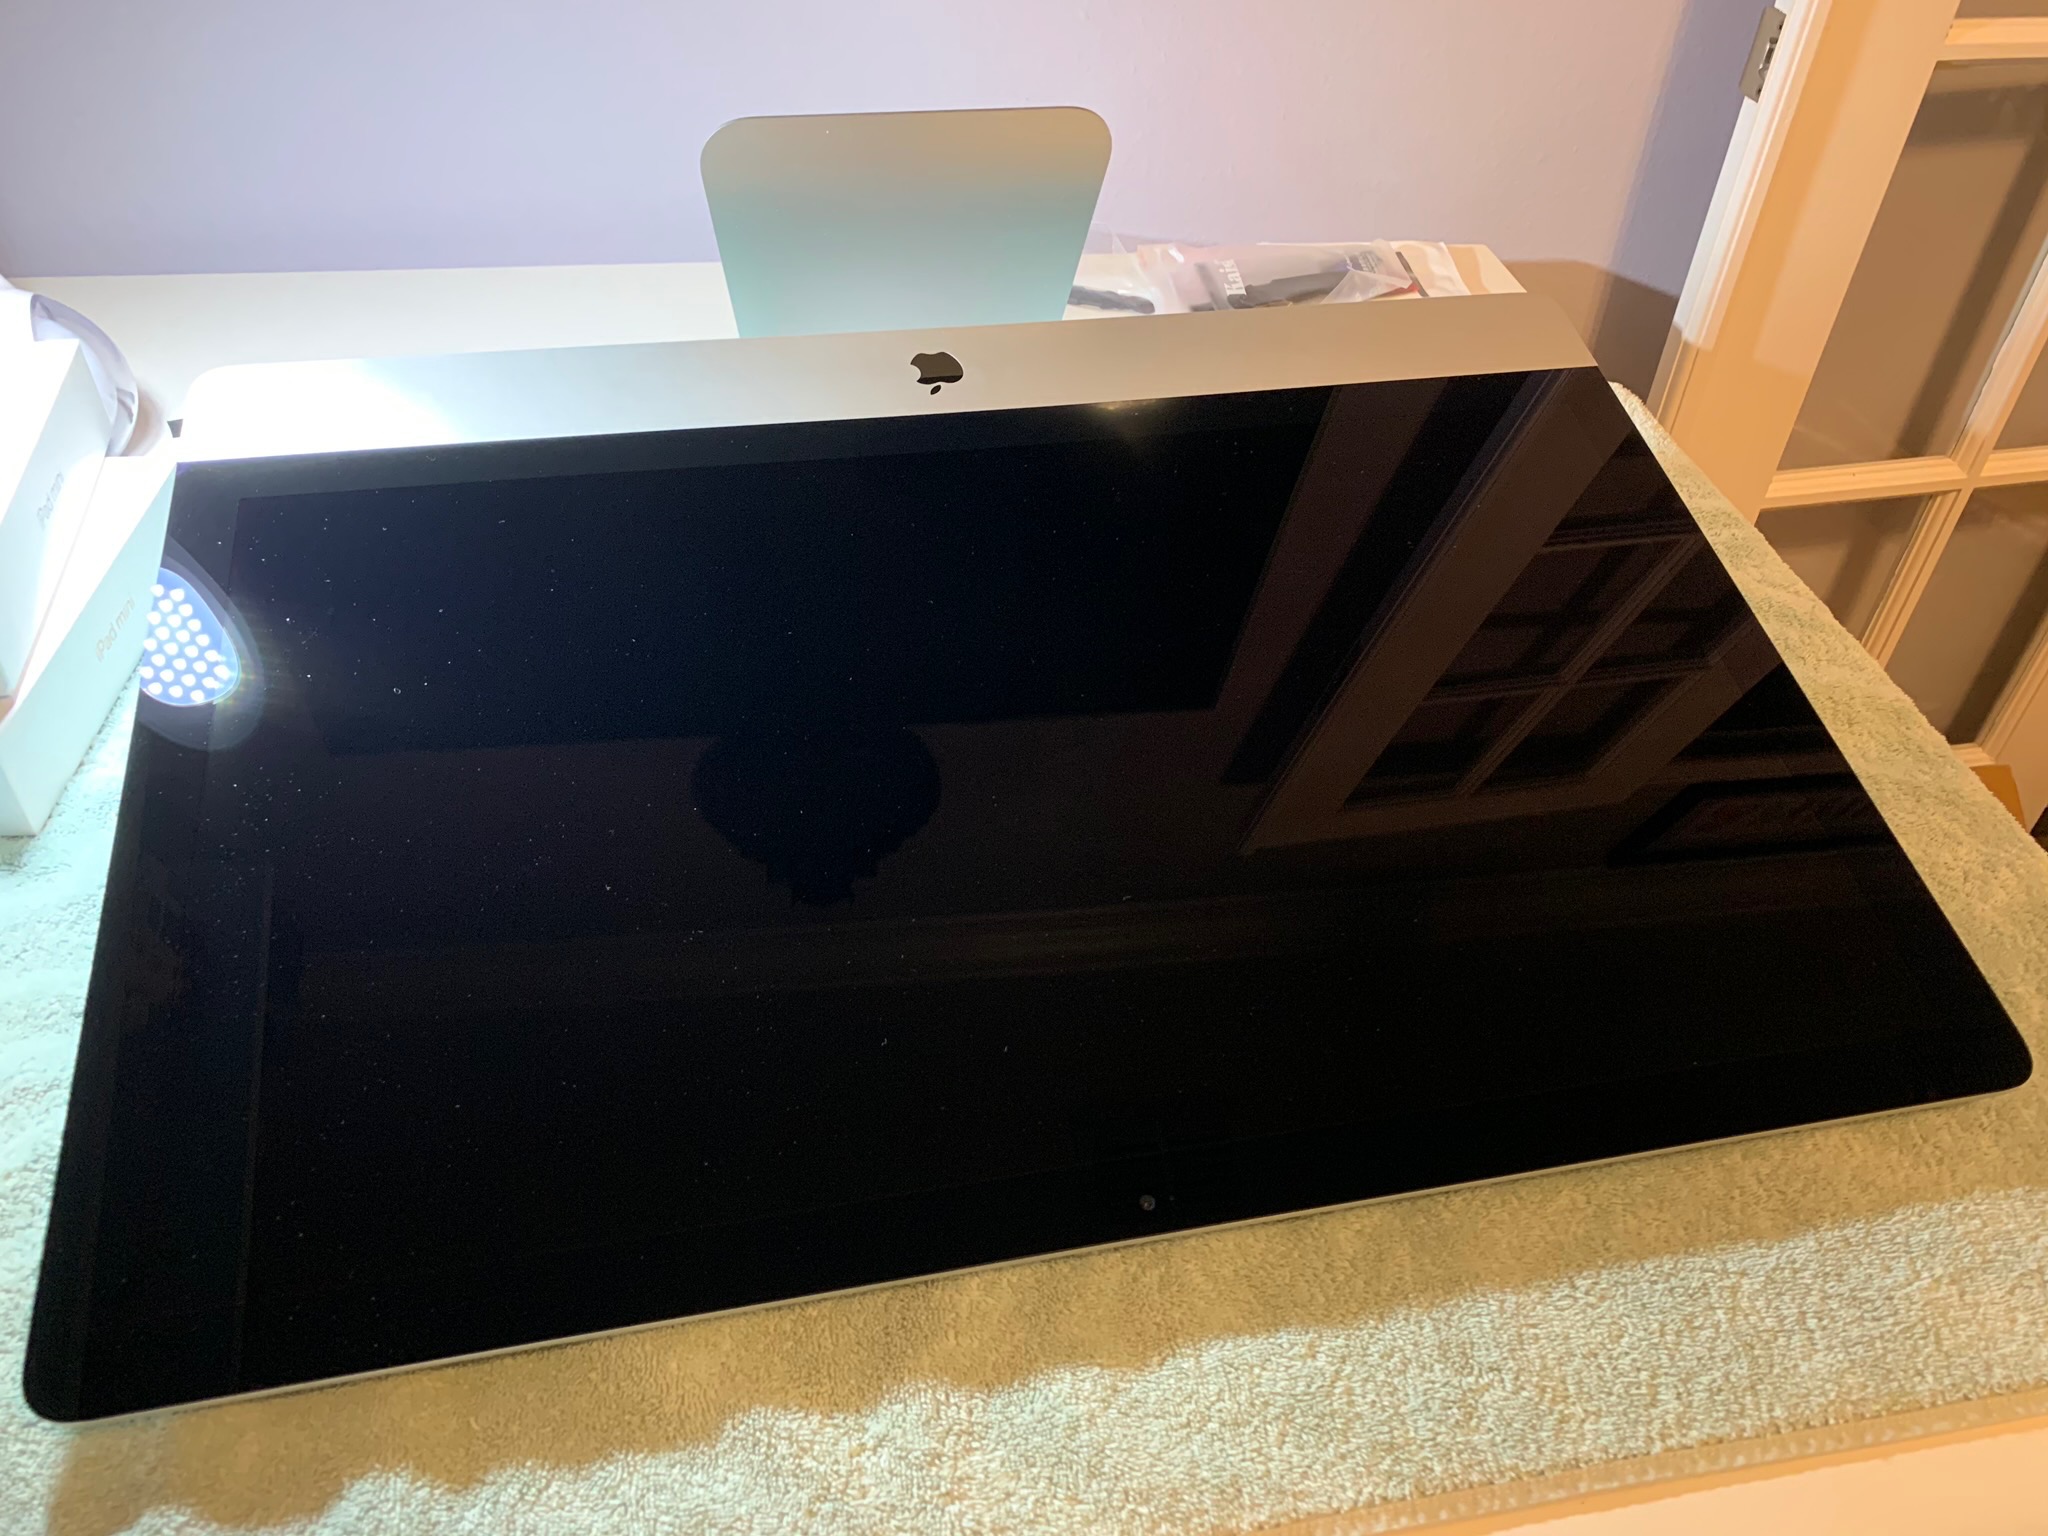
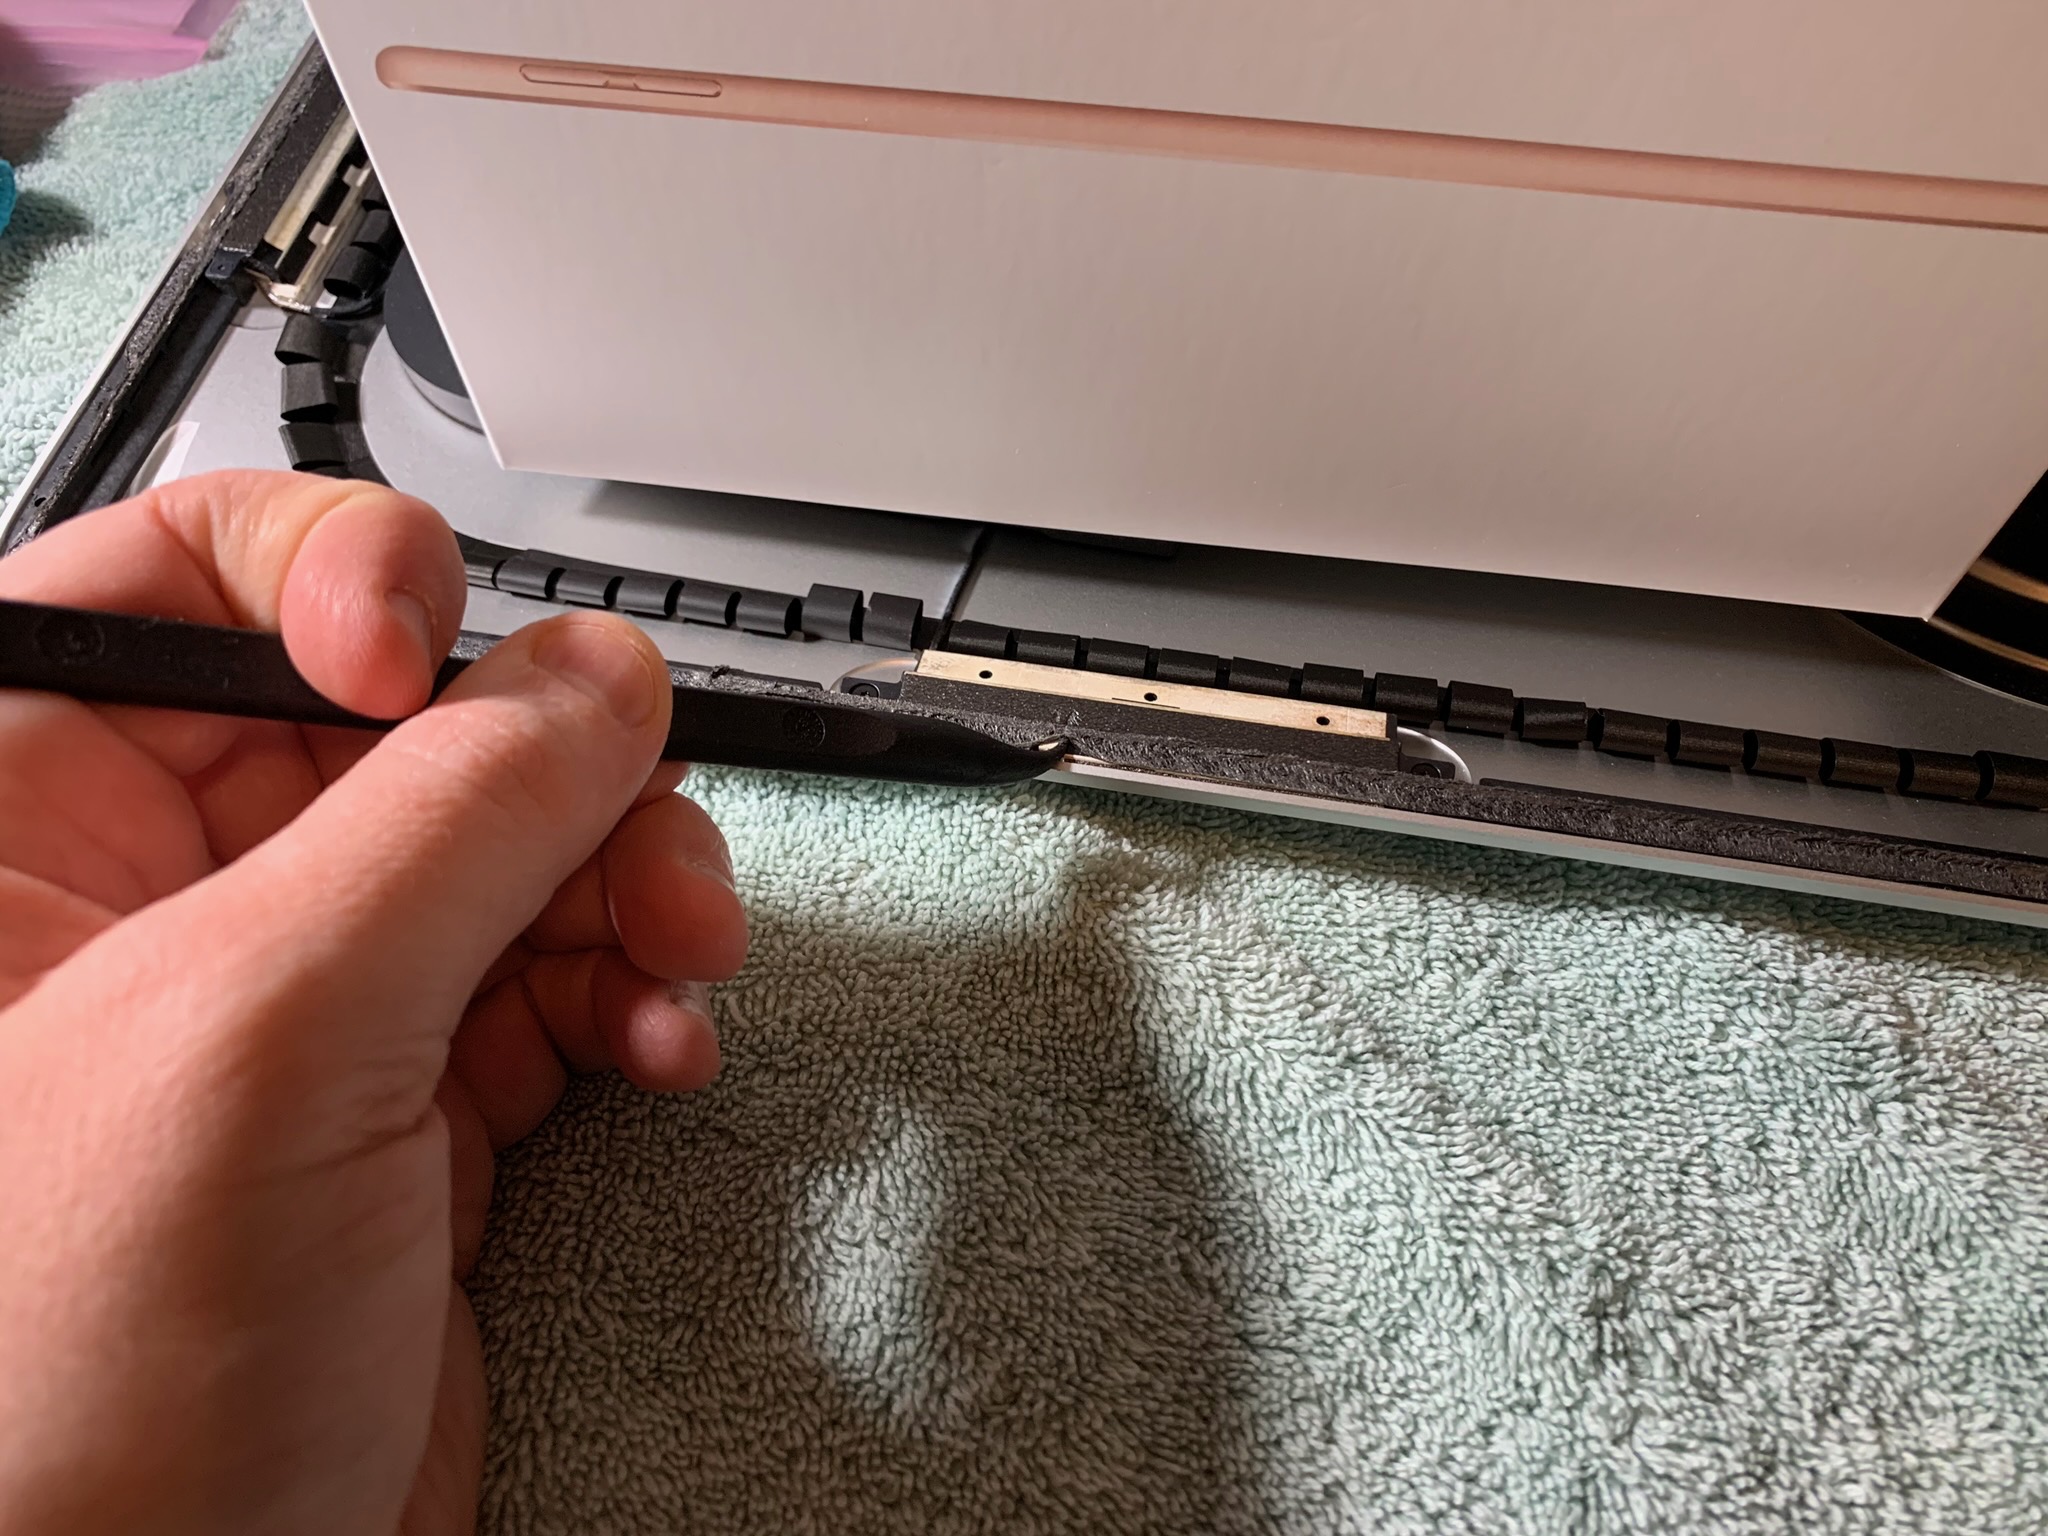
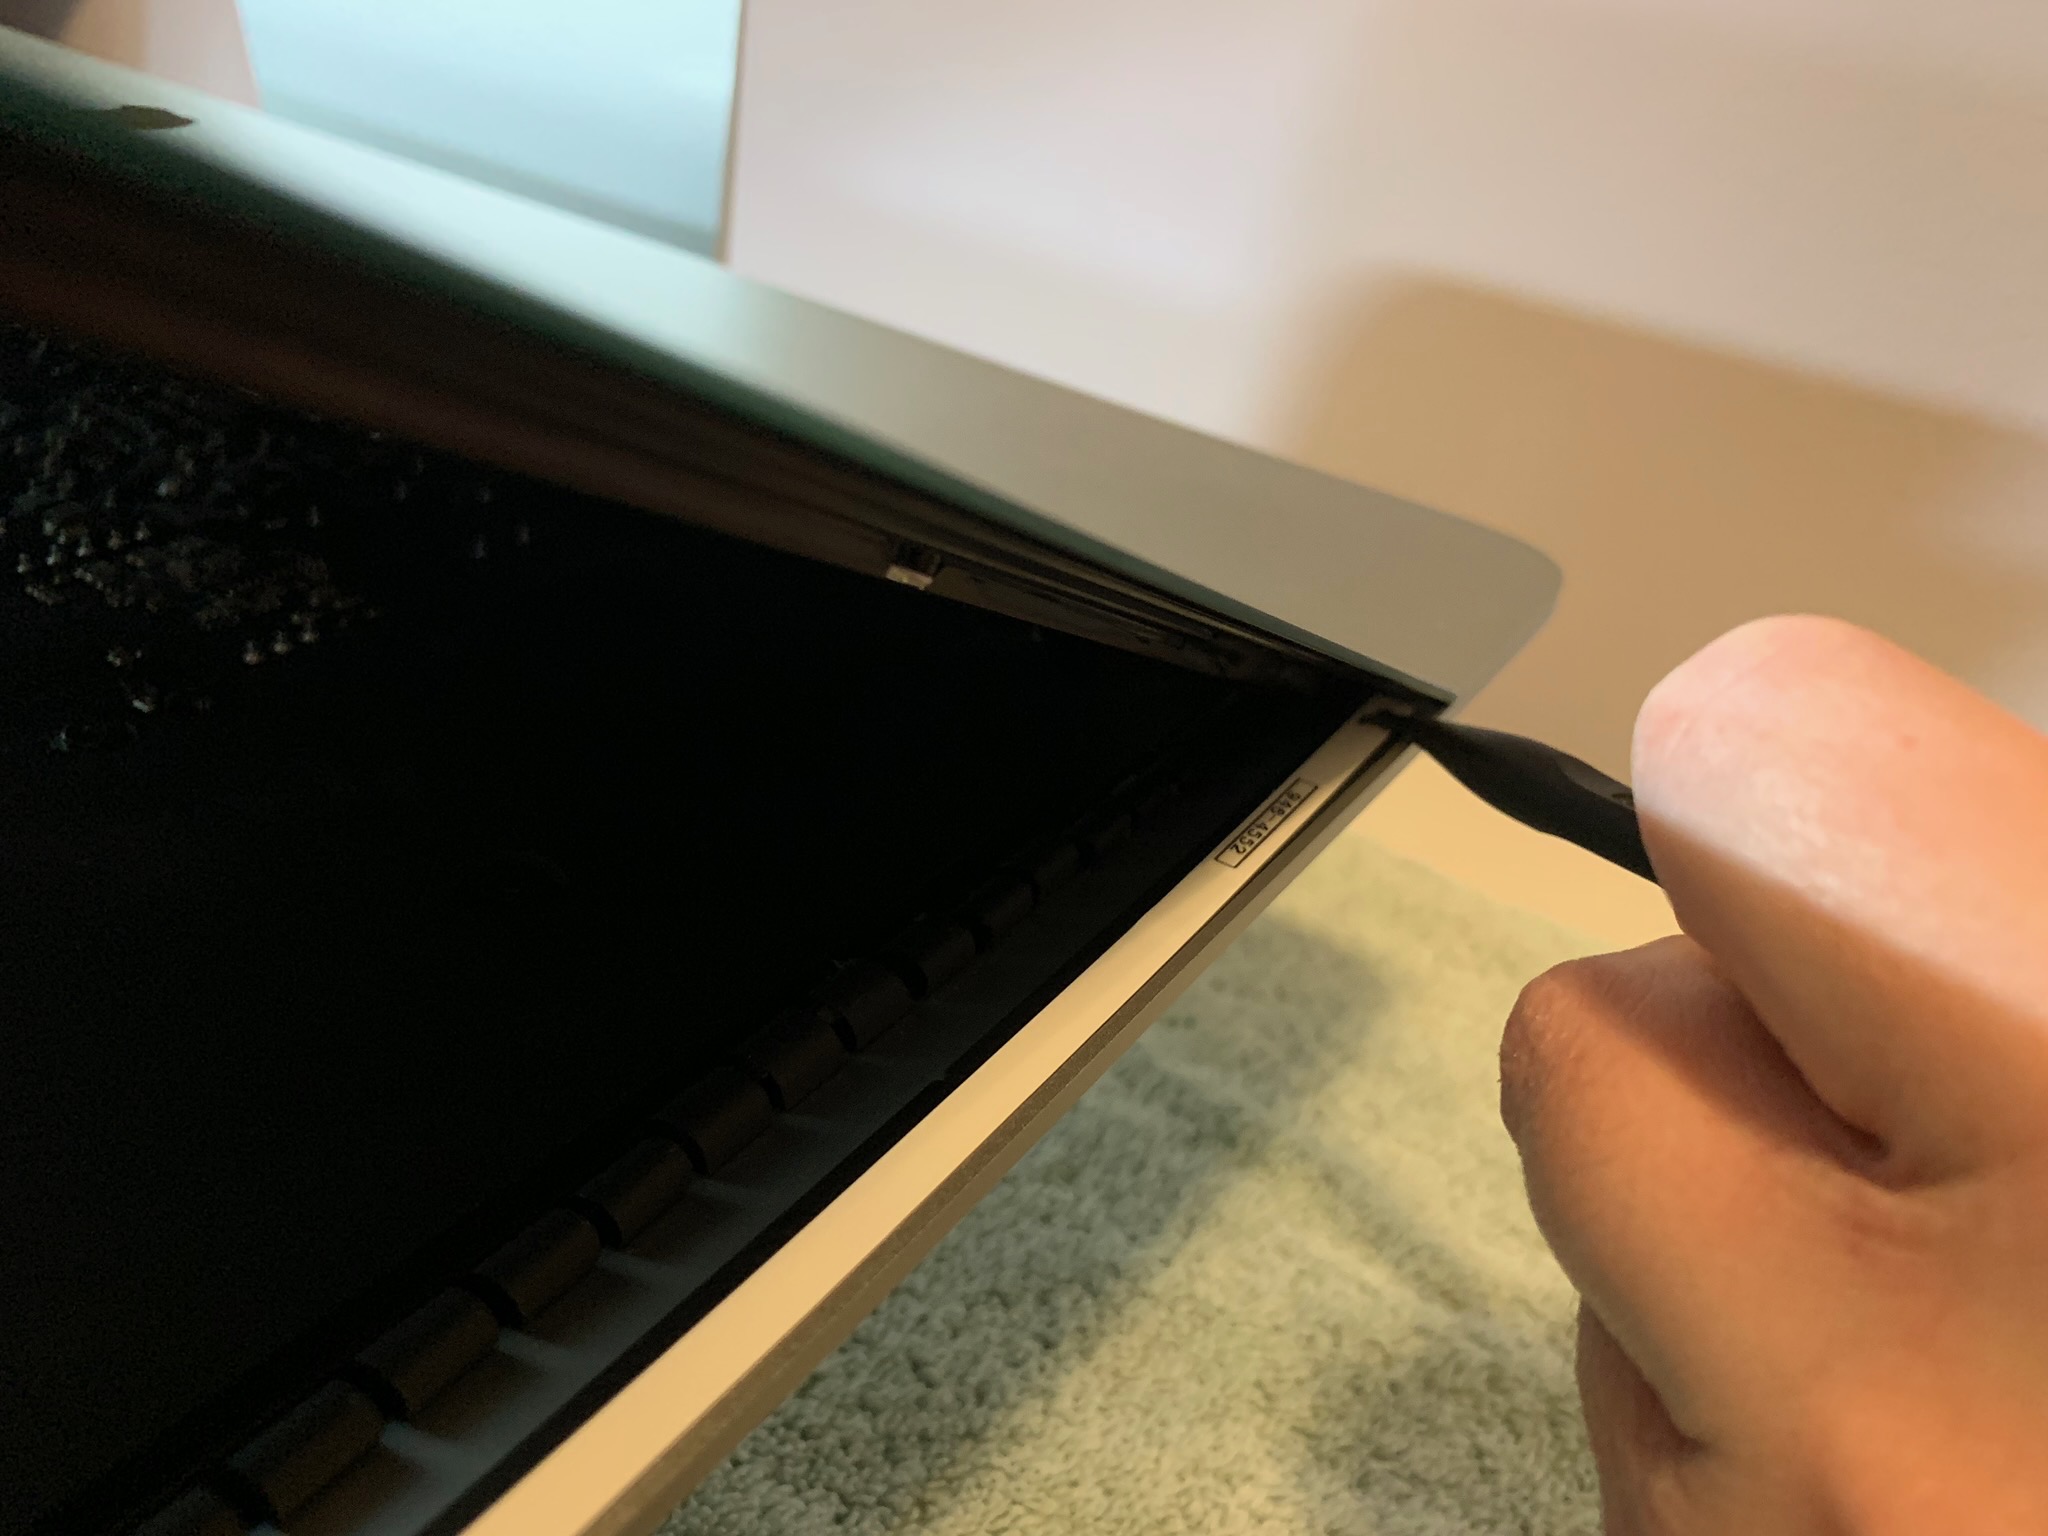
Step 2 – use roller tool to cut thru glue

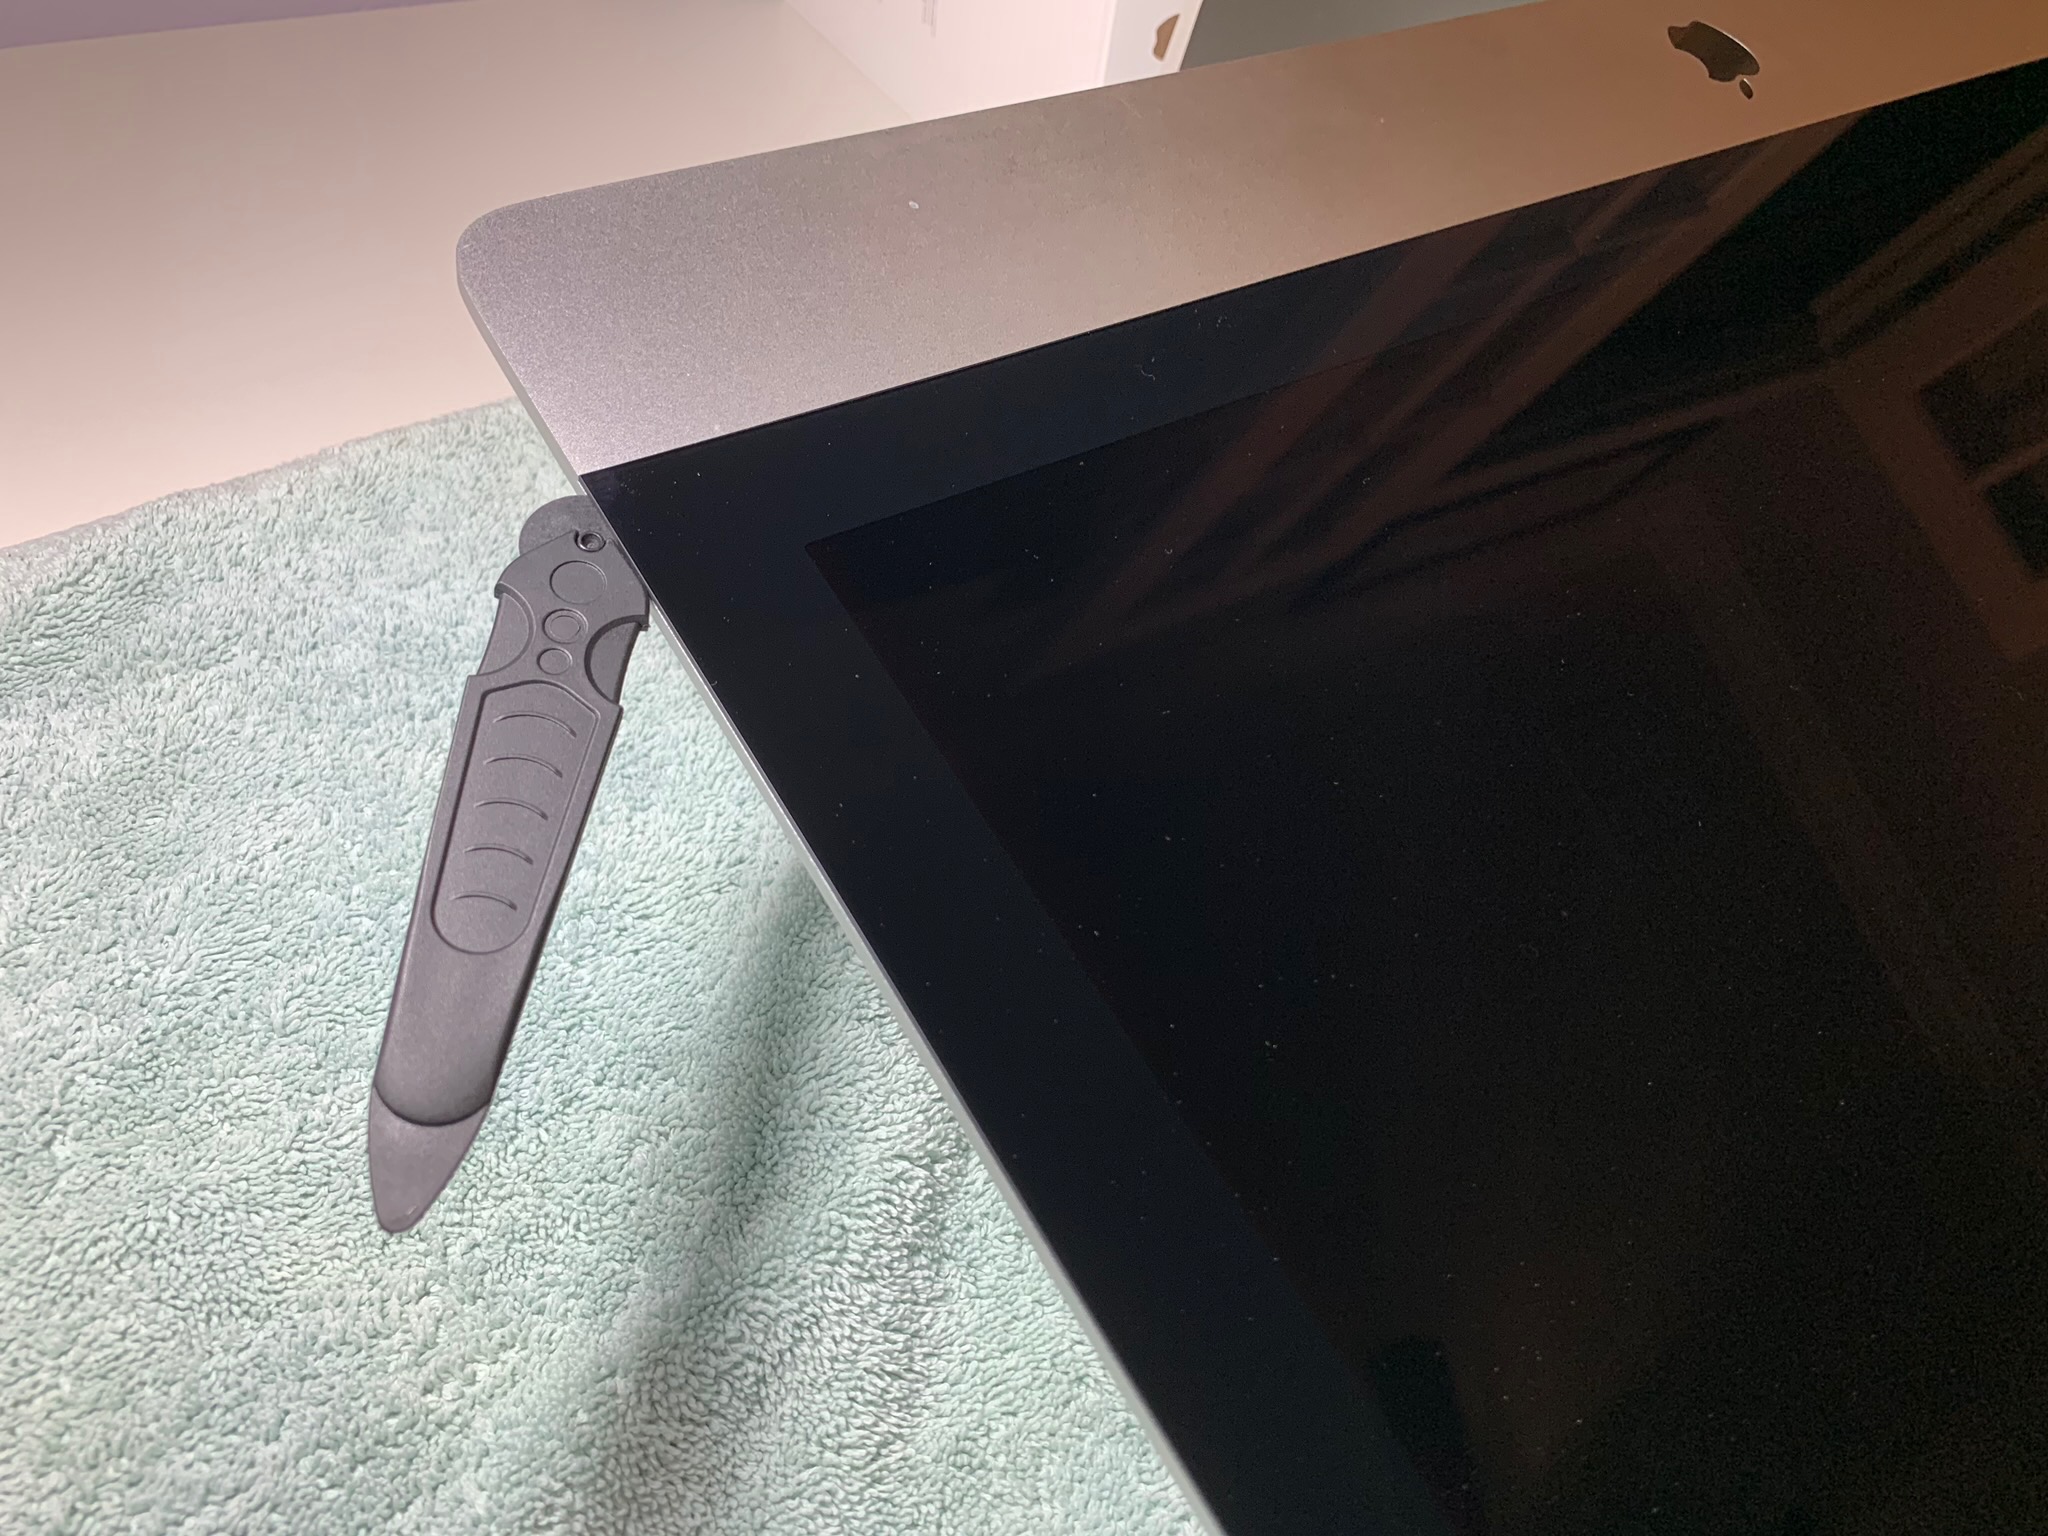
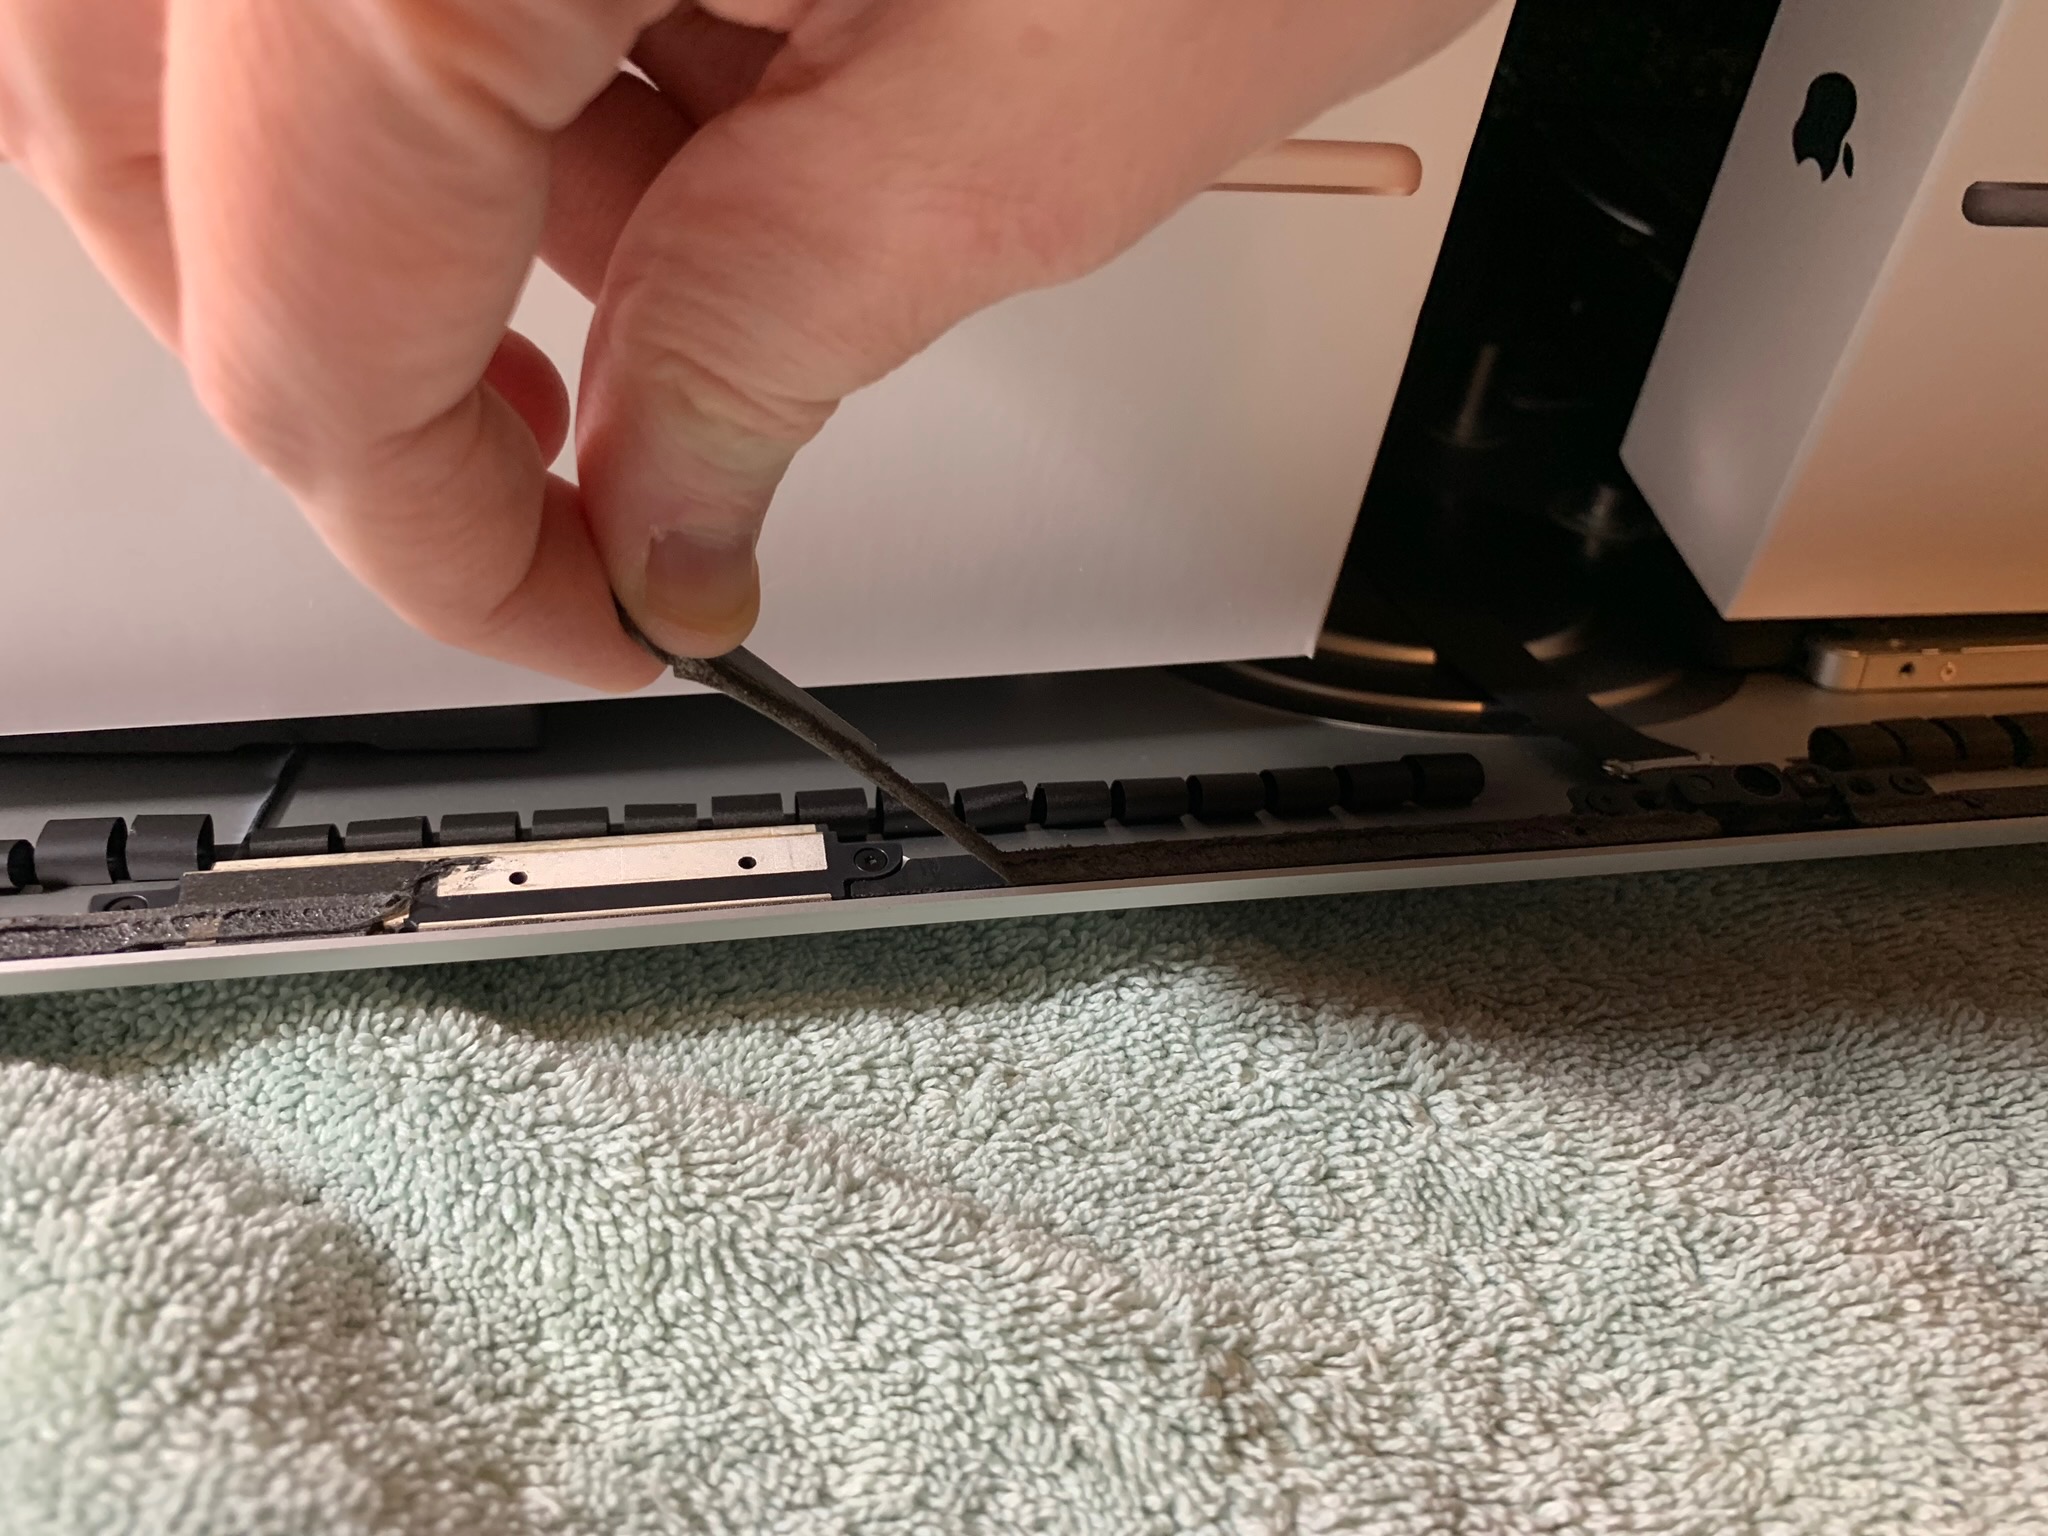
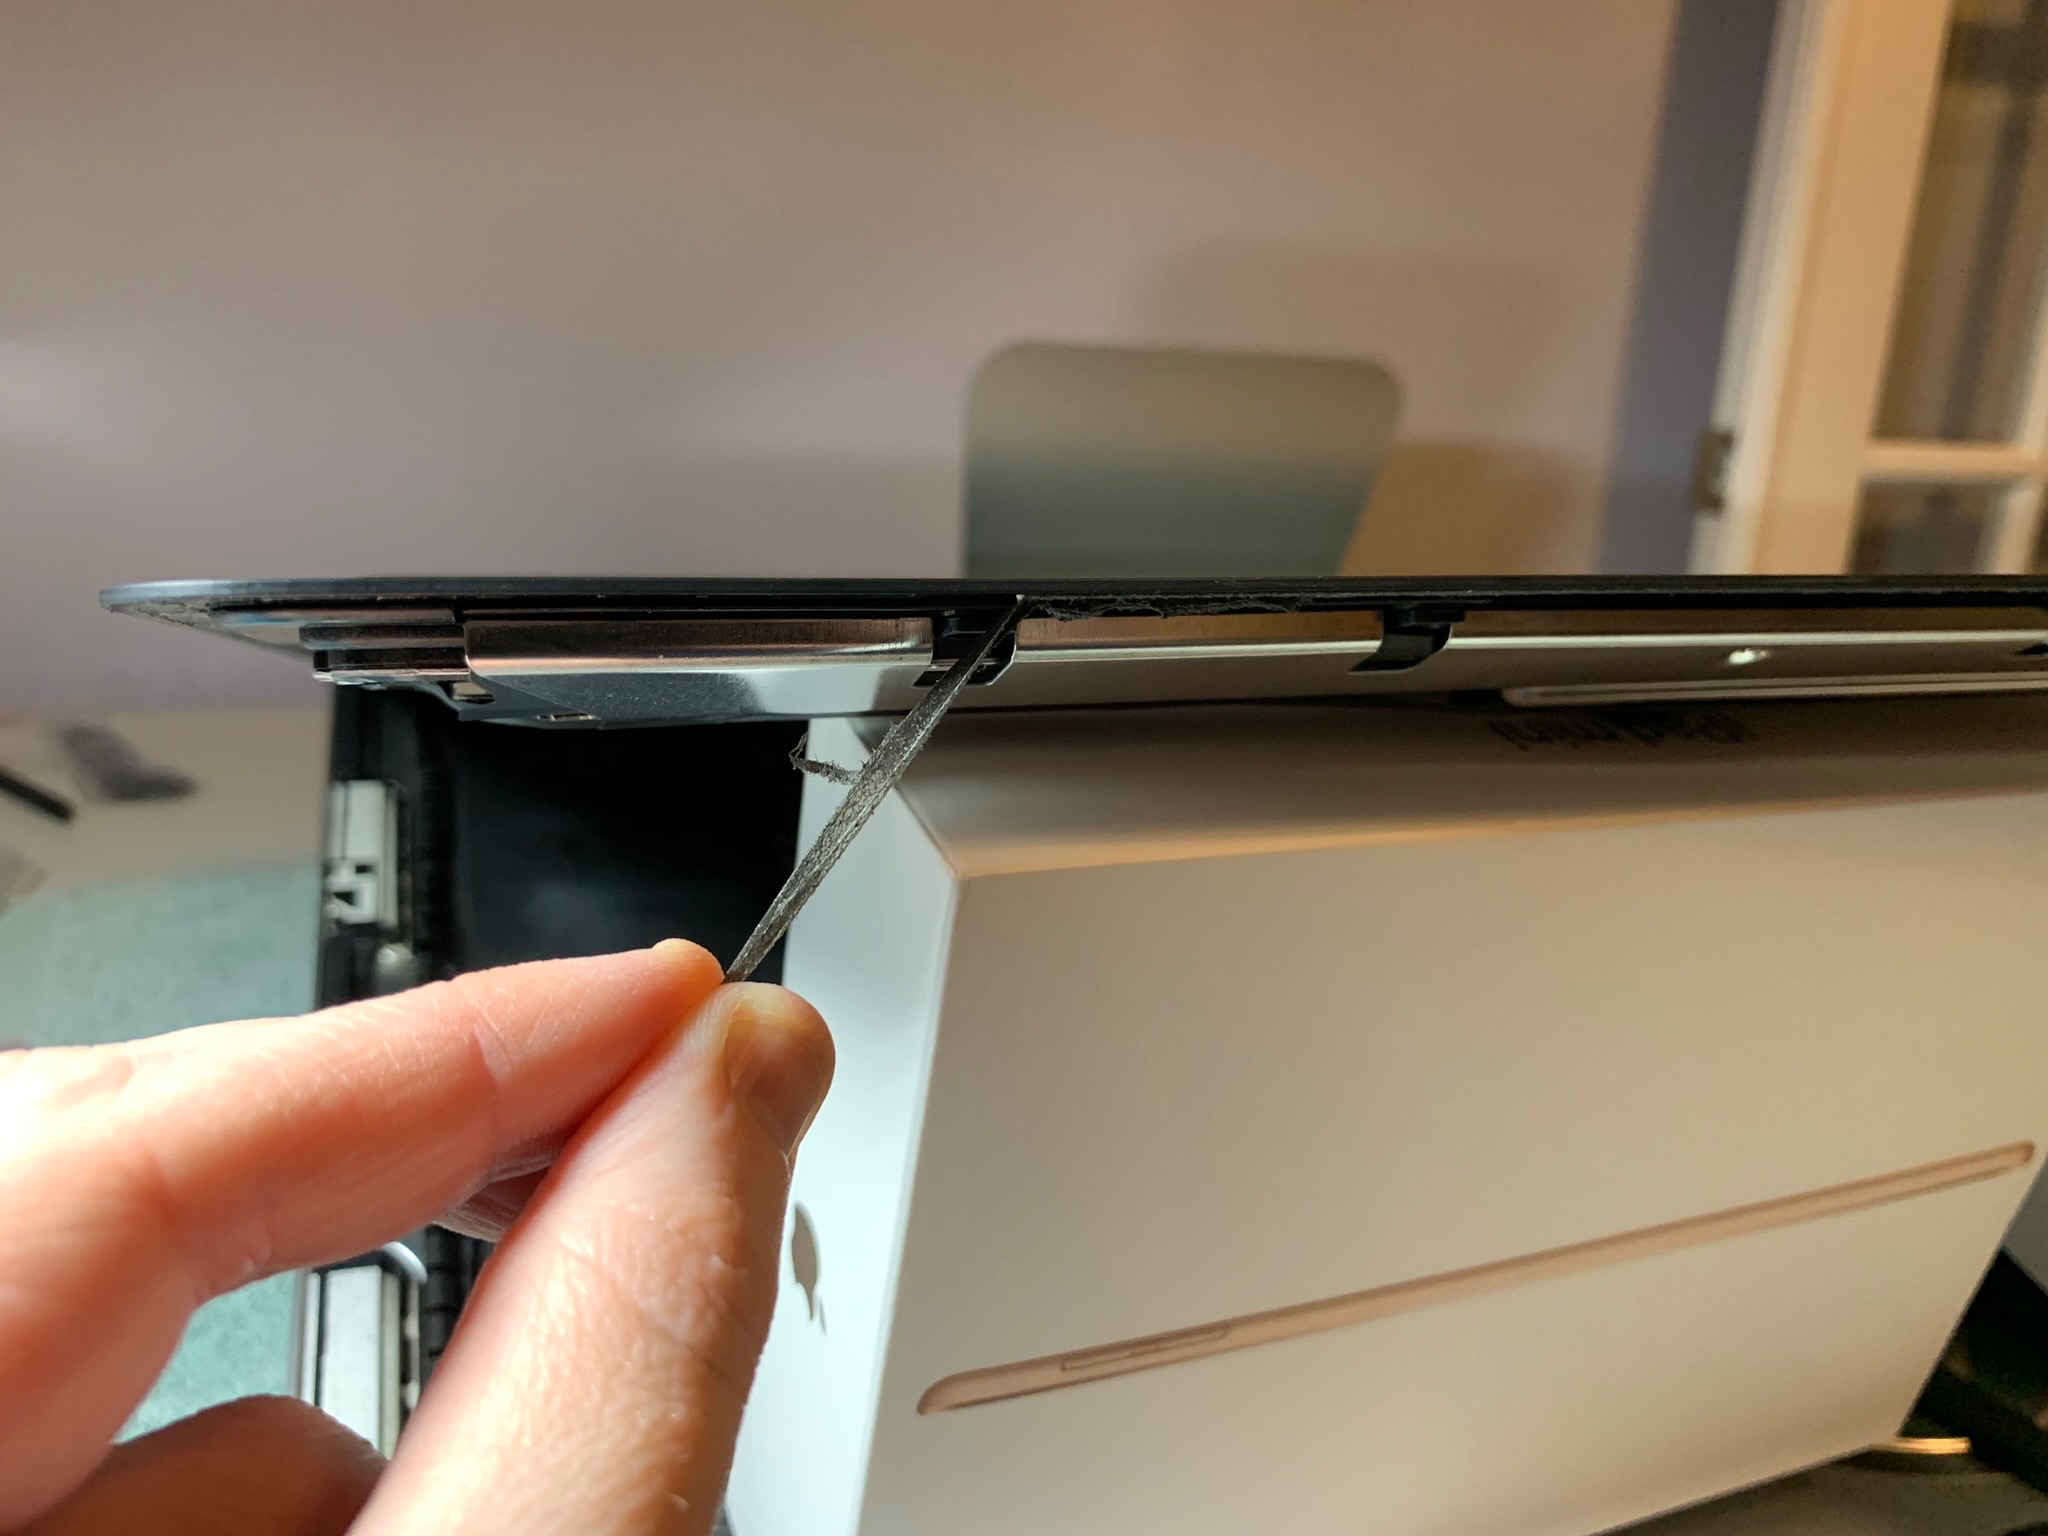
Step 3 – use plastic cards to separate remaining glue (takes time and work)

Plastic Cards

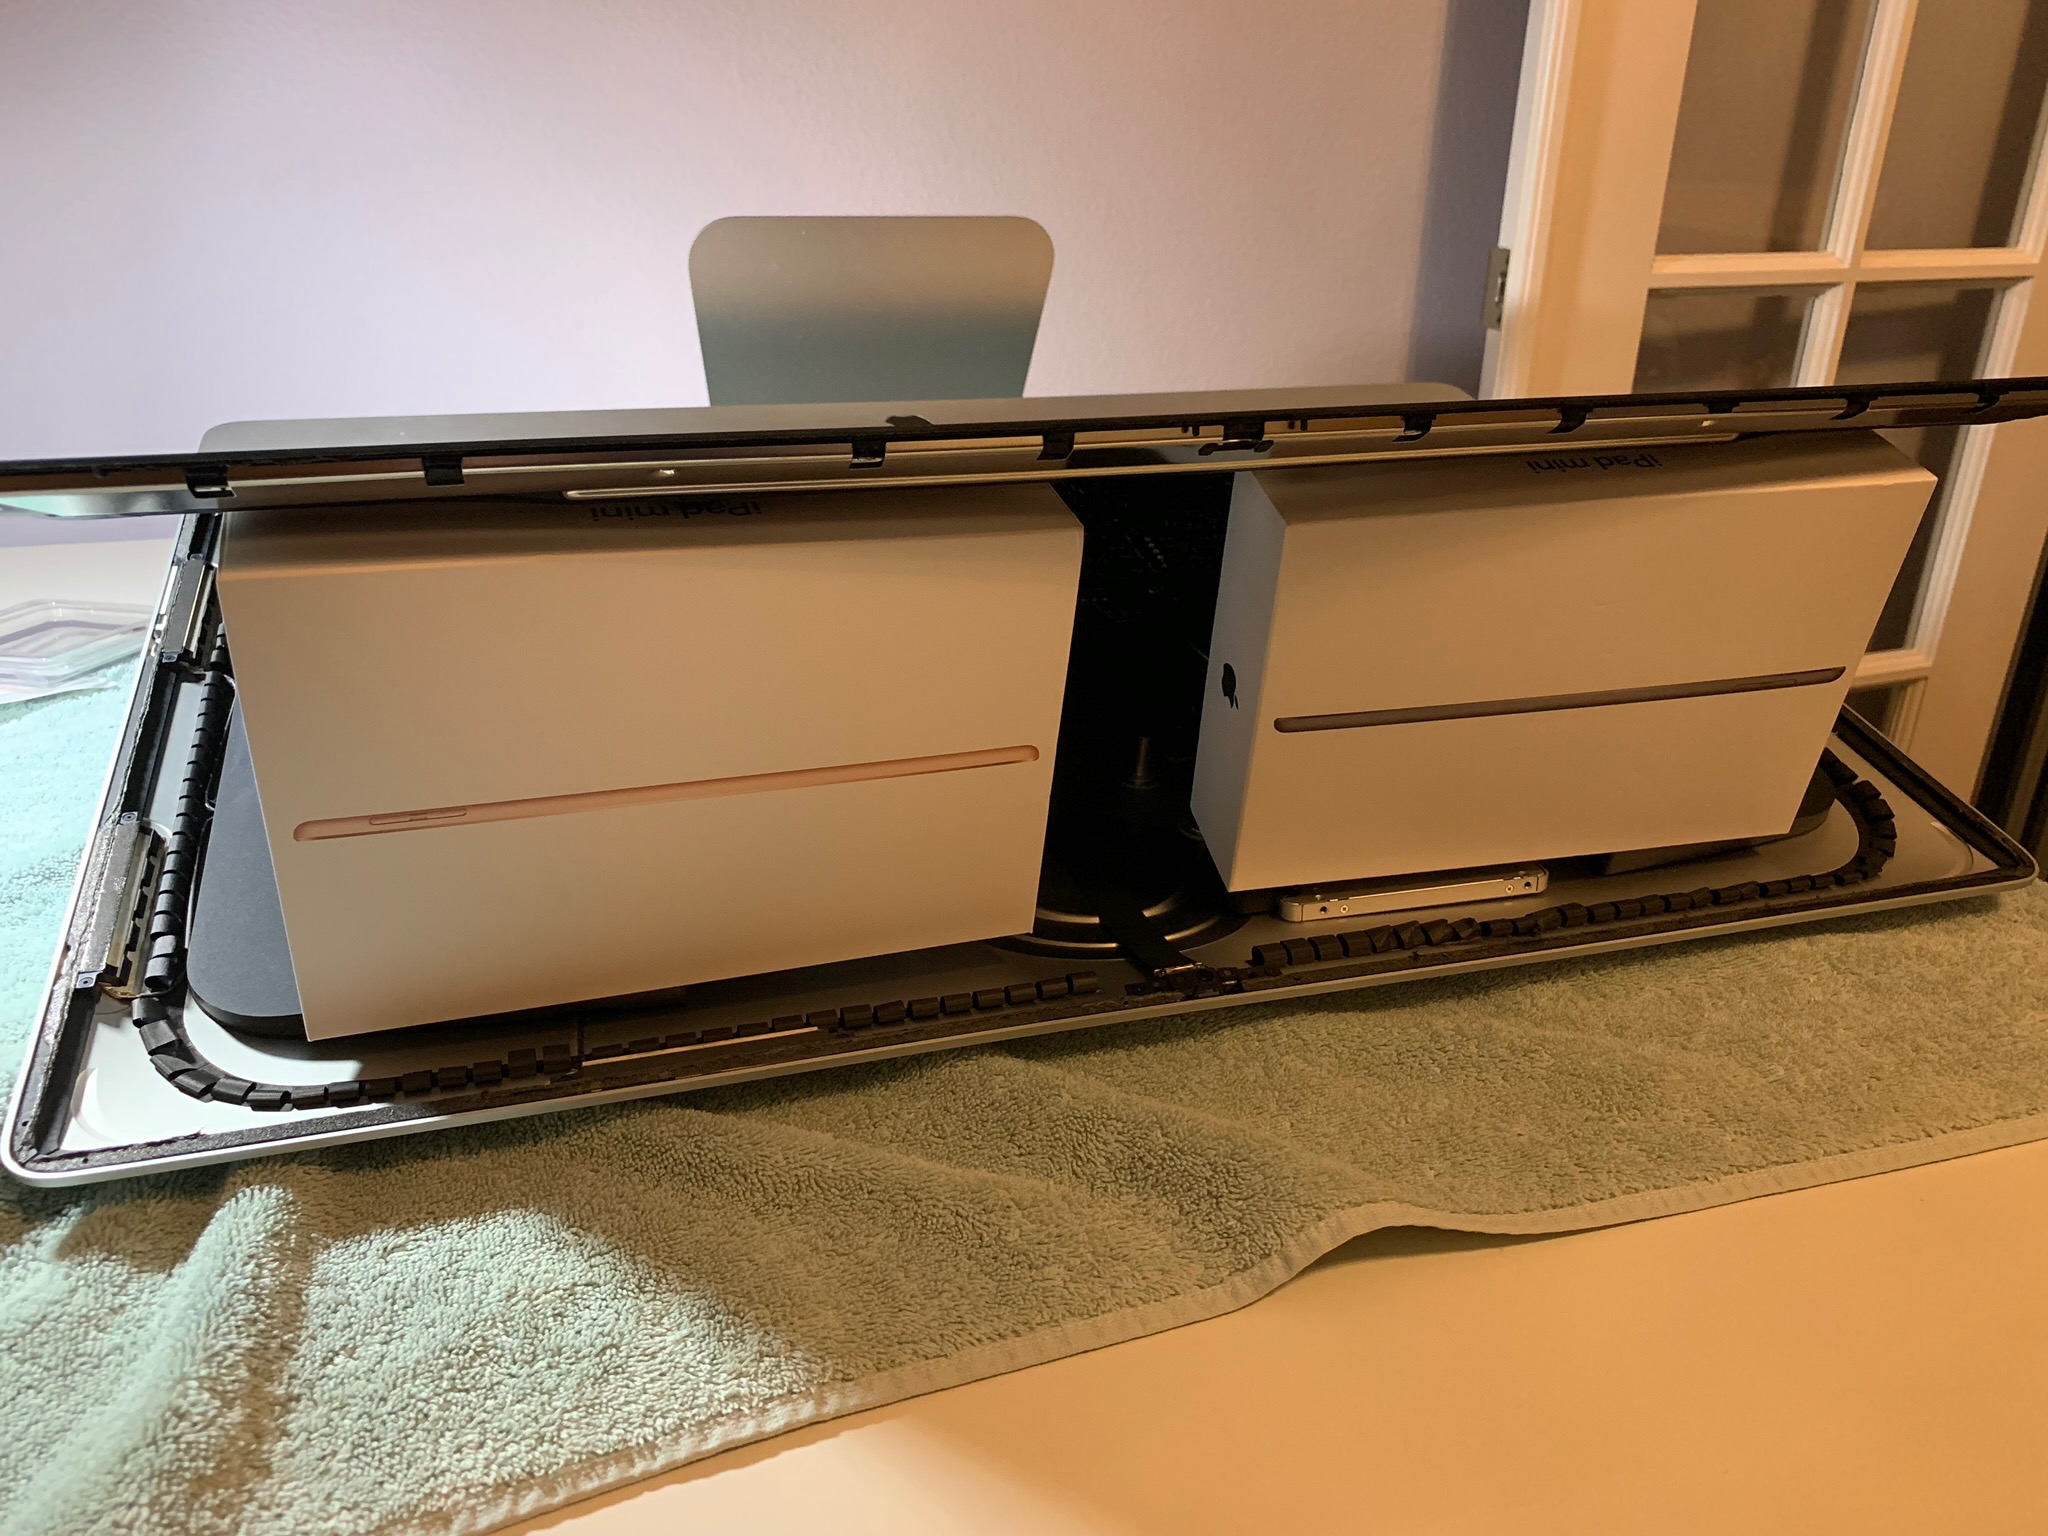
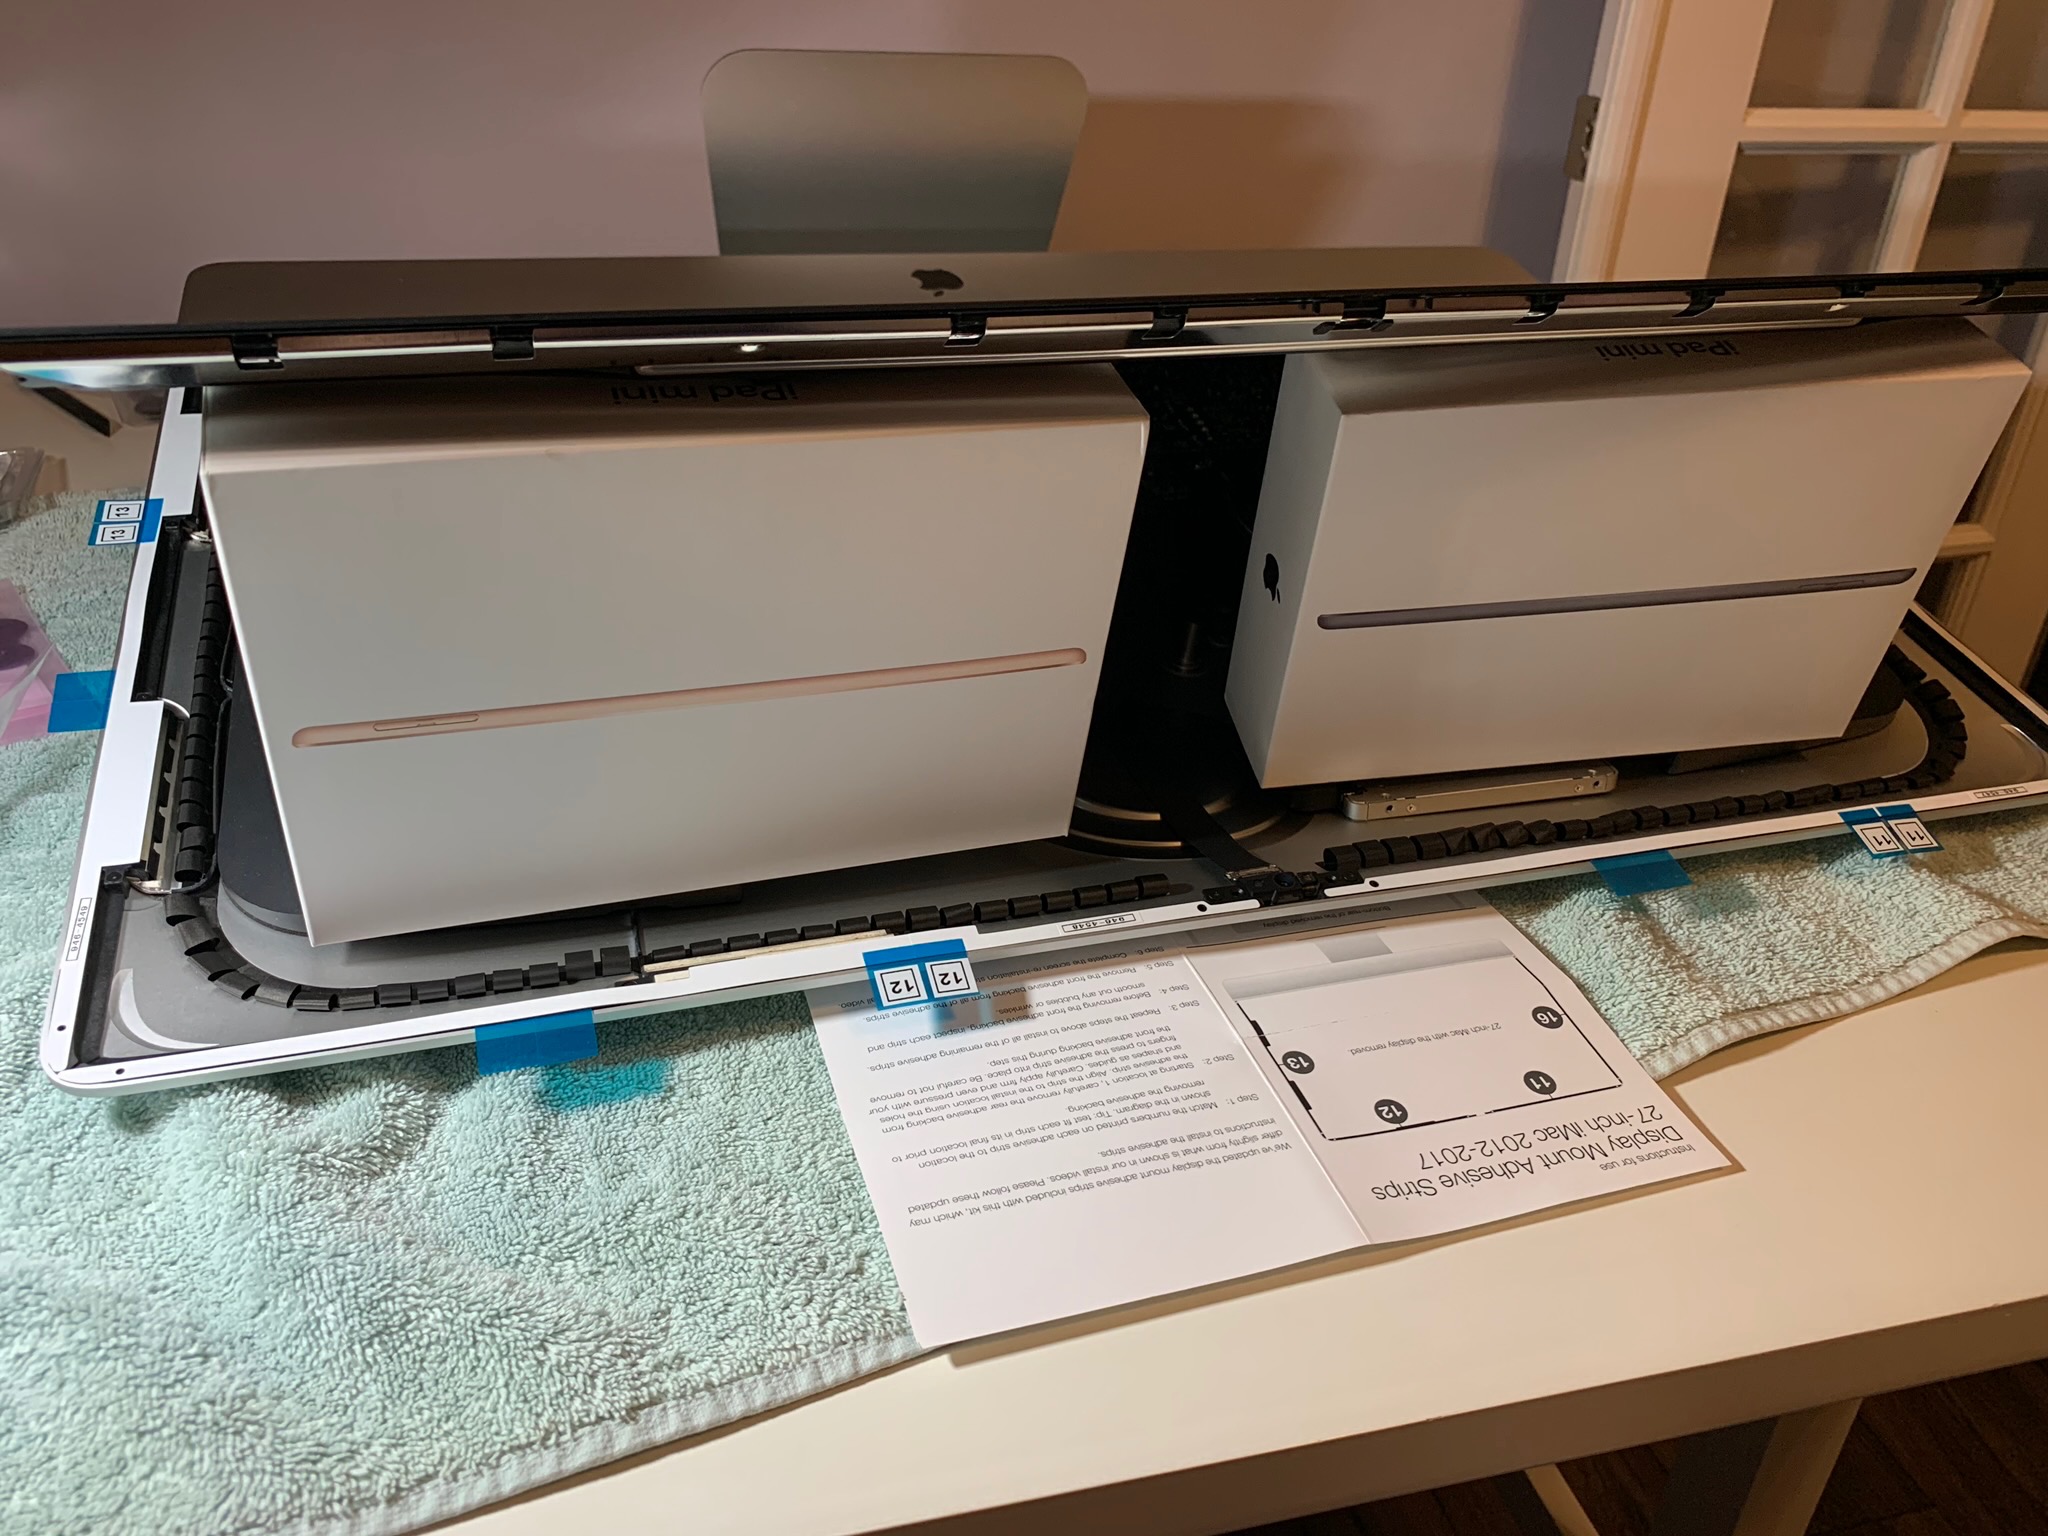
Step 4 – lift up screen ad prop up with boxes

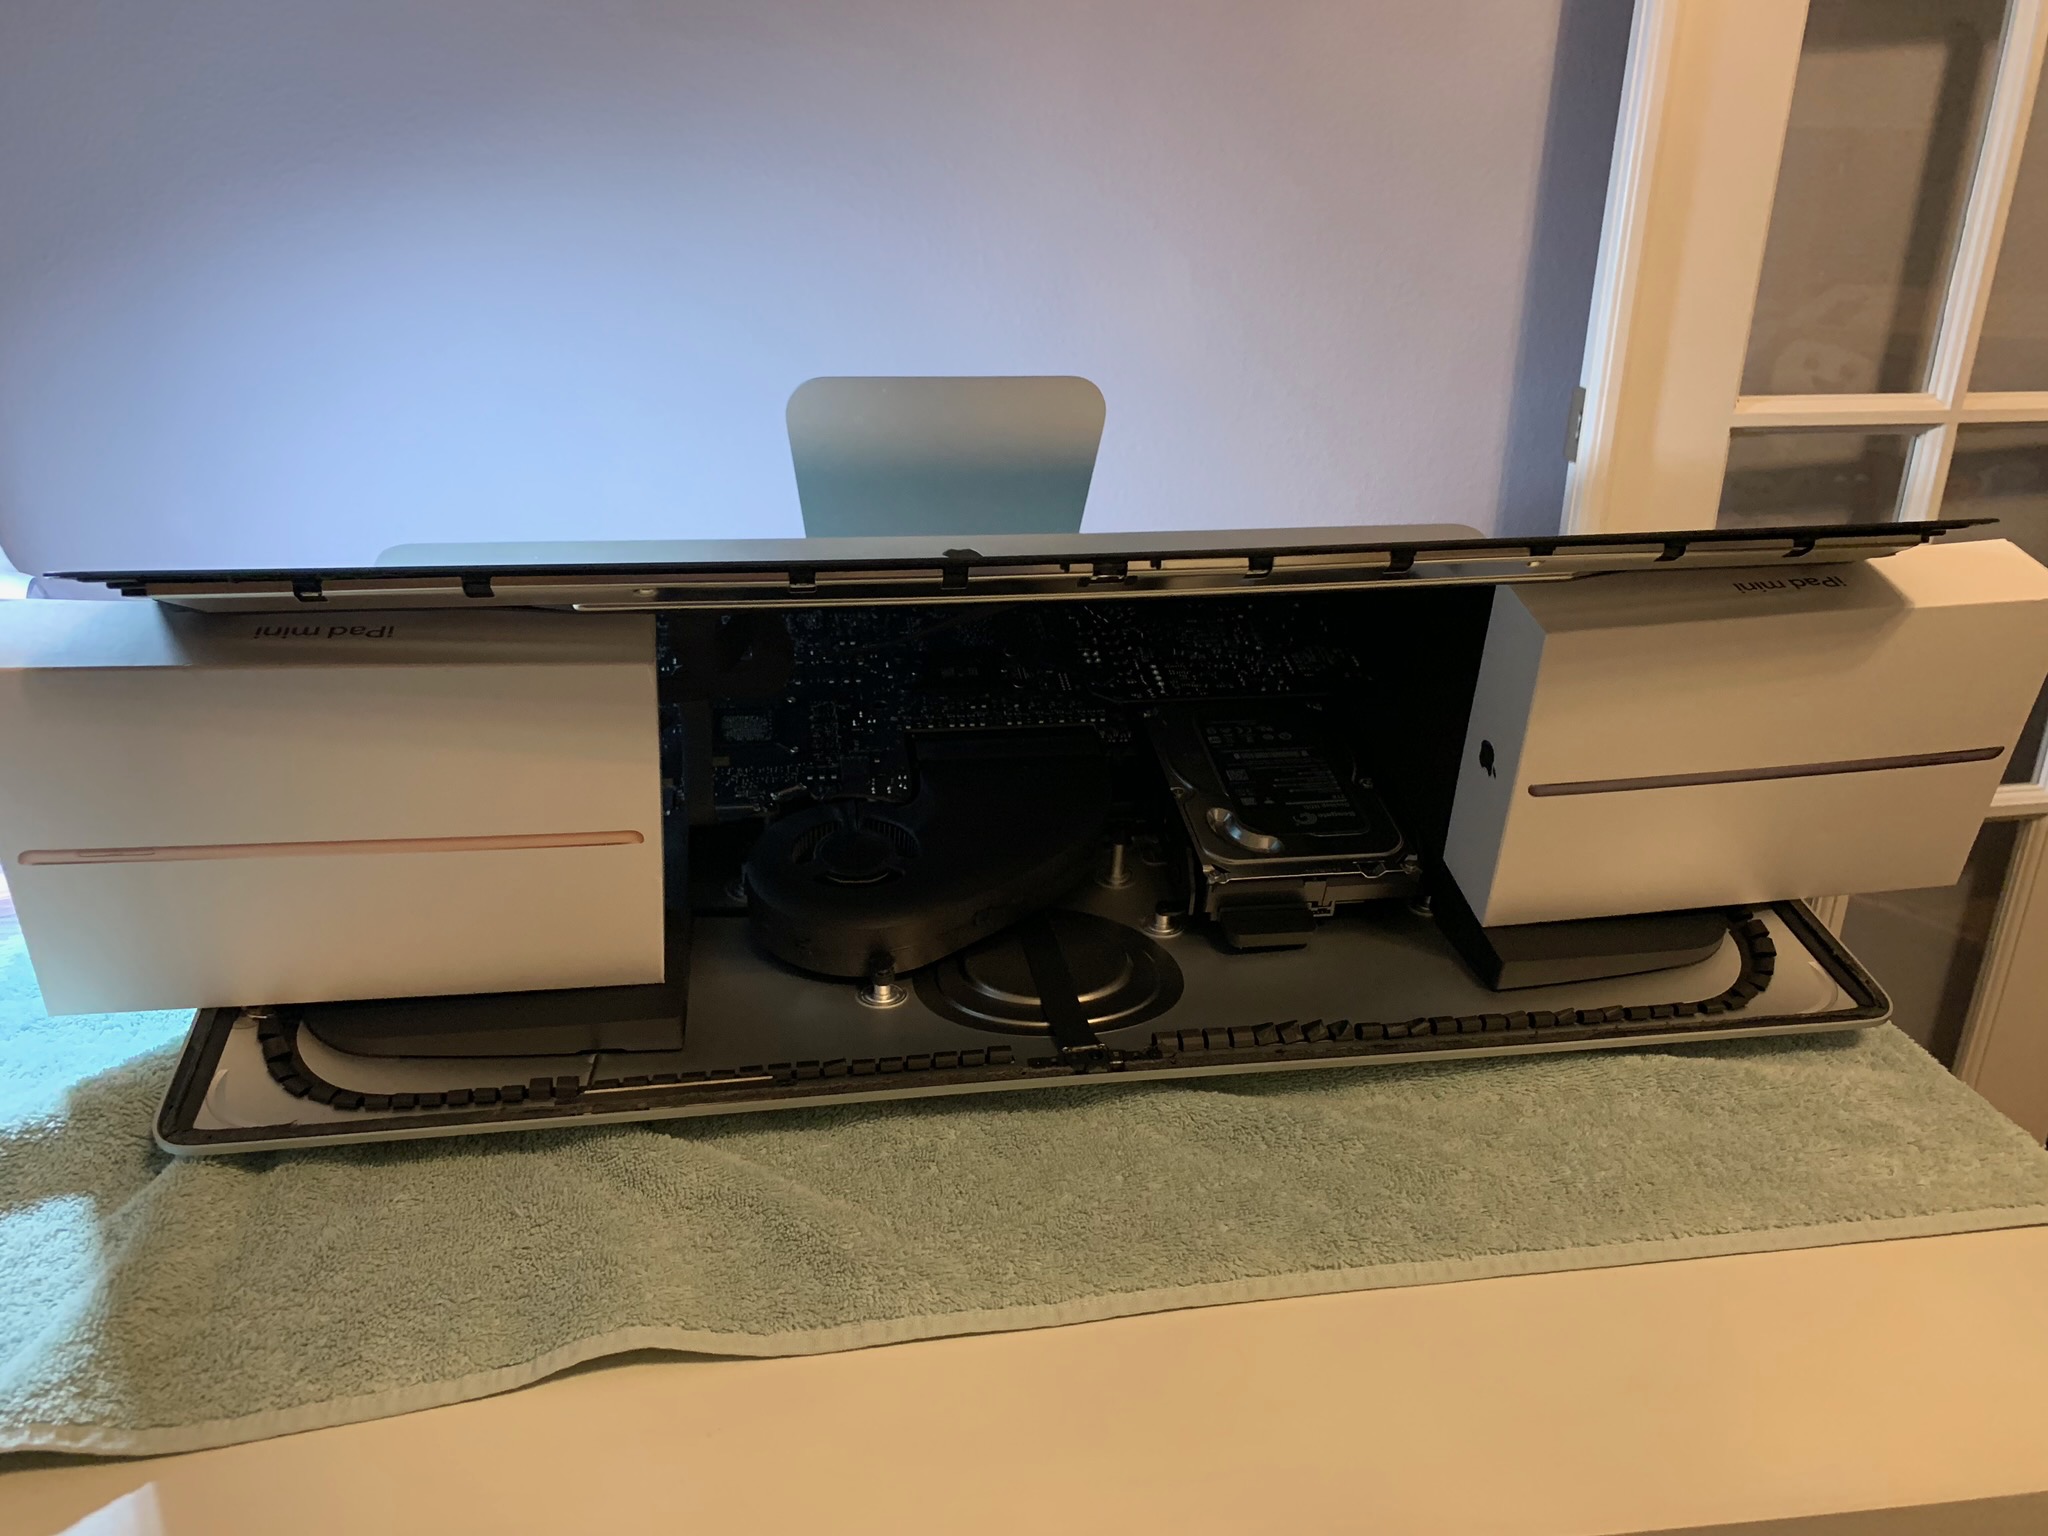
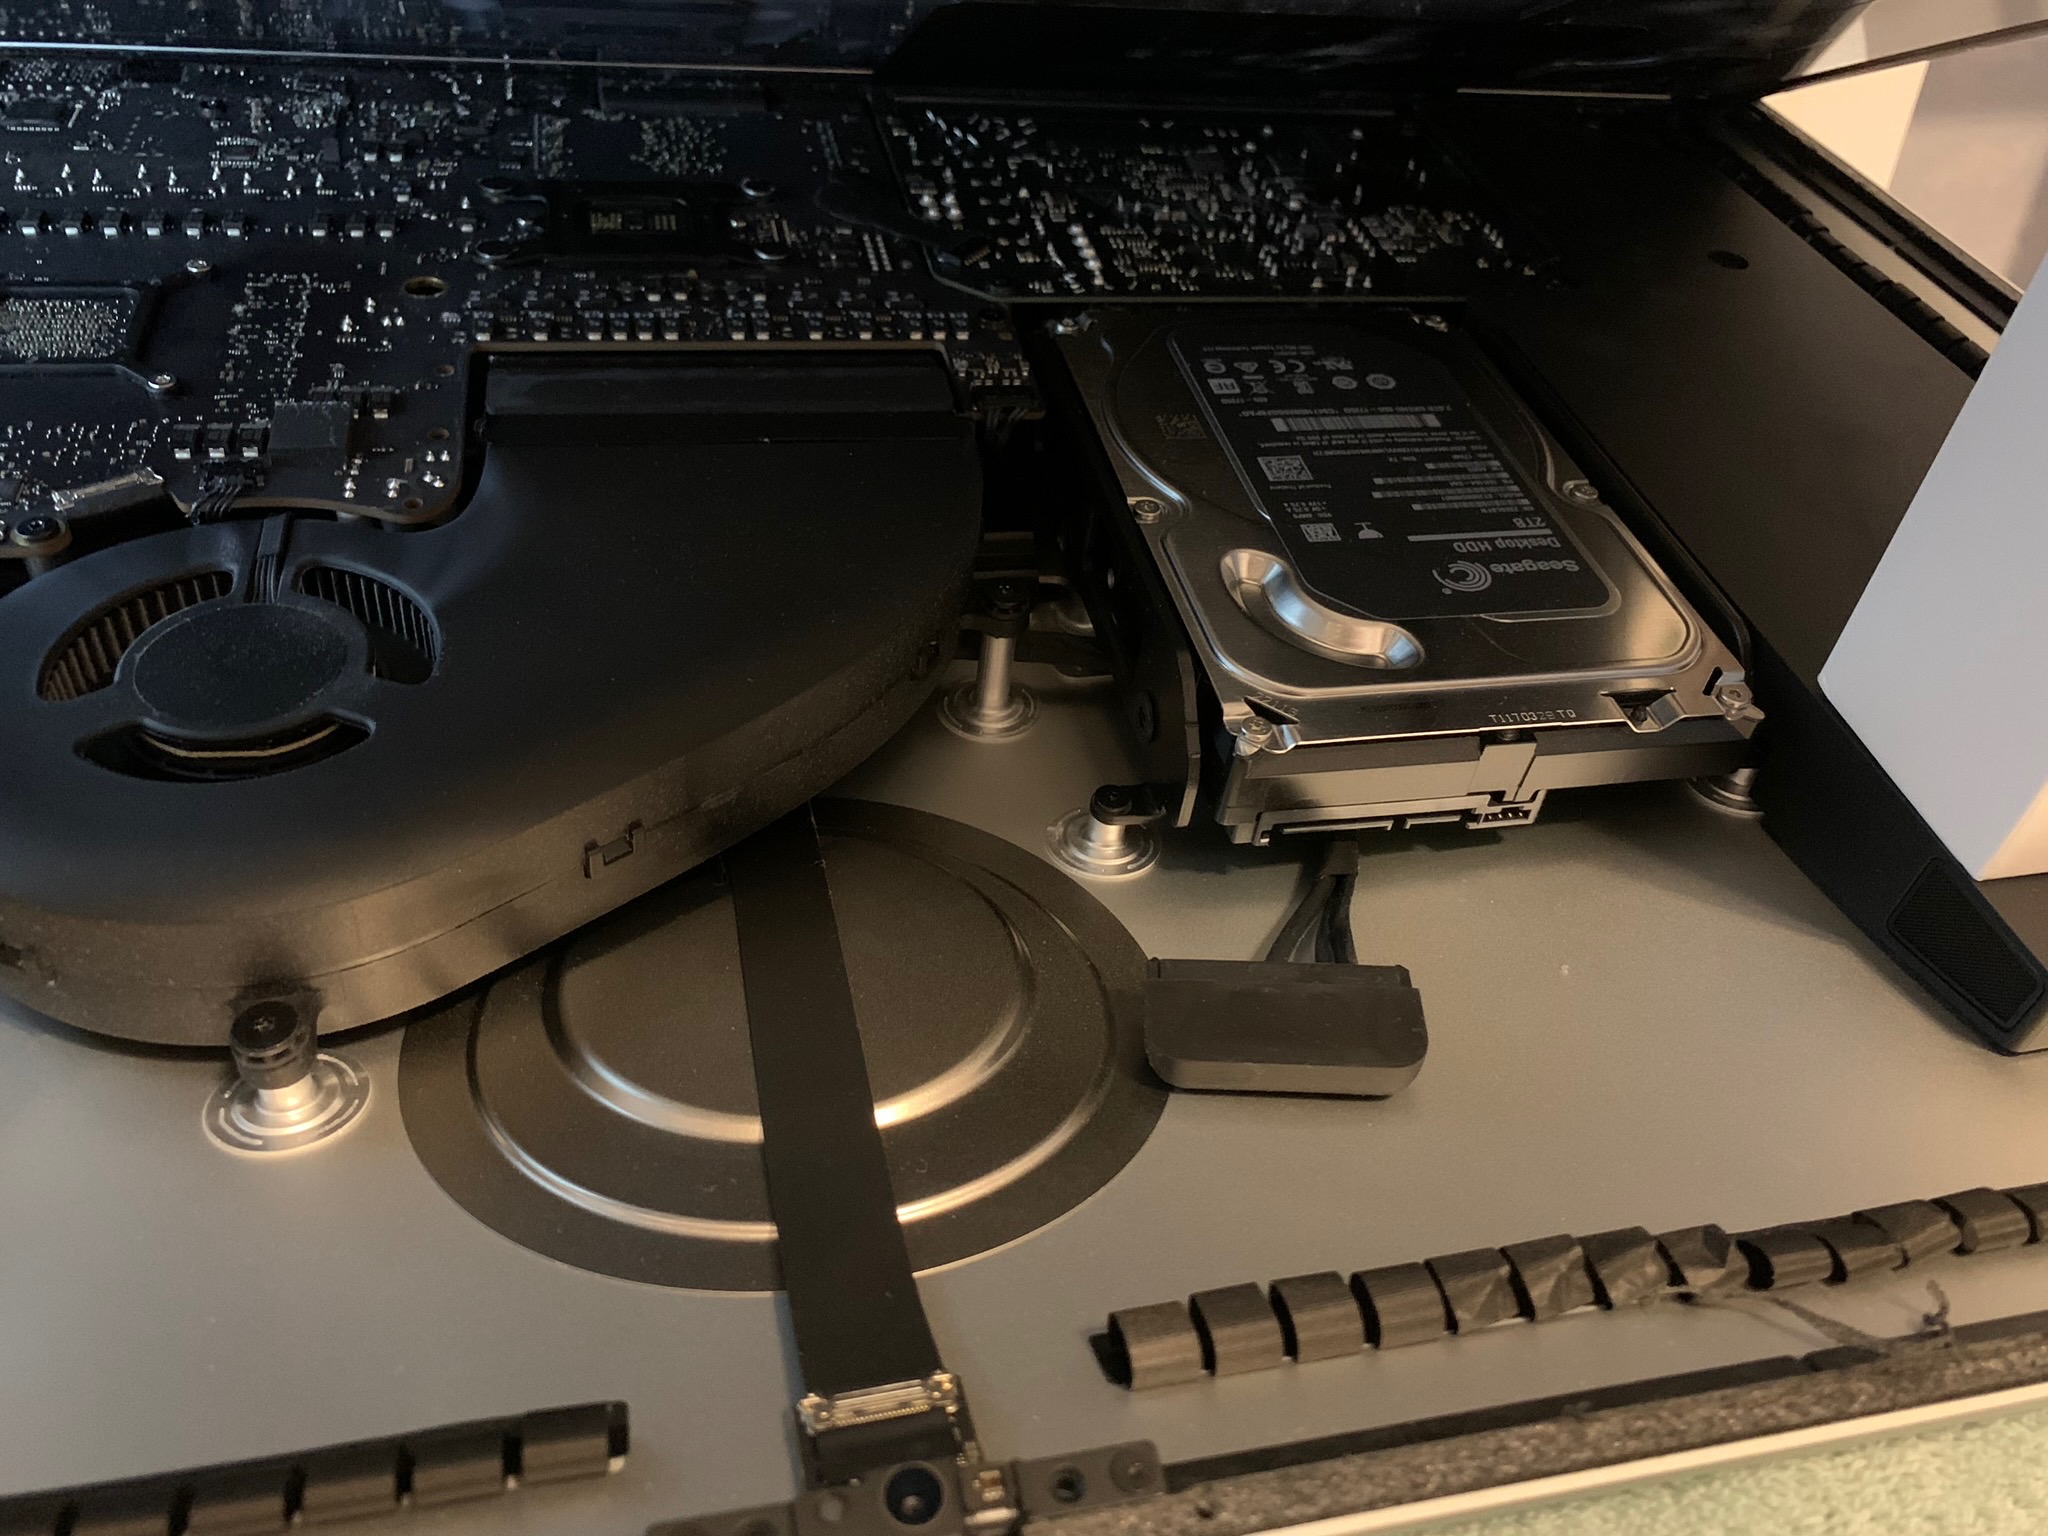
Step 5 – unplug old HDD

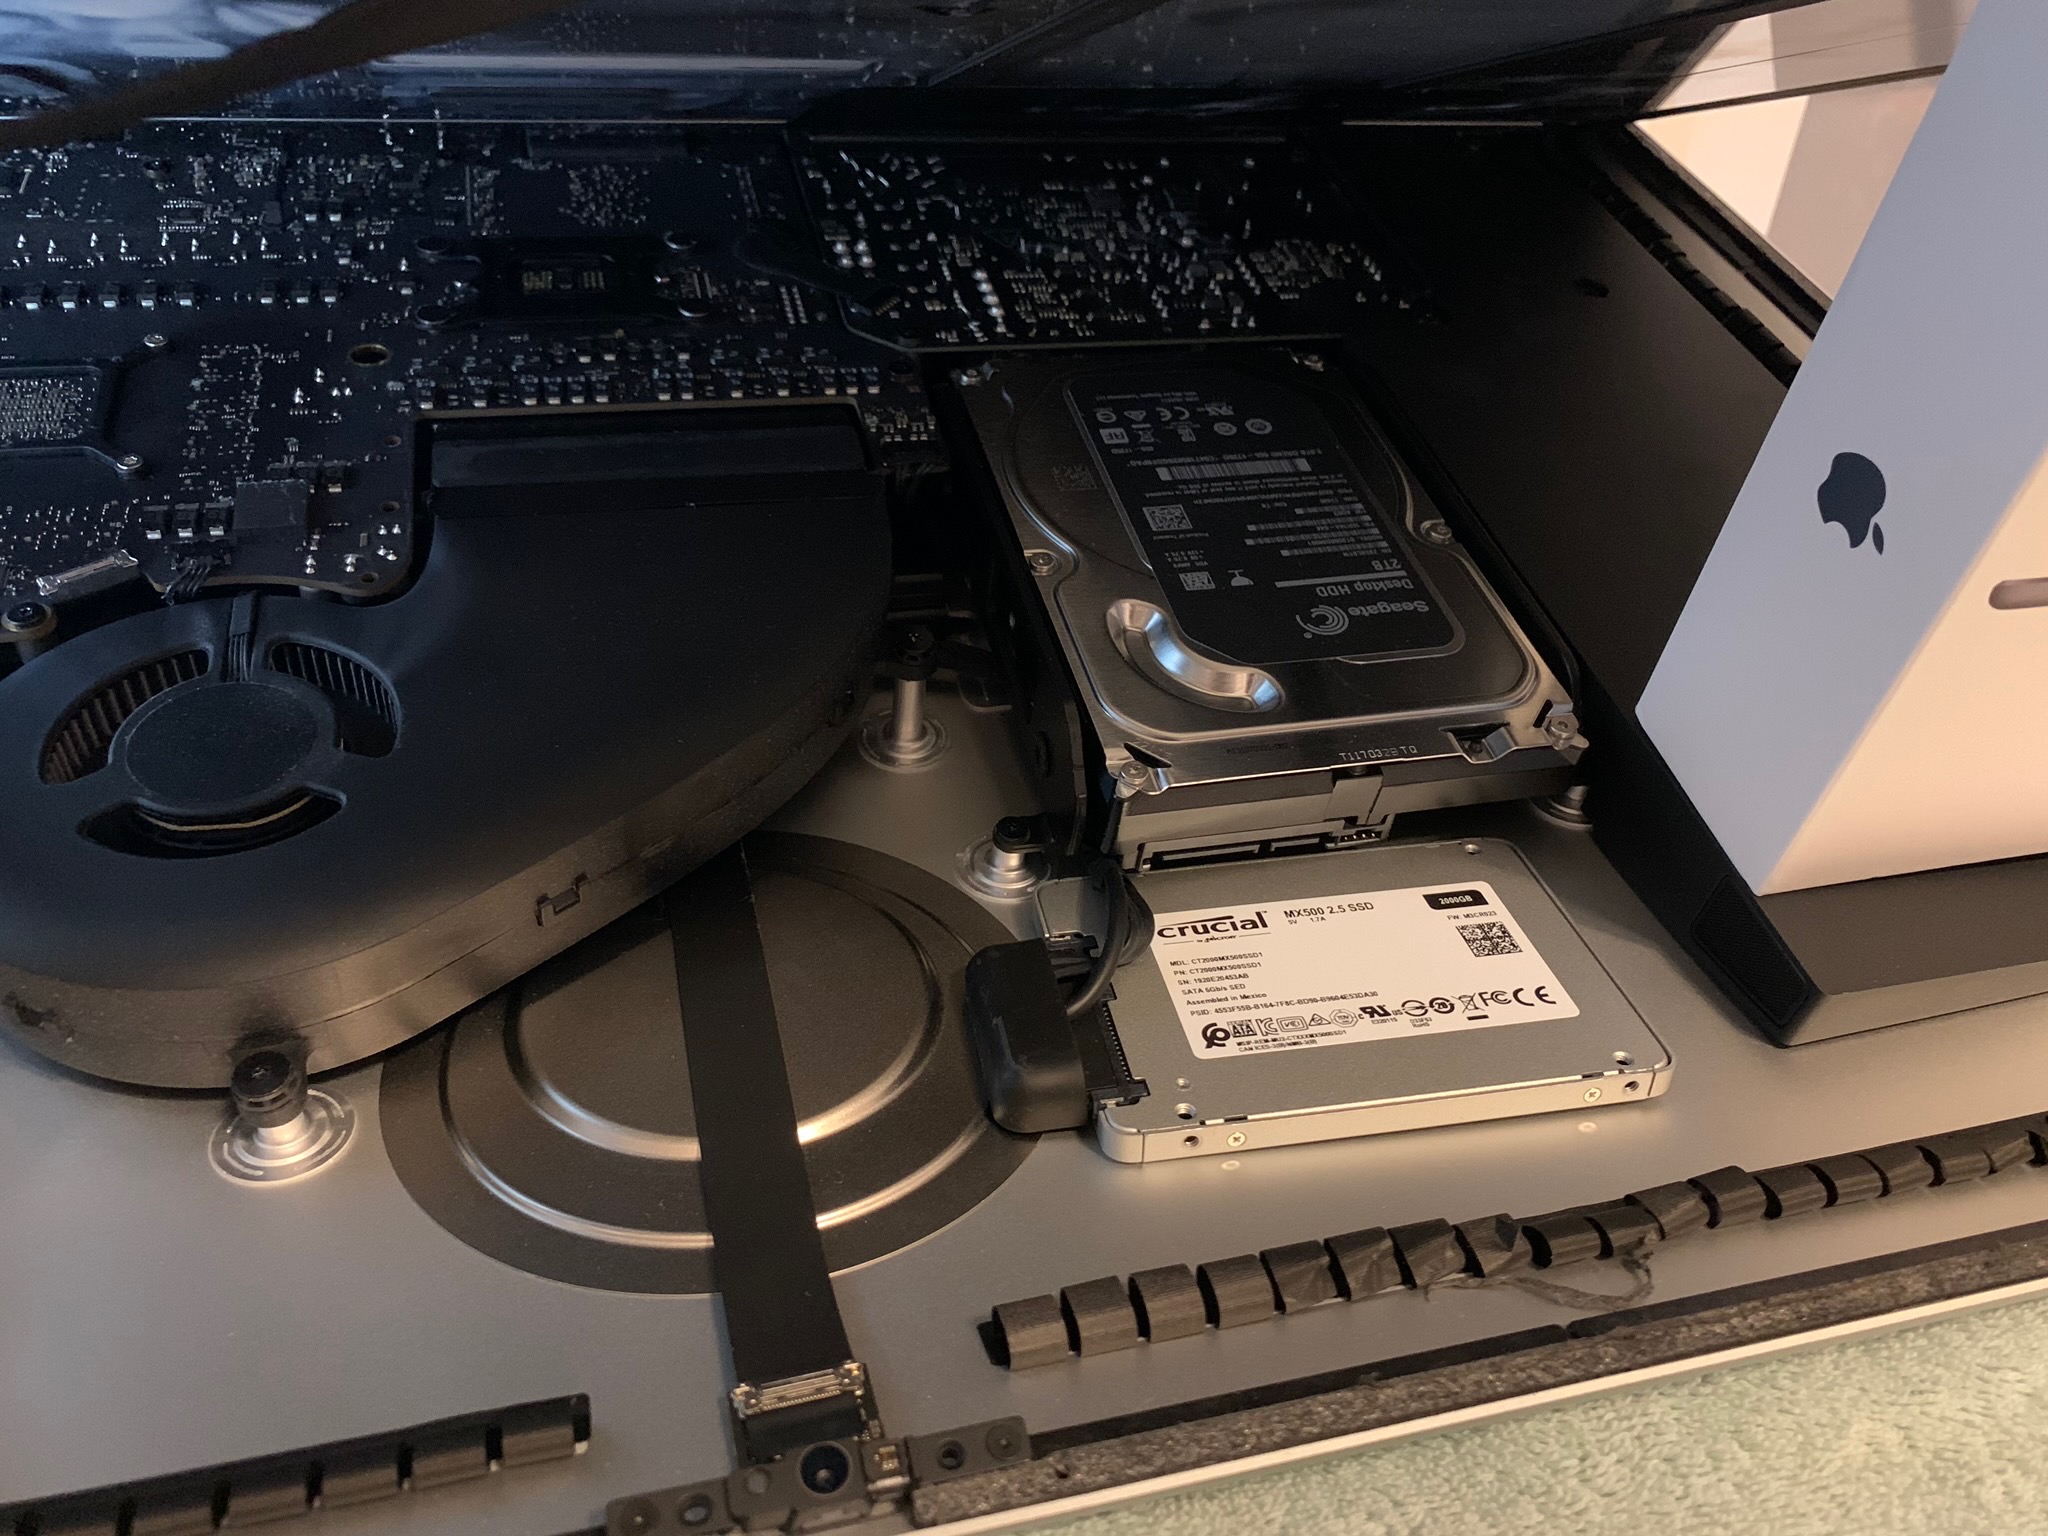
Step 6 – plug in new SSD

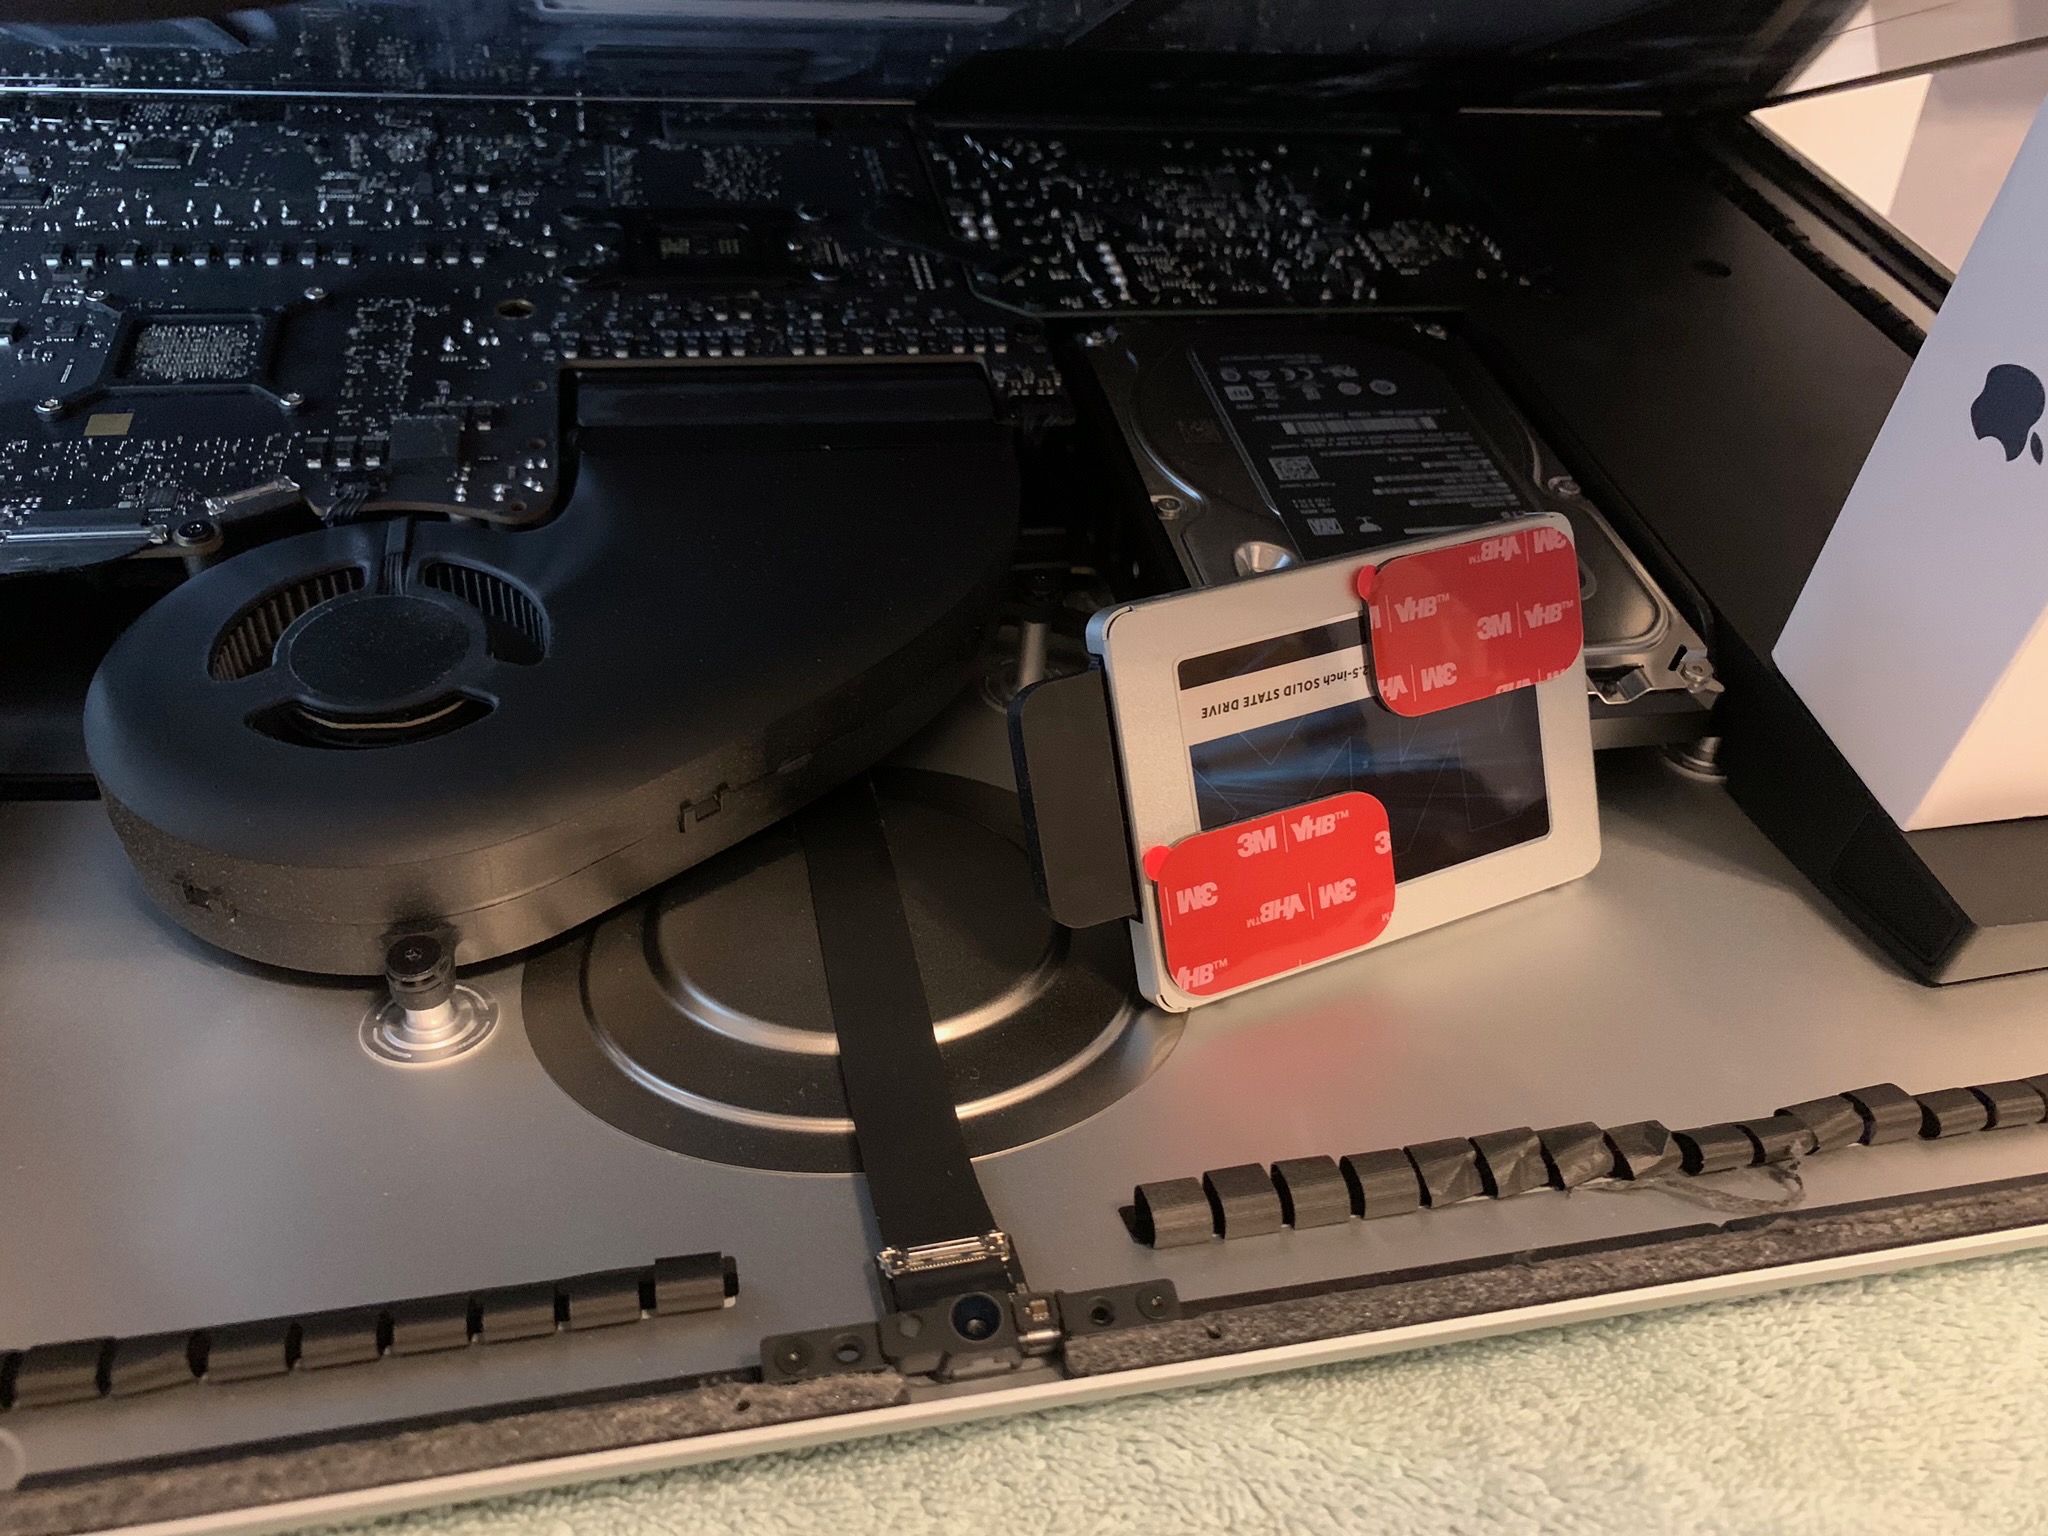
Step 7 – attach adhesive strips to SSD and stick to iMac wall, as near HDD as possible.  Slight angle is needed for opposite corners of SSD to touch curved wall.  I only put adhesive strips on opposite corners of the SSD.

Step 8 – move prop up boxes to inside the iMac so you can do the next step

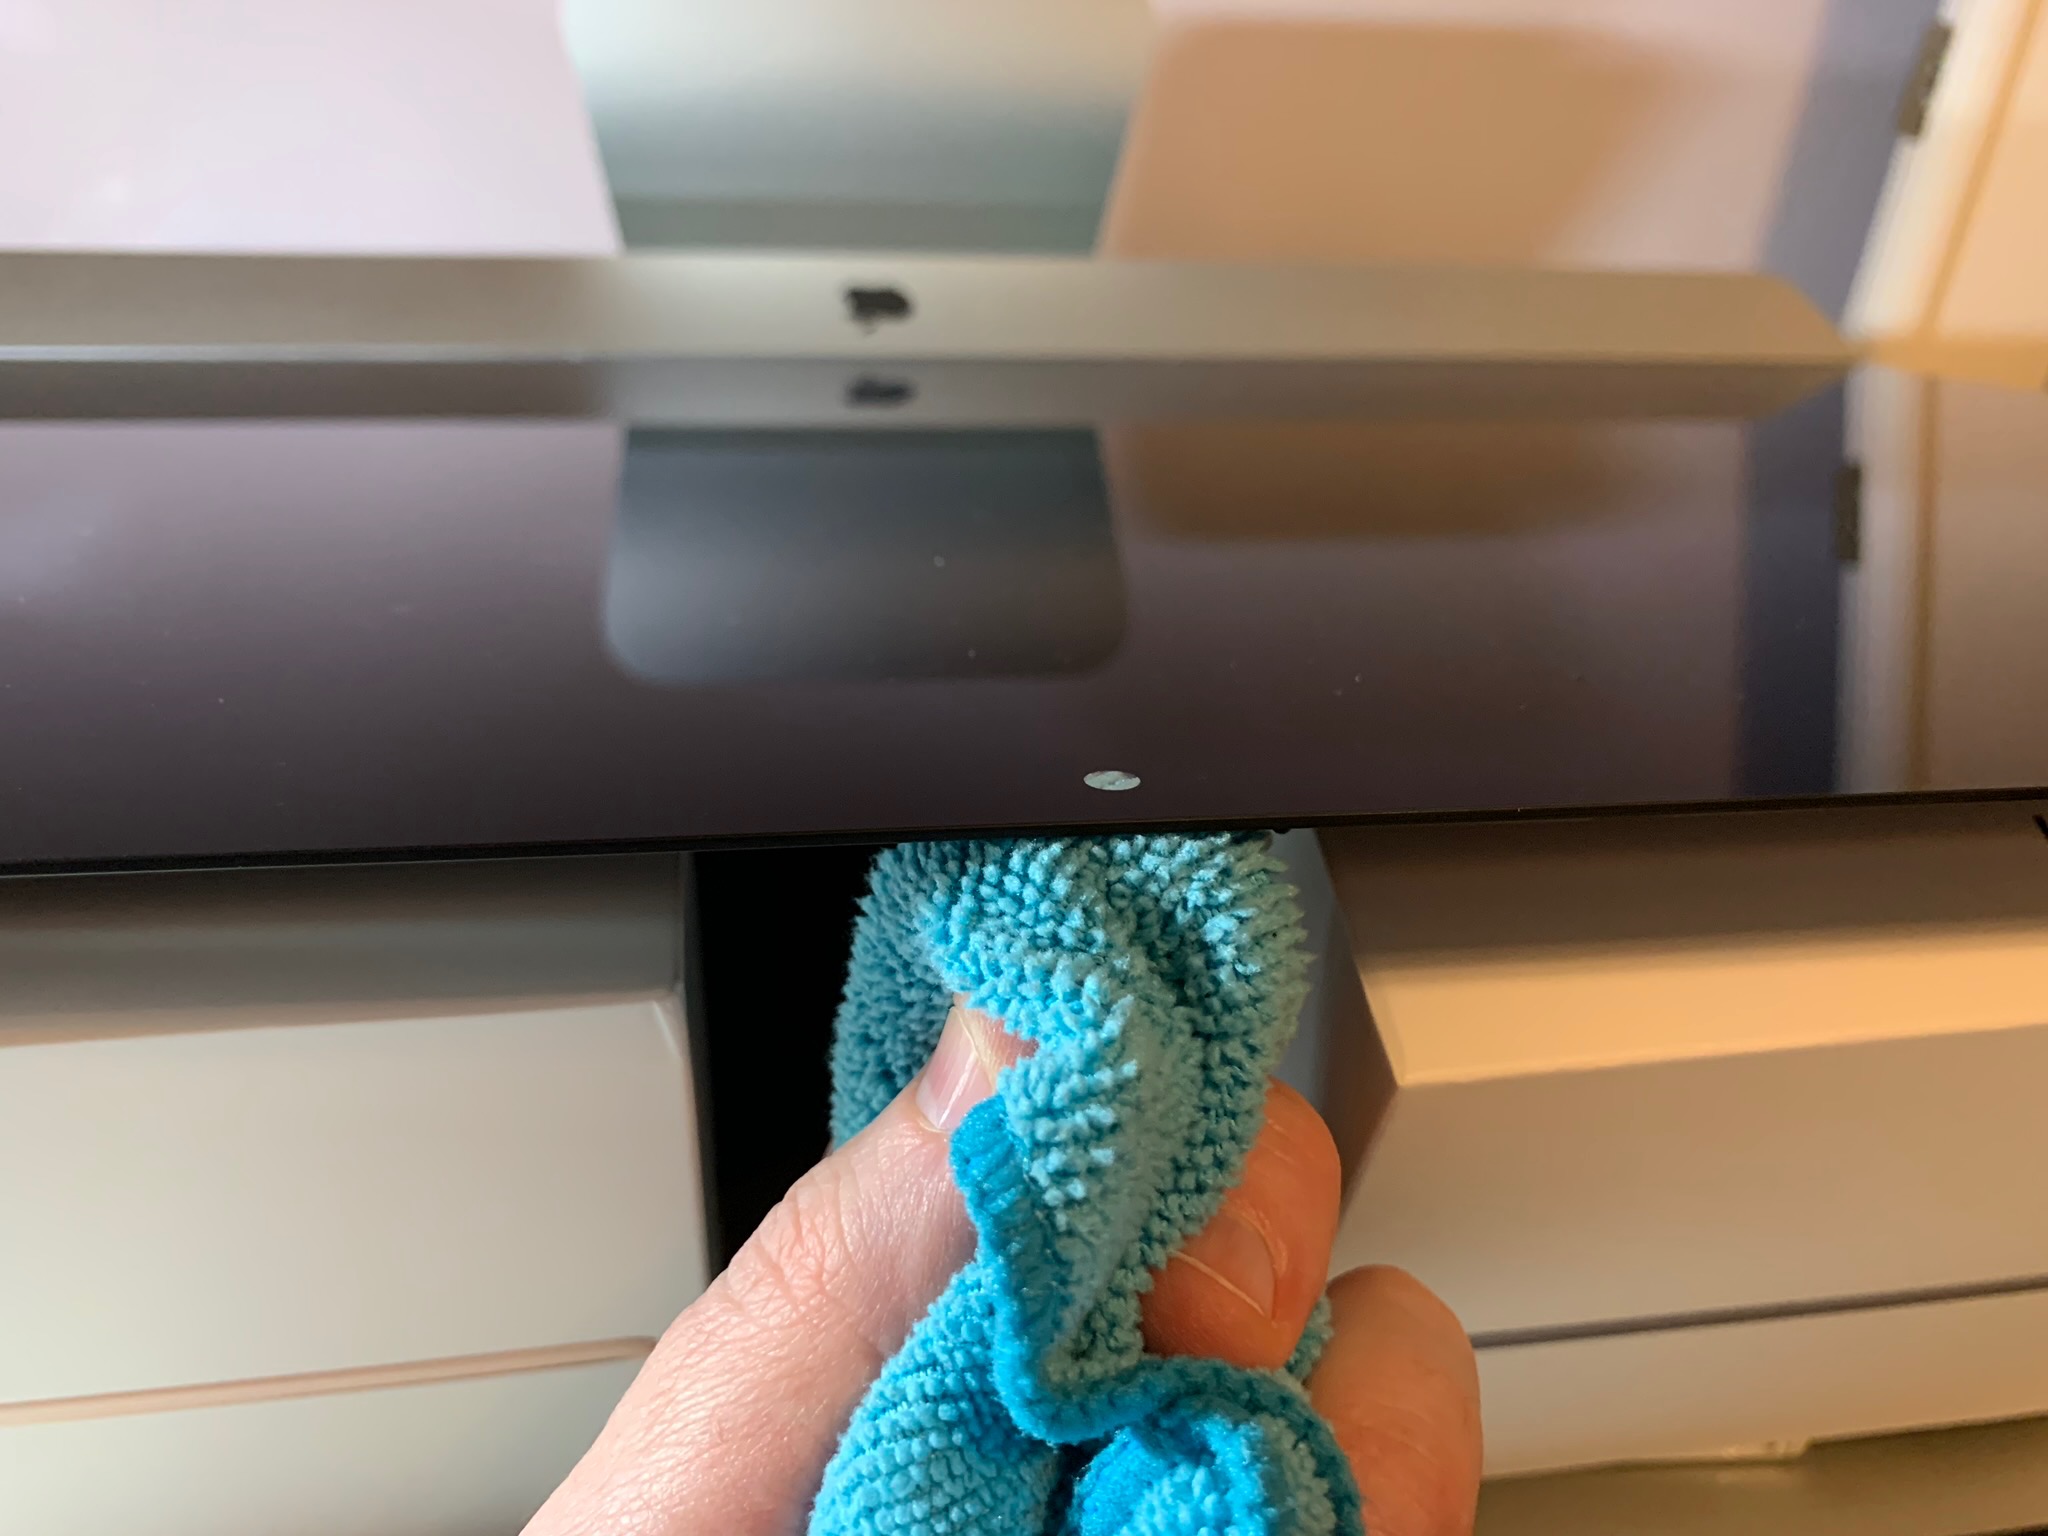
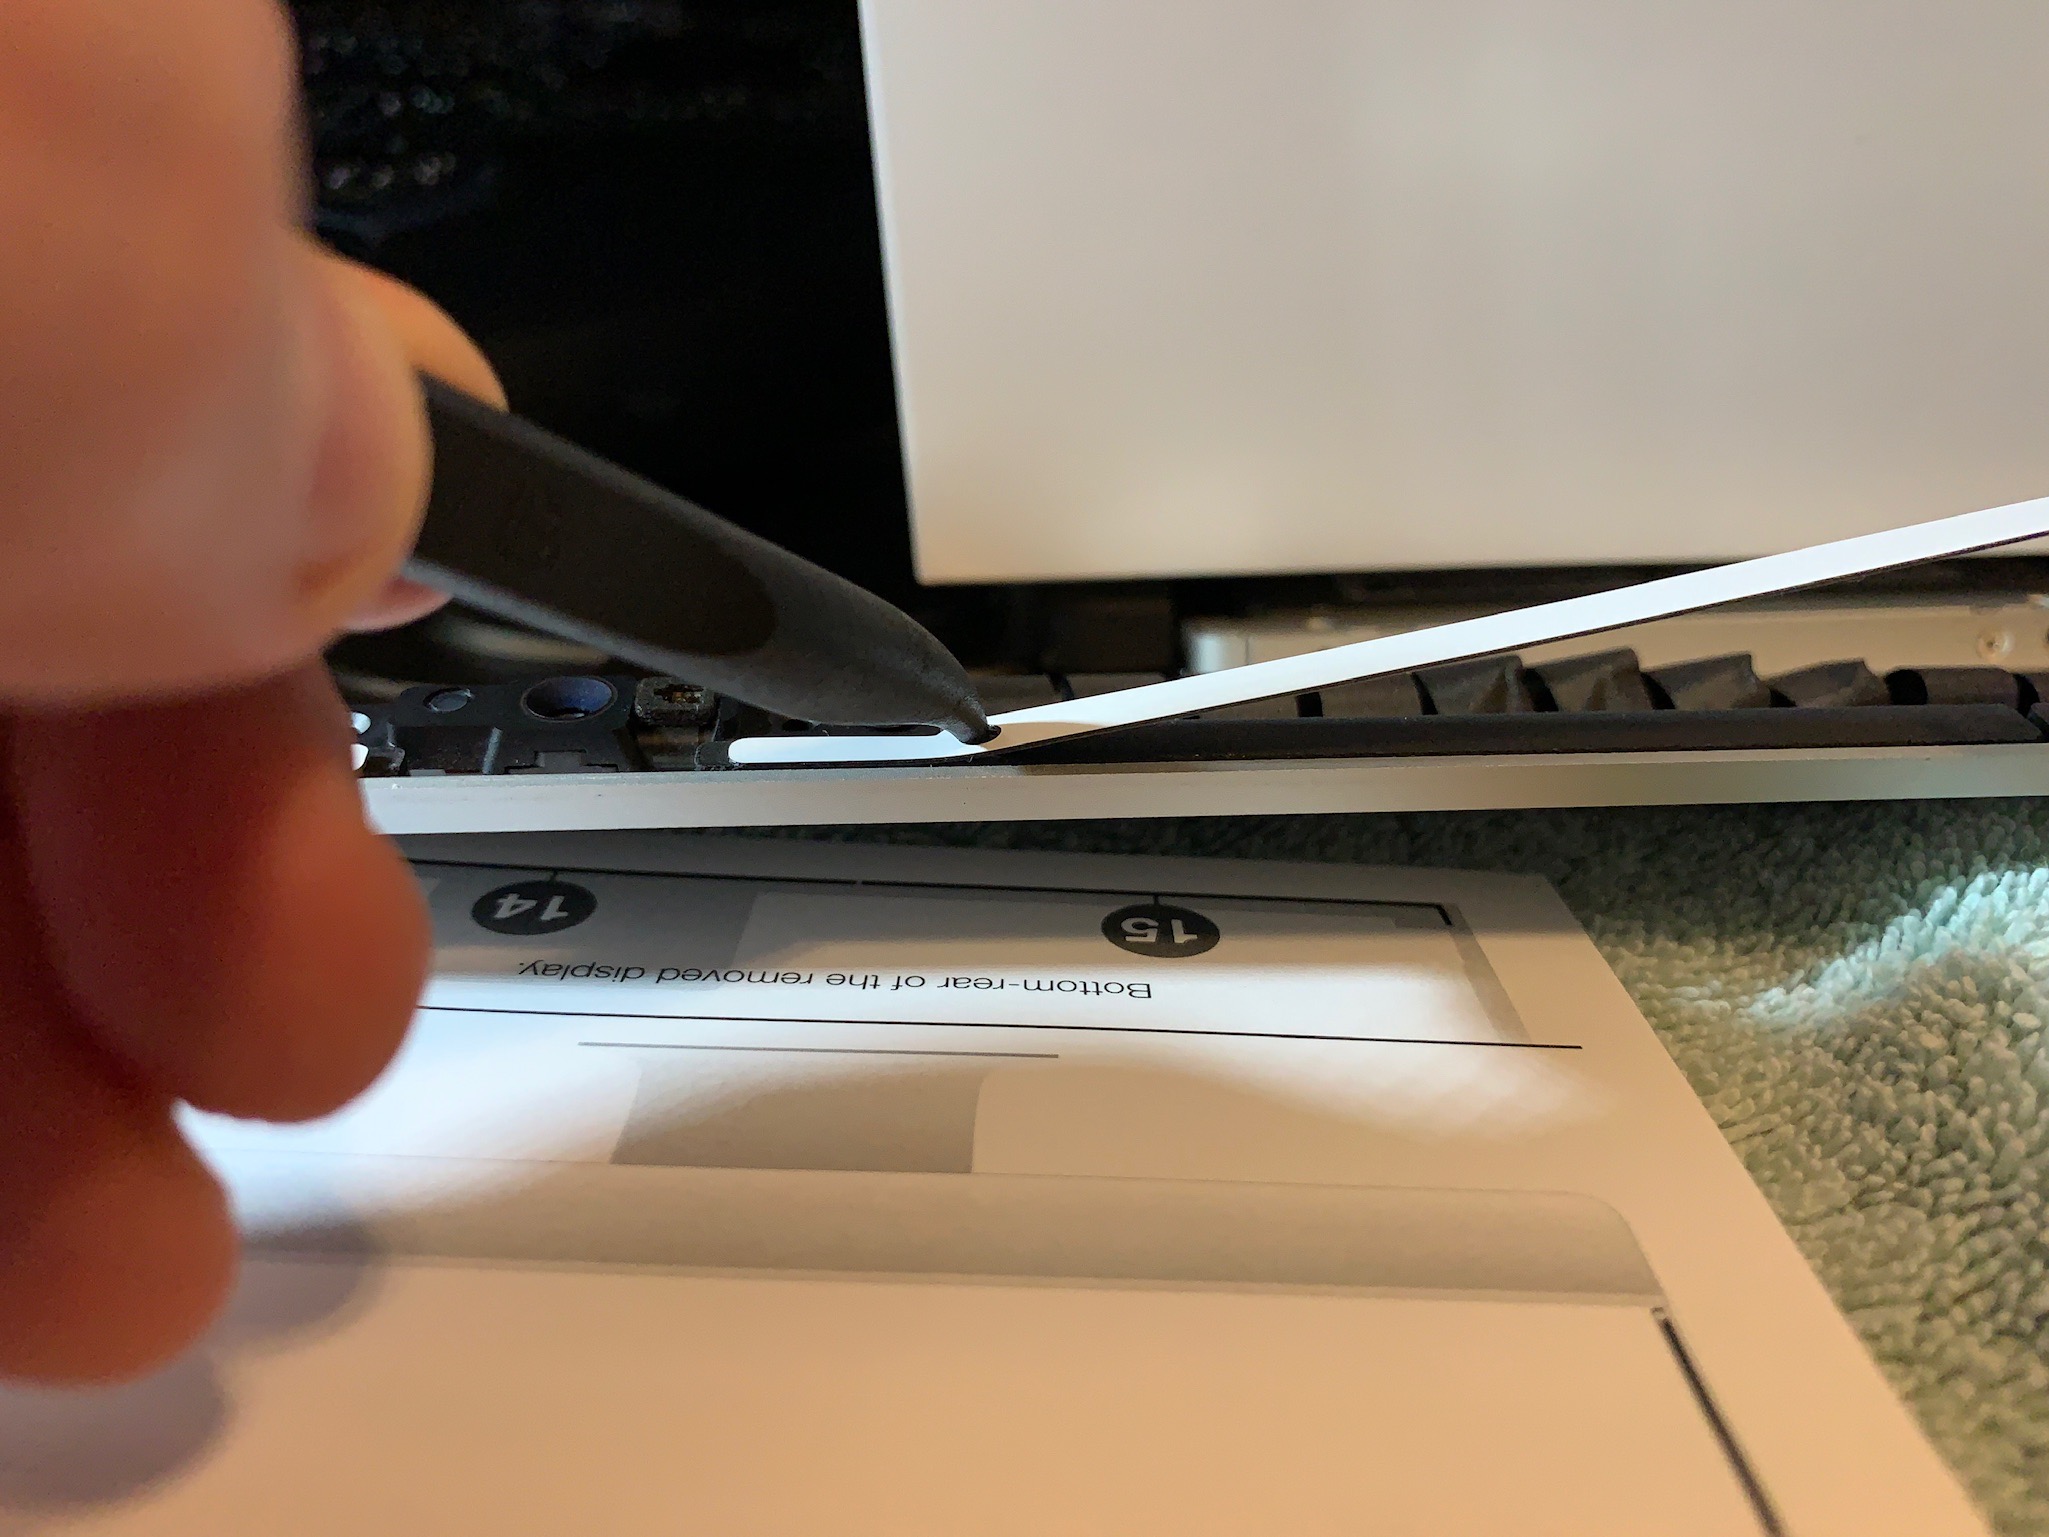
Step 9 – remove all adhesive that held screen in place (takes the most time)

Step 10 – use alcohol wipes to clean up where the strips go

Step 11 – apply new strips

Step 12 – lower screen back down to adhere to new adhesive strips

Step 13 – Boot up iMac and begin post install steps

Post Install Setup Steps (colons refer to terminal commands)

Step 14 – Boot off macOS usb drive by holding down Option

Step 15 – Launch Terminal from top menus

Step 16 -: diskutil list (to determine the names of the old internal SSD and new added SSD)

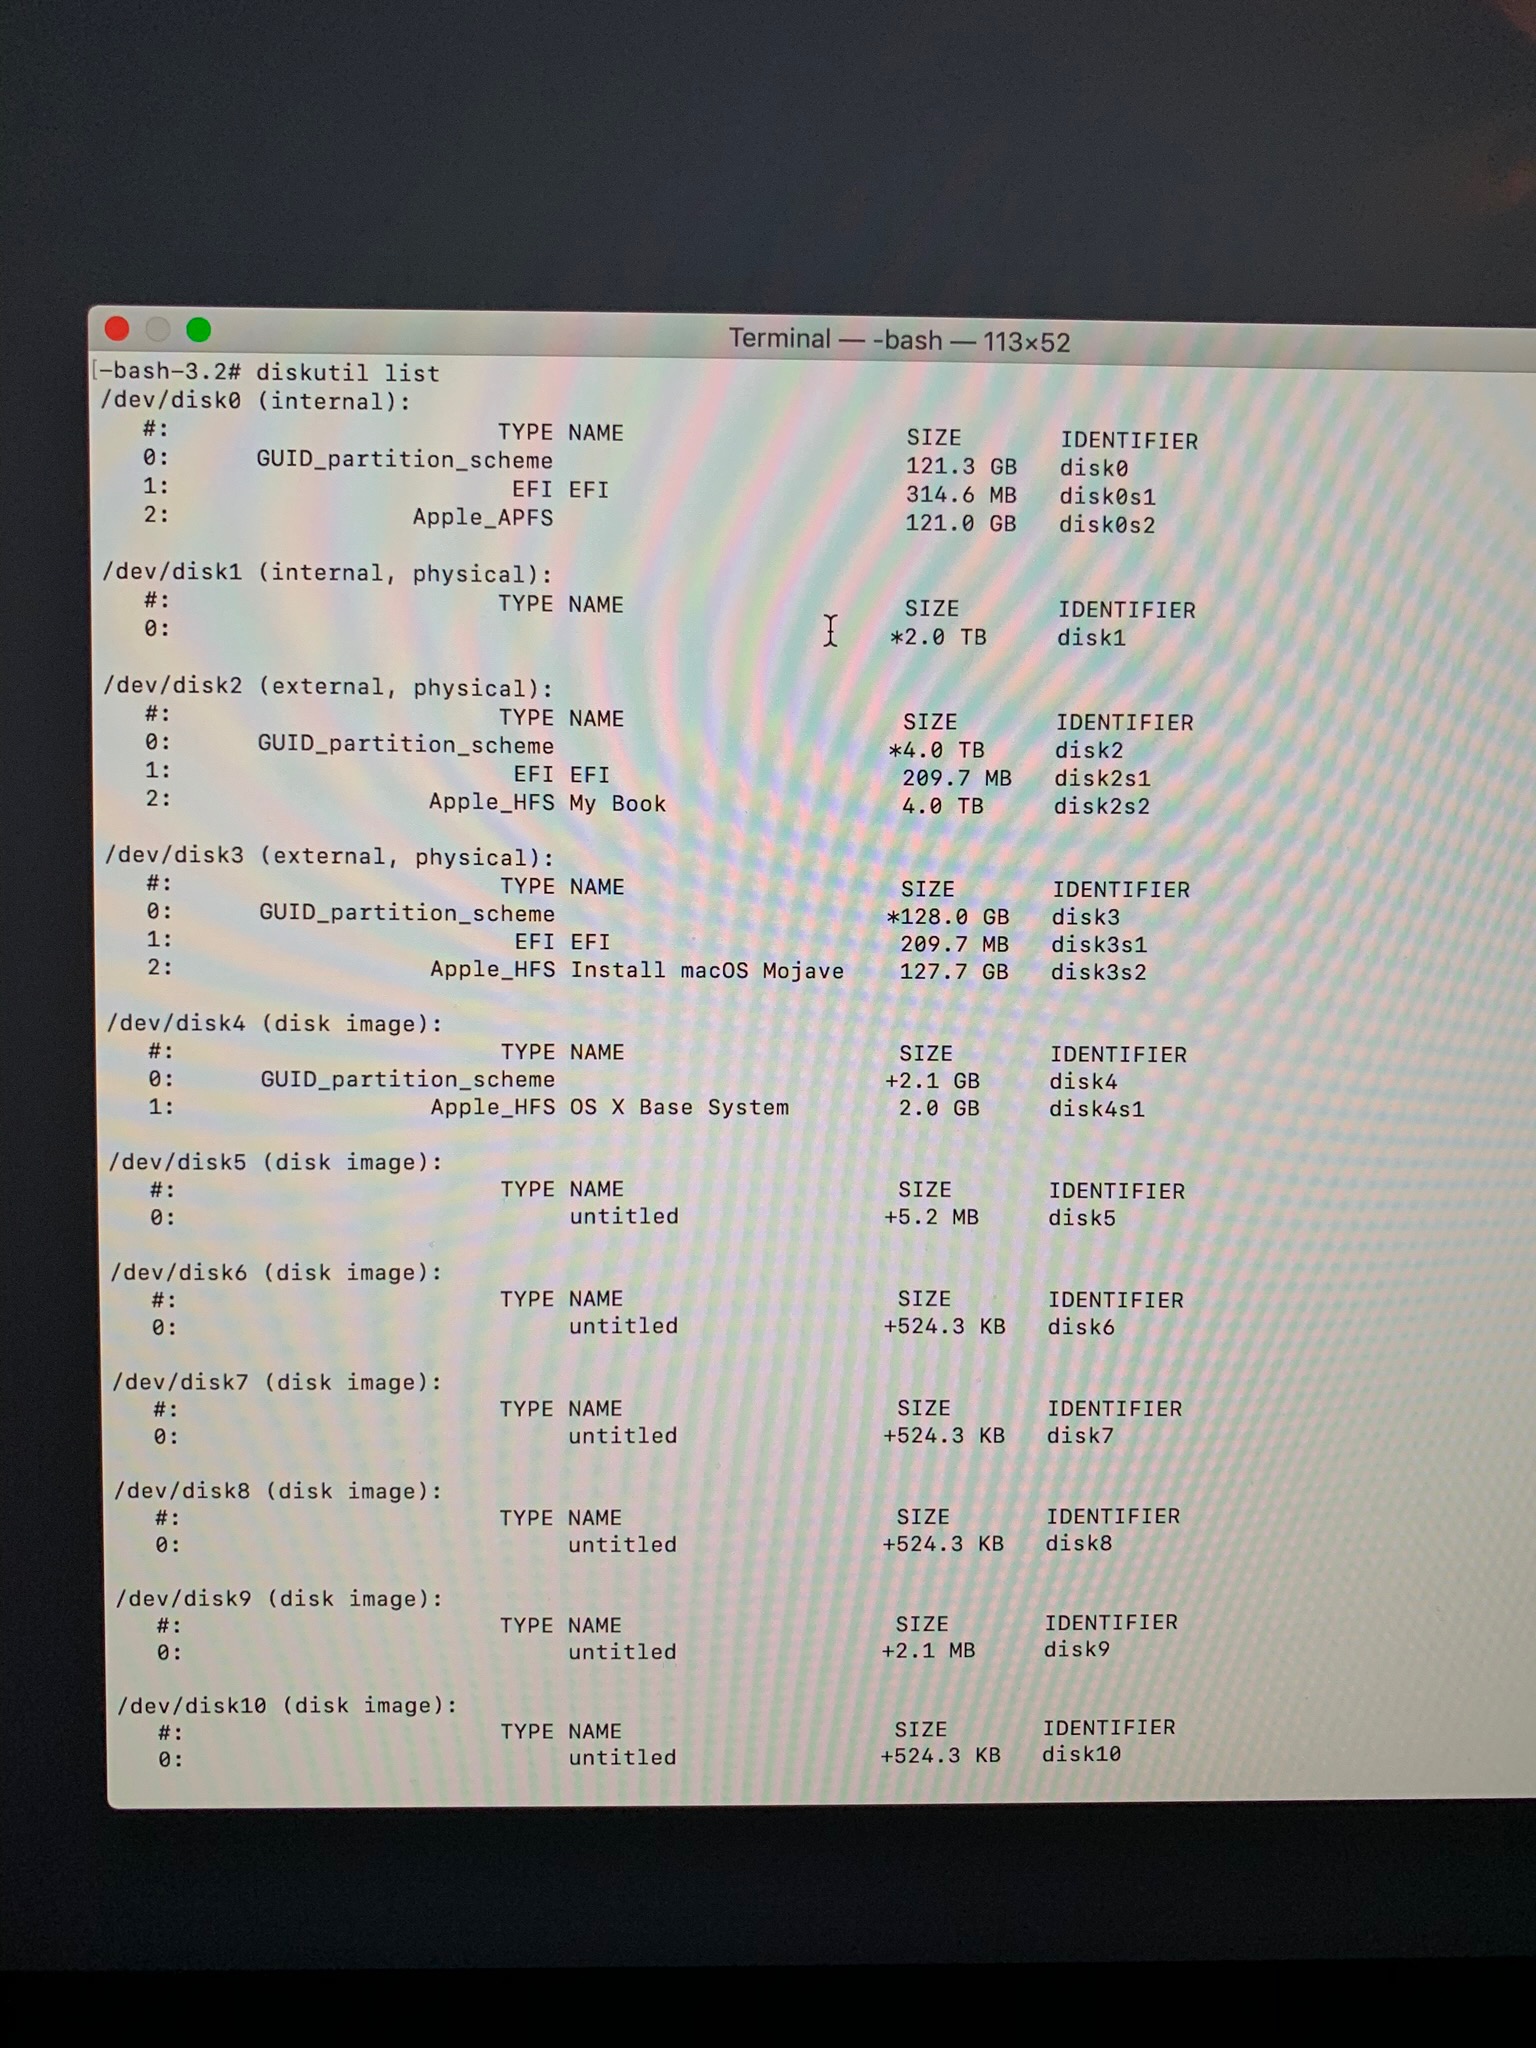
Step 17 -: diskutil coreStorage create fusion /dev/disk1s1 /dev/disk0s1 (where disk1s is the faster internal SSD and disk0s1 is the new SSD

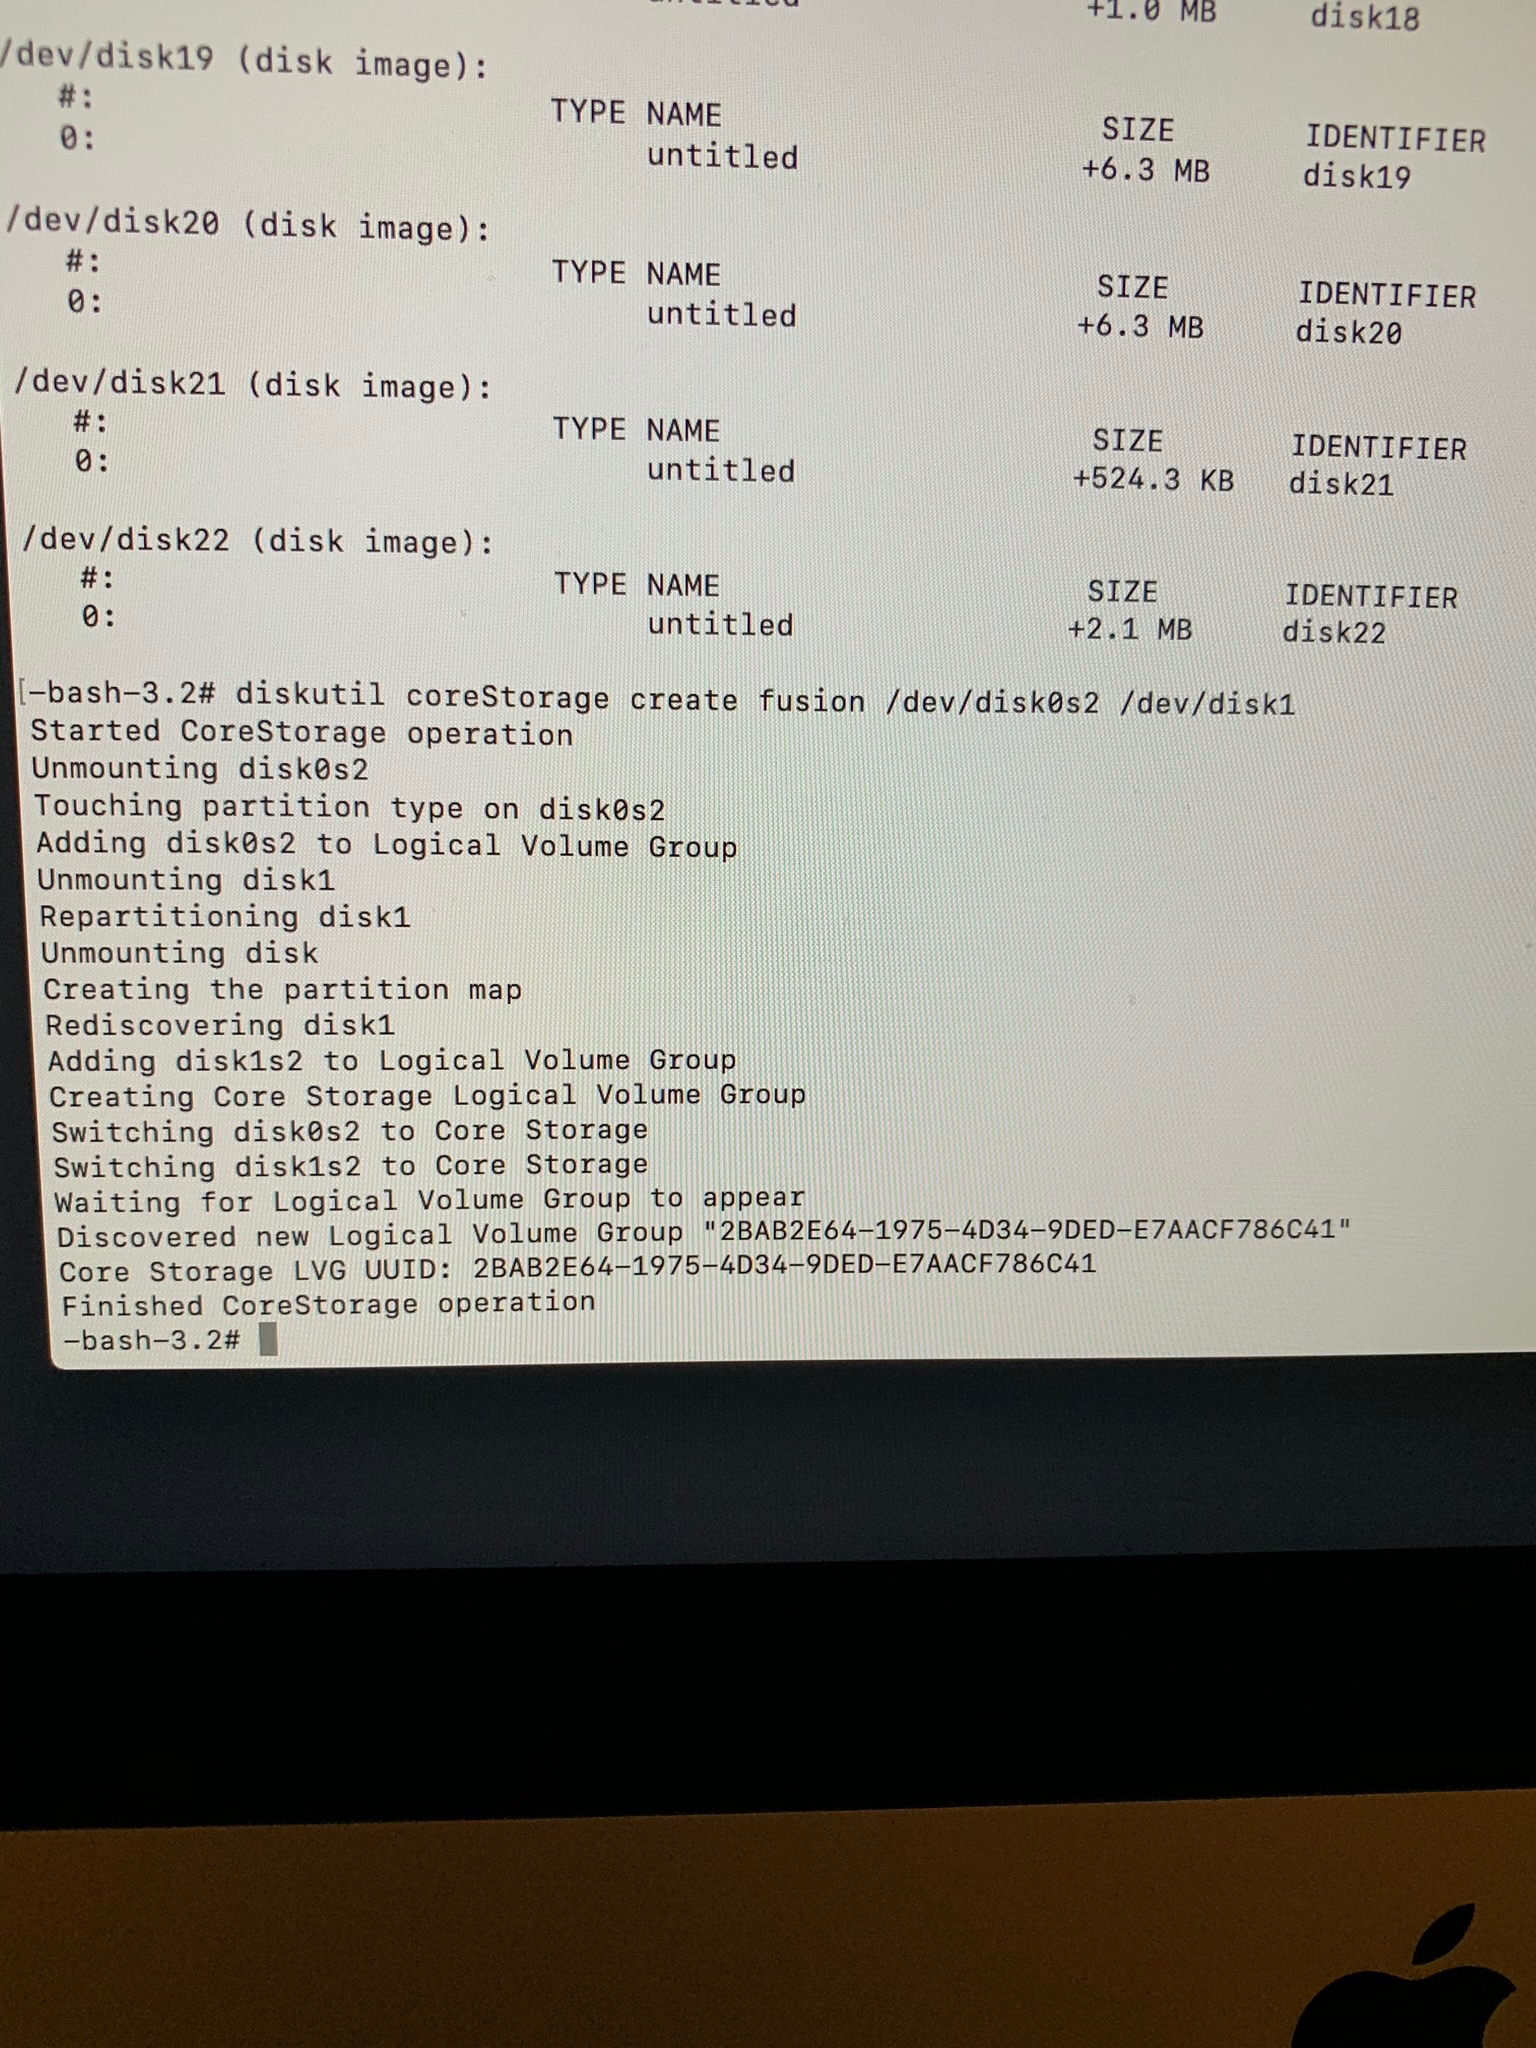
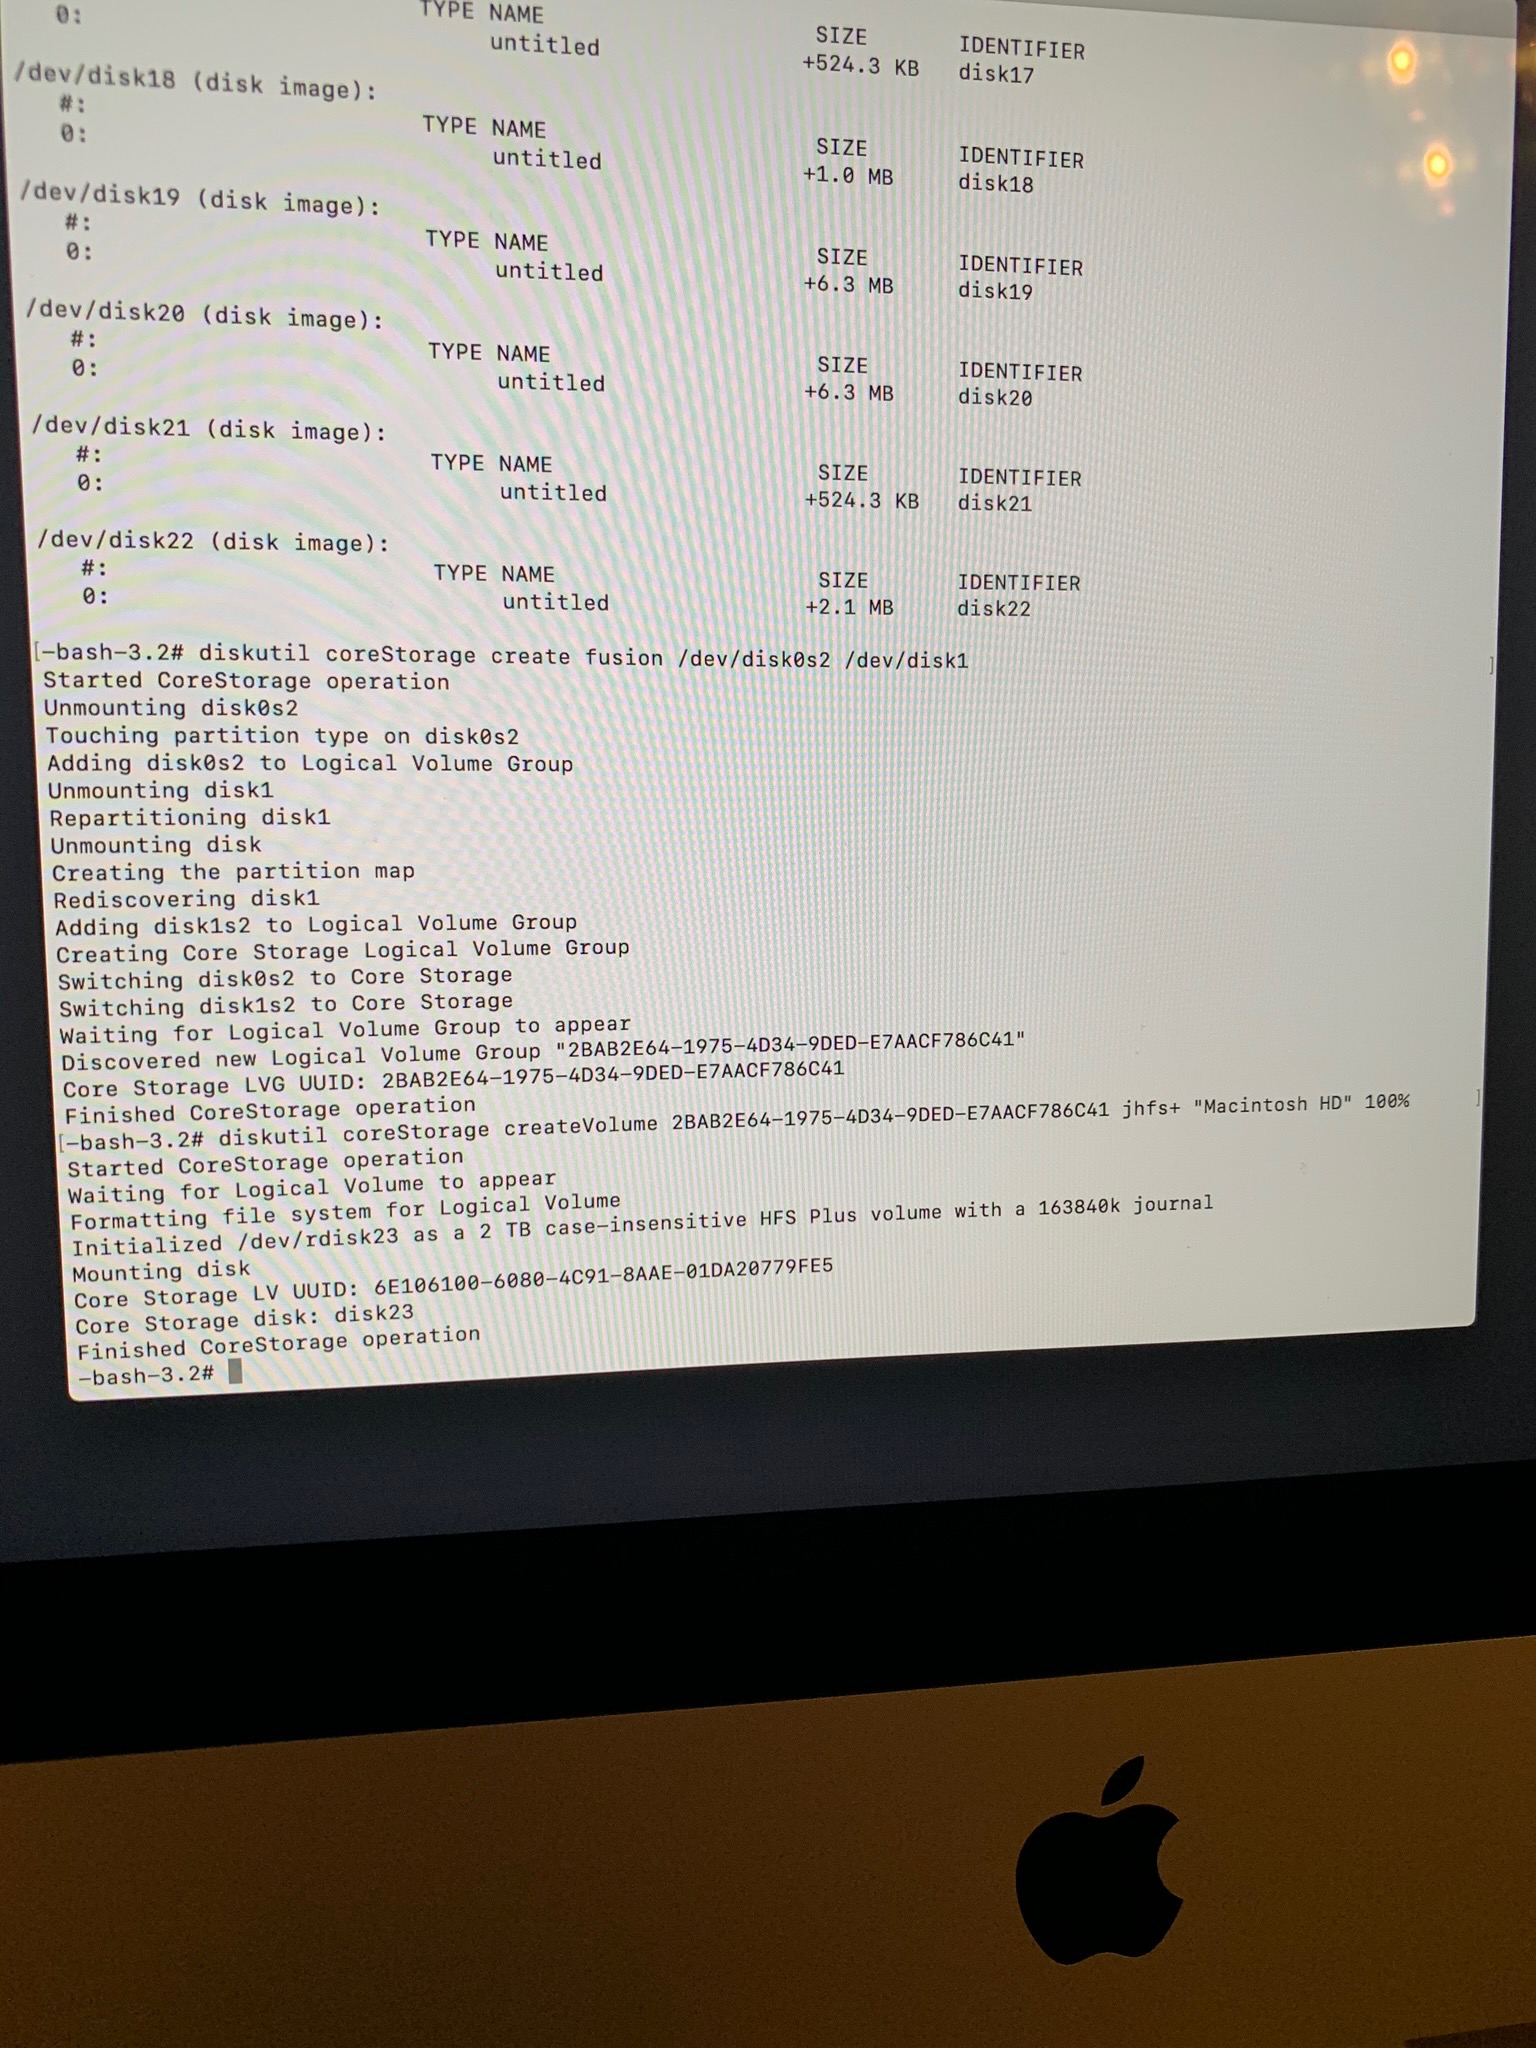
Step 18 – a unique UUID will be displayed identifying the new volume group.  Copy this to clipboard.

Step 19 -: disktuil coreStorage createVolume UUID-FROM-PREV-STEP jhfs+ “Macintosh HD” 100% (This note is likely changing those quotes to evil quotes, you’ll want to type this up with non-evil quotes so a reader can copy them)

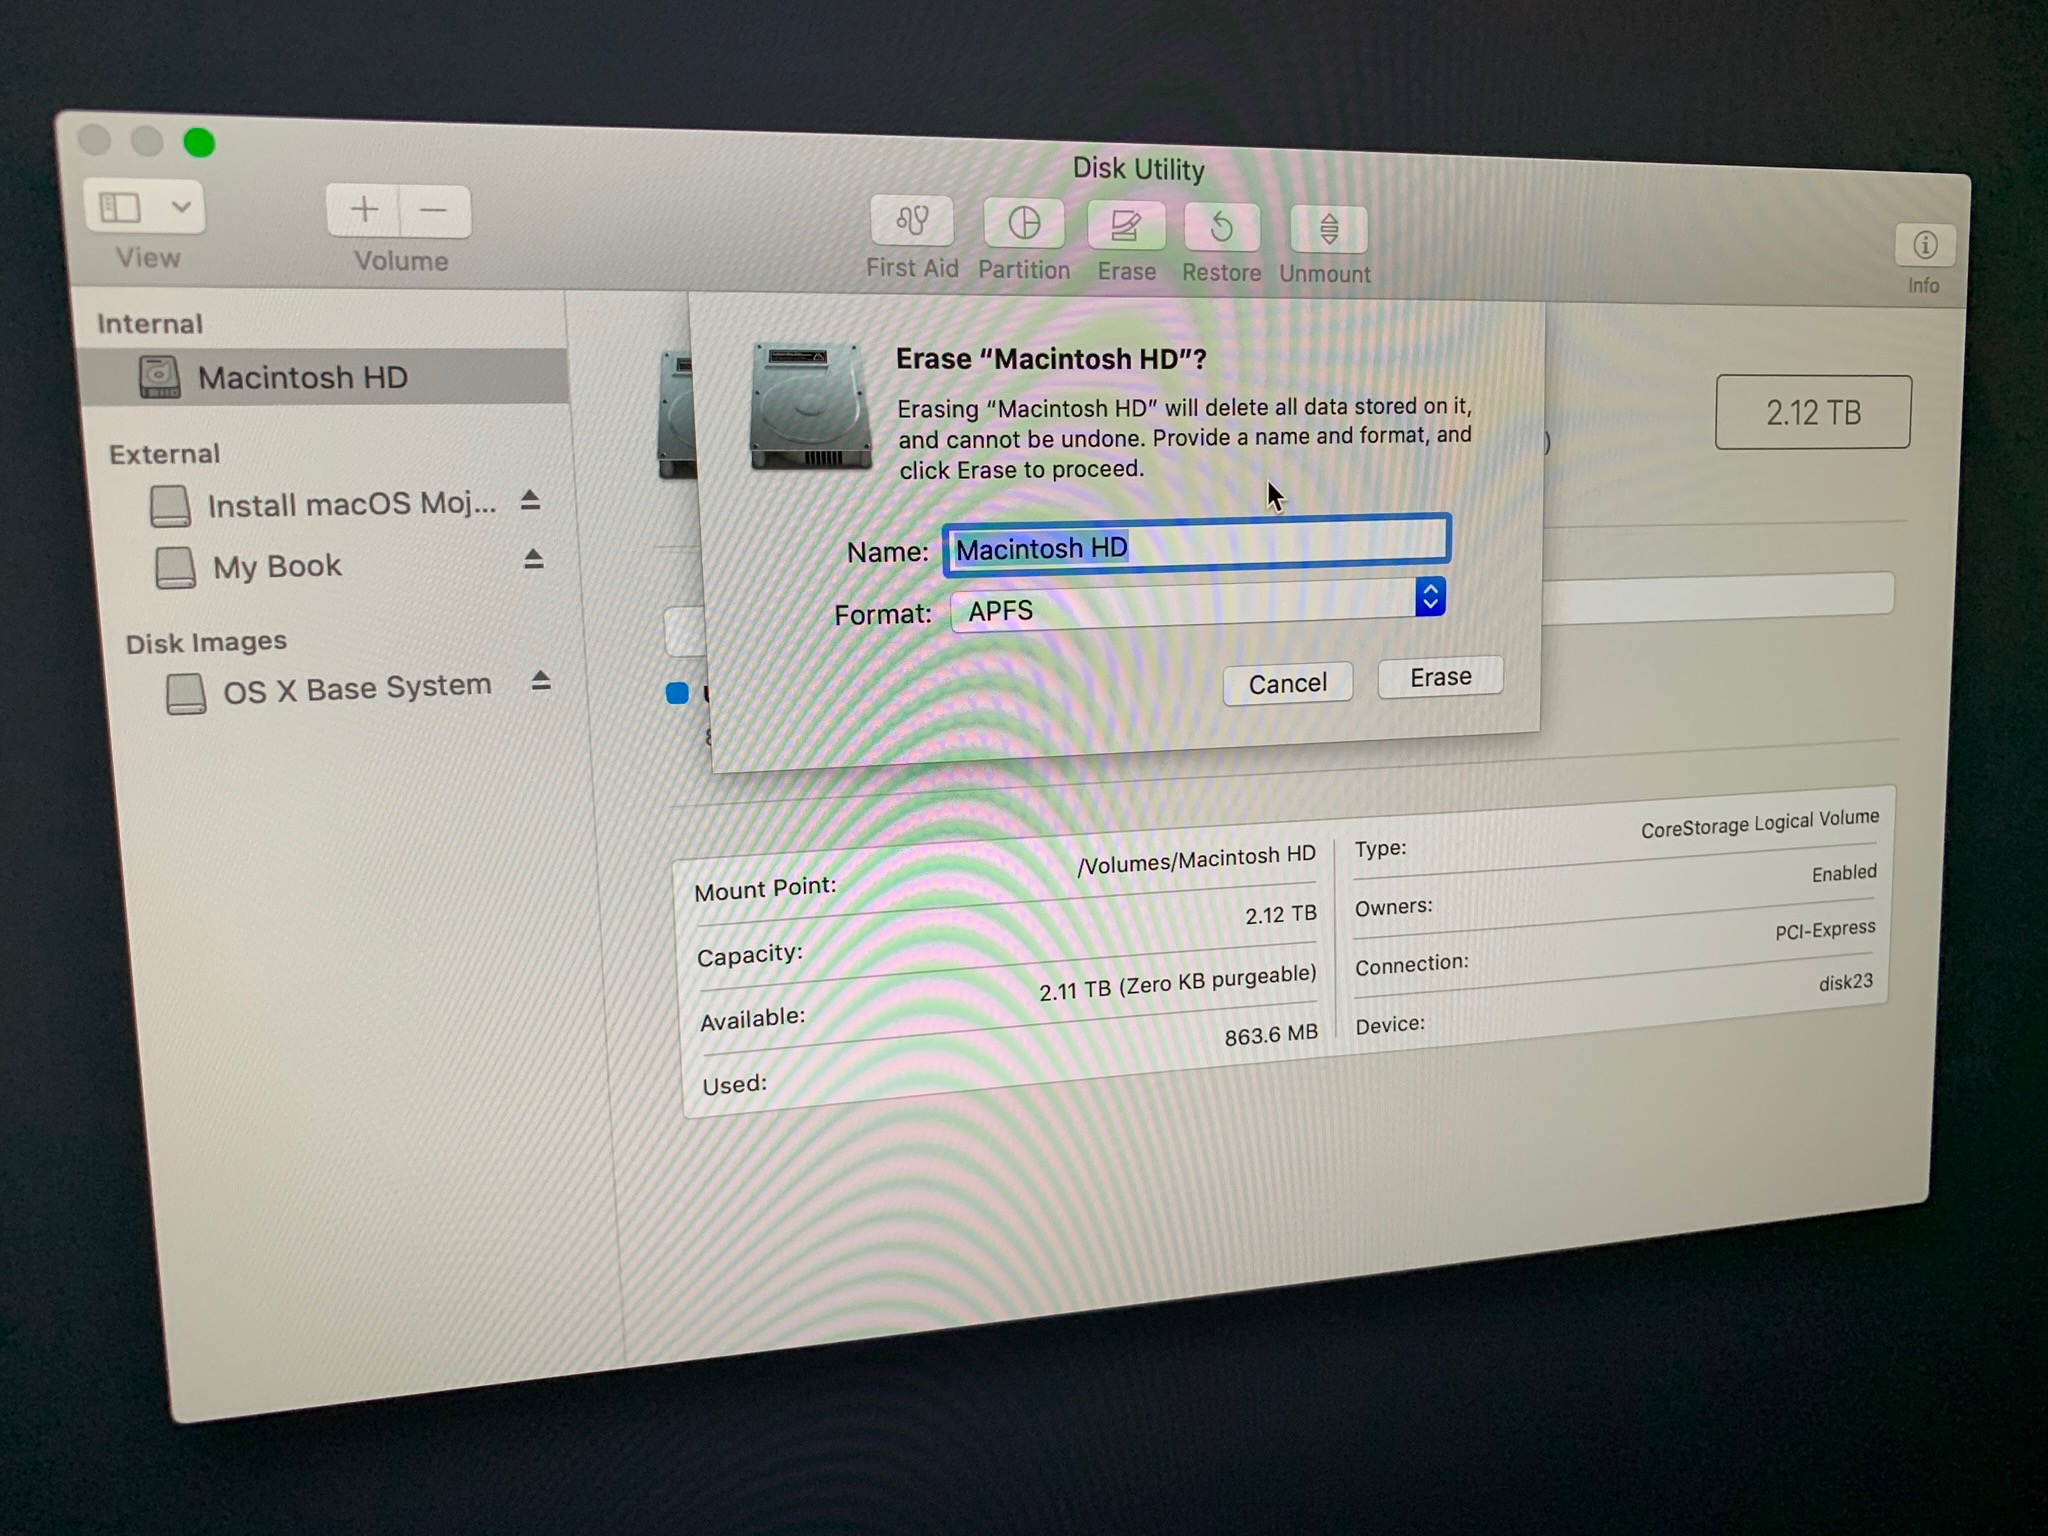
Step 20 – open disk utility

Step 21 – Erase the new Macintosh HD with the APFS option

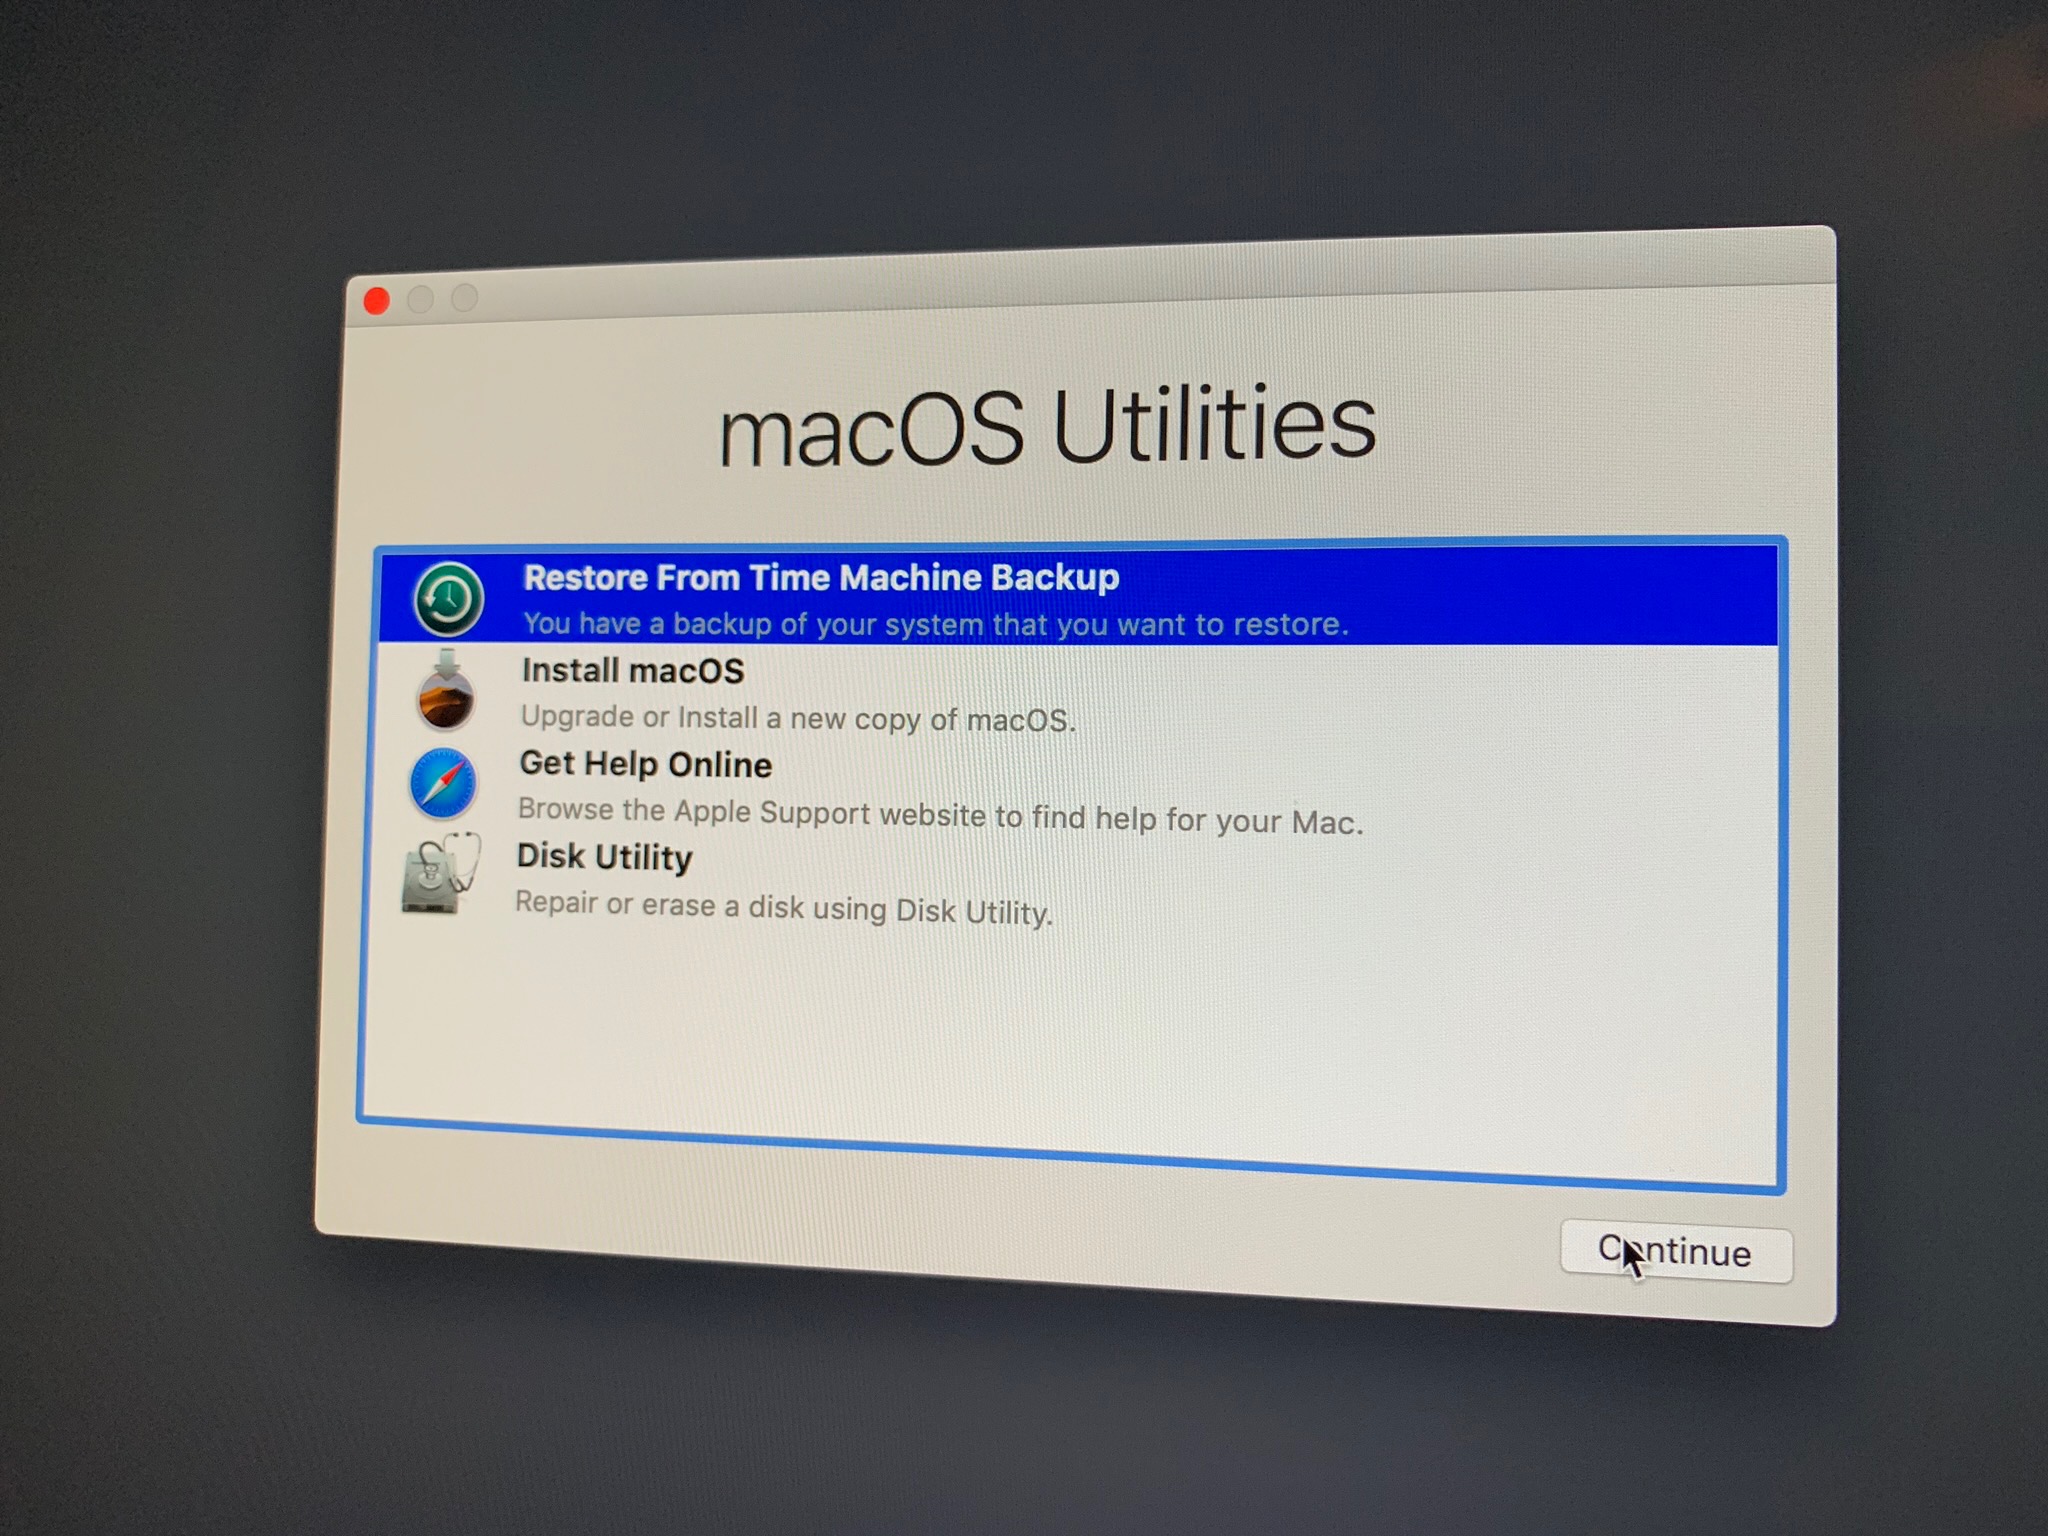
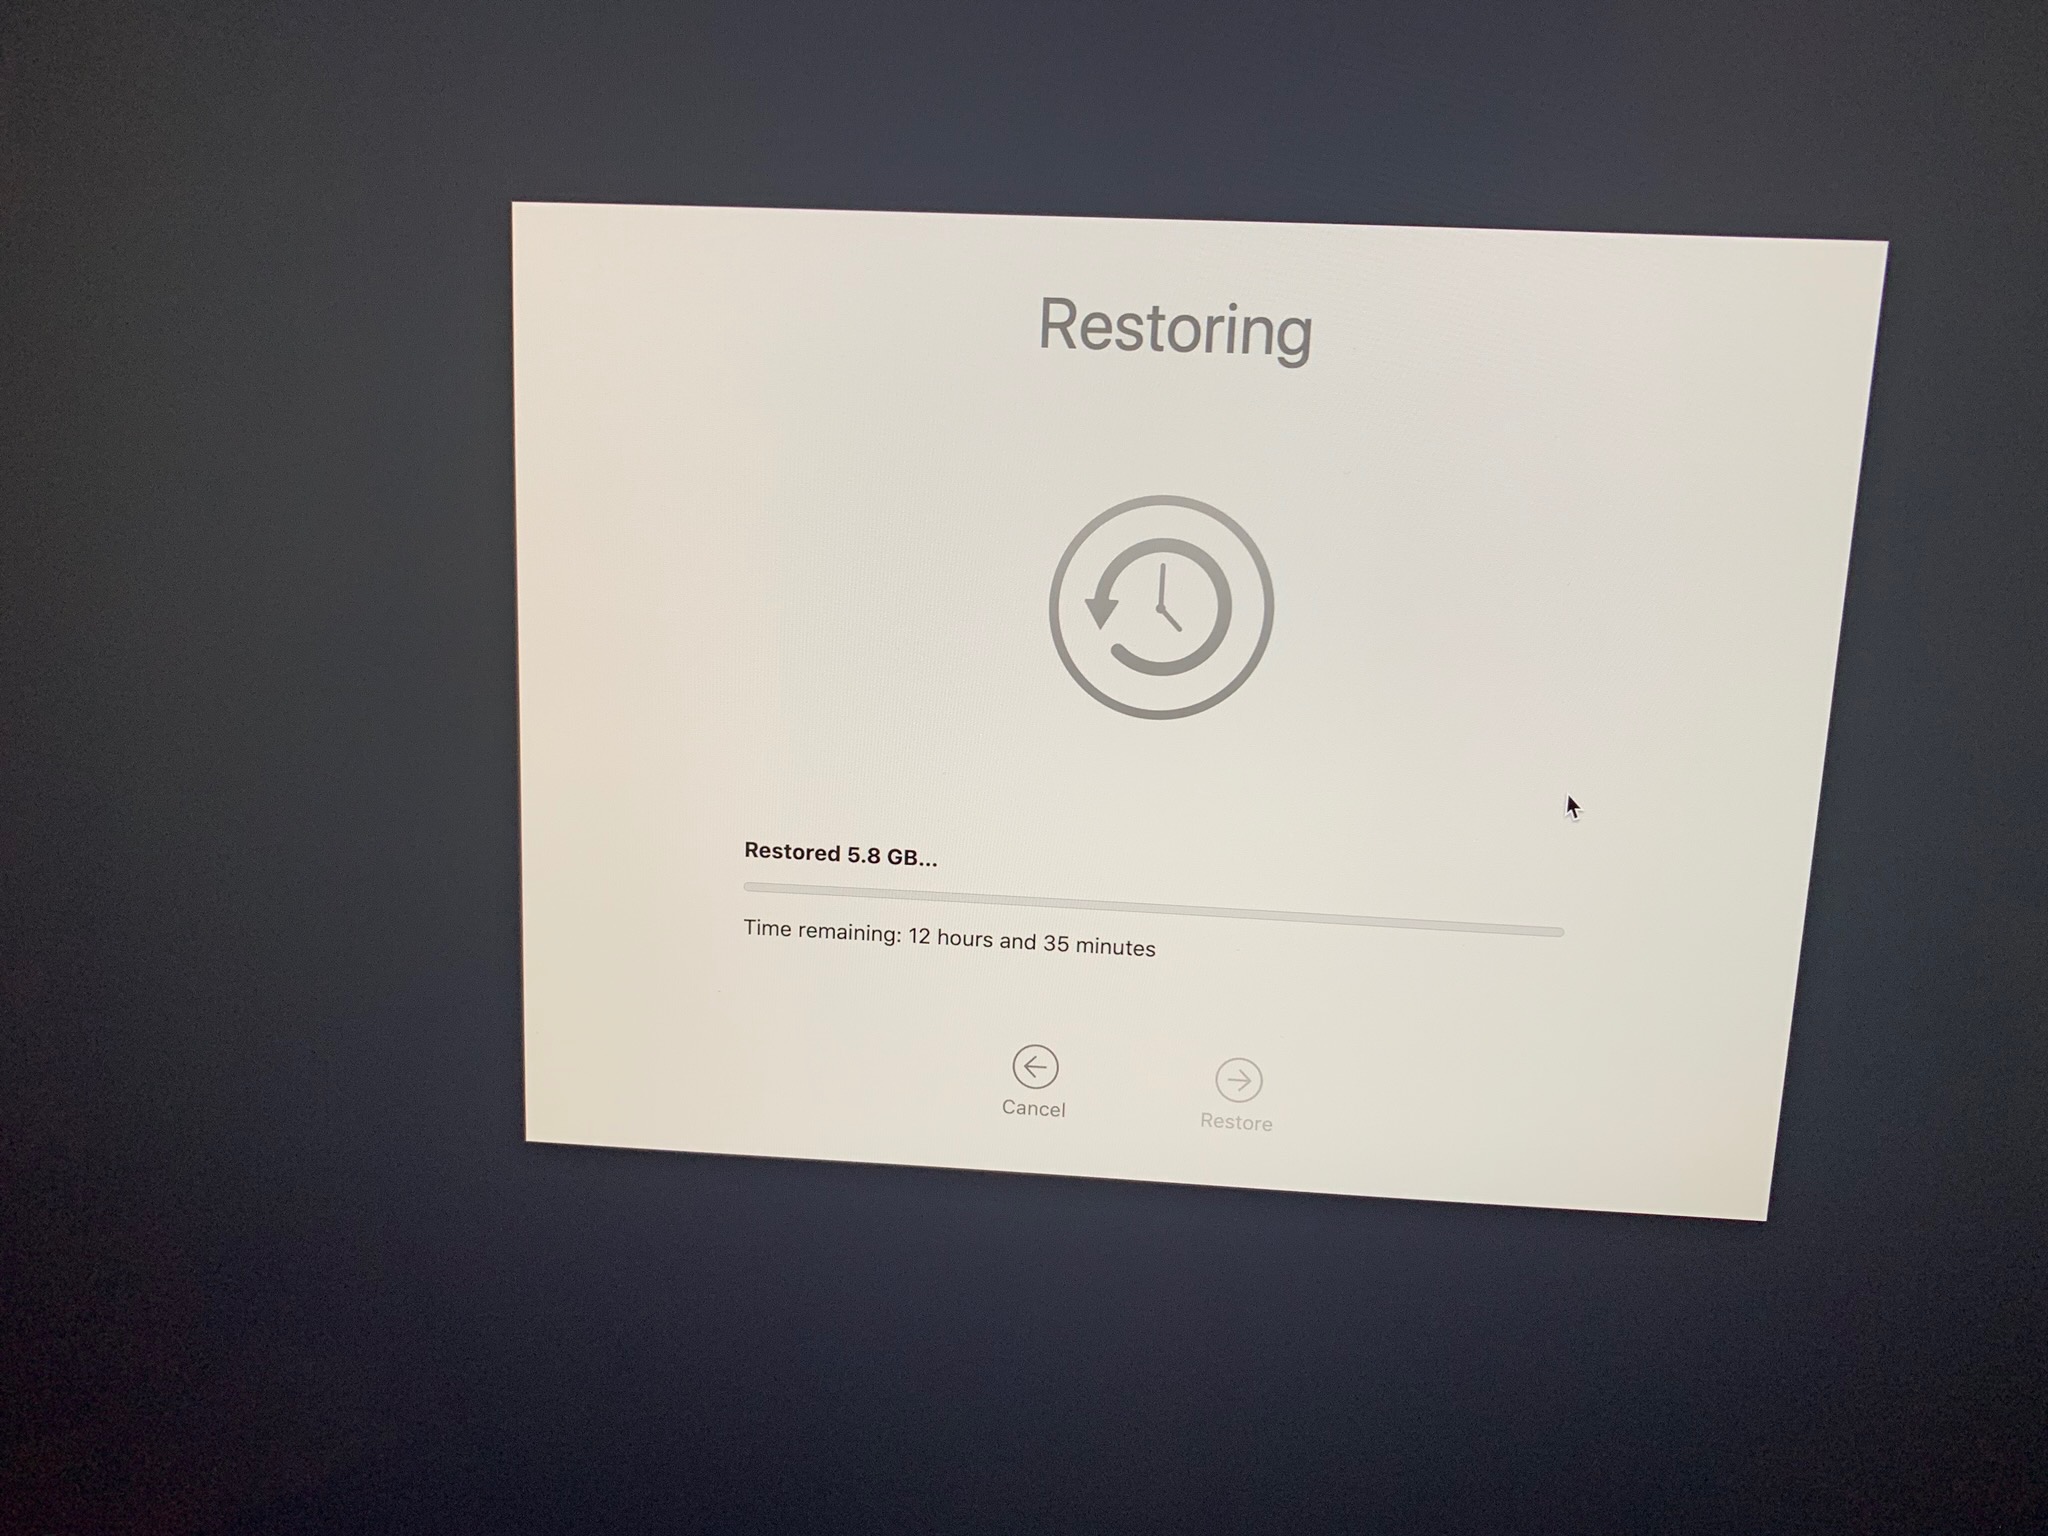
Step 22 – Restore from Time Machine

Step 23 – Open Photos (does restoration for a long time)

Step 24 – Open Mail (does some migration)

Accidentally put an SD card in the iMac’s DVD drive?

Apple usually puts a lot of thought into the design of their hardware.  However, the placement of the SD card slot right below the DVD drive has always escaped me.  I always suspected people are looking directly at their screen and put the card in the slot by feel.  As a result, it is probably all too common to accidentally put the card in the DVD drive which is right above it.  I recently saw this happen for the first time.

My first thought was to take apart the iMac including the DVD drive.  Unfortunately, this requires specialized tools and 1-2 hours of time.  I tried shaking it out (a scary thought with an expensive piece of hardware) but it didn’t budge because of the foam guards at the end.  Finally, I created a high tech tool just for the job.

This is a piece of cardboard cutout to have a little extension at the bottom.  I inserted this at the top of the drive and pushed as far back as possible.  I then slide it down and pulled it forward and the extension pushed the SD card right out.  This is a rather thin piece of cardboard which is probably necessary.  Be sure to be gentle as you don’t want to damage the DVD drive in any way.

iMac 27 Screen Problems

Screen Busted

There has been a lot of concern online about screen problems with the late 2009 27 inch model of iMacs. Gizmodo has covered this extensively. I recently saw an Arlington, Virginia customer’s 27″ iMac that had developed screen problems. I used PiXel Check to change the screen to one color to see the problem more clearly. I took the photograph below which shows the streaks and smudges that have formed in the top right corner of the monitor. (Note: The fading at the bottom of the screen is only a camera effect of photographing the screen.)

imac_27_screen_smudgeResolution, We Think

Happily, Apple dealt with this well. An Apple representative needs to see the screen problem in person, so a phone call to Apple Care doesn’t help. The customer made a reservation with an Apple Genius at the Clarendon, Virginia store. After looking at the screen, the Apple Genius immediately said that the LCD screen would be replaced free-of-charge.

Unfortunately, the Apple store needed to order the part so the iMac will not be fixed for a few days. The customer opted to bring the iMac back when the part arrived so that he could still use it.

The Apple Genius said that they had seen this problem many times before. So check your screen, especially if you have a 27″ iMac.

Some online reports suggest that Apple has fixed the problem. We hope that’s true and that the replacement will work long term.

Aluminum iMac Hard Drive Upgrade

What you need

1. T6 and T8 torx screwdrivers
2. Phillips Head screwdriver
3. Microfiber cleaning cloth
4. Suction cups
5. External USB or firewire backup hard drive
6. New SATA hard drive. We recommend the 1.5TB Western Digital Green Drive

Step 1 – Backup via Time Machine

Before you start, you have to first make sure you have a recent time machine backup.  After installing the new drive, we will restore from this backup.

imac ram slot

Step 2 – Remove RAM slot

The RAM slot is held on with just 1 screw.  Unscrew it and pop off the panel.  The screw does not fall out but remains in the panel itself.  If you are upgrading RAM, this all all you need to do.

imac-hdd-02

Step 3 – Remove the glass screen

This may seem like a scary step but it is extremely easy.  Firmly attach suction cups at opposite corners.  Then gently lift up.  The glass is held on with magnets and comes off with very little effort.  I recommend laying out a towel or paper towels to lay the glass on.  Be careful not to scratch the glass or screen beneath it.  If at all possible, try to do this work in a non dusty area because we will later need to clean off the dust between the glass and LCD screen.

imac-hdd-03Step 4 – Remove front aluminum casing

There are 12 screws around the edges holding on the front aluminum casing.  Unscrew them all keeping track of which ones go where since they are varying lengths.  You can then lift upwards around the edges to take off the front casing.  Flip it towards the top of the imac and lay it on the table above it so that you do not have to unhook the camera.

imac-hdd-04Step 5 – Remove LCD panel

The LCD is held down with 8 screws on the sides which need to be removed.  There is a cable marked in green toward the bottom which needs to be unhooked.  There is also a connector to the right marked in yellow that is held down with 2 screws.  Remove the screws and pull the connector upwards to unhook it.  You should then lift up the LCD gently where you will see 2 power connectors toward the upper right that need unplugging.  The LCD should then be free to place elsewhere.  The hard drive will now be visible.

imac-hdd-05Step 6 – Remove the old hard drive

There is a cushion glued on top of the heat sensor cable.  Gently pull up this cushion keeping it in one piece and try to maintain its stickiness for later.  The heat sensor is held in place in a plastic notch and can slide out of it.

imac-hdd-06

imac-hdd-07There is a black plastic bar holding the hard drive in place.  Lift it up from left to right to unlock it.  This can be very challenging since it is tight.  The drive can then slide up and out and you can unhook the power and SATA cables.

imac-hdd-08

Step 7 – Add the new hard drive

There are 4 screws on the old hard drive which need to be removed and added to the new hard drive so that it can slide into the holders on the iMac.  Once the power and SATA cables are plugged back in, you can slide it back in and lower the black plastic bar to lock it in place.  Place the heat sensor on the drive in about the same area where it was and use the sticky cushion to hold it in place.  If it doesn’t seem sticky enough to hold, you can get some rubber cement from your local home depot and add just a bit to hold it in place.

Step 8 – Put the system back together

Rebuilding the system is mostly straightforward.  It can be handy to have an extra pair of hands to hold the LCD as you reconnect the power cables.  We recommend you lay out the screws in an orderly manner so that you know exactly which one goes where as you rebuild.

Once the system is rebuilt except for the glass, you want to use the microfiber cloth to remove any dust or debris on the front of the LCD screen and back of the glass.  You will also need to use the microfiber cloth to clean the front of the glass once you remove the suction cups.

imac-hdd-10Step 9 – Restore from Time Machine backup

When you first boot up, insert the Mac OS X install disc and hold down the option key while booting so you can select the disc to boot from.

Step through the install until the Utilities menu appears at the top of the screen.  First use Disk Utility to erase the disk and create a volume.  Then choose to restore from backup from the same menu and choose your external time machine backup.  Your system will then be just as it was except with a new hard drive.

iMac 24″ Opened and Upgraded

A Fairfax, Virginia customer recently had an iMac 24″ Intel Core 2 Duo 2.16 GHz (the two year old white acrylic plastic model) that had a malfunctioning video card (random lines, ghost windows, static). Otherwise it worked great, so we decided to fix it.

Bad Video Card

Because the iMac was not under AppleCare warranty, we decided not to have Apple fix it for what would probably be $700-$1000.

I ordered a new NVIDIA GeForce 7600 GT video card. The GeForce video card for this iMac has a special MXM PCI Express connector. So you can’t just pick up any GeForce 7600 GT or 7300 GT. Only WeLoveMacs.com appears to sell the correct video card.

Screws Galore

The iMac has lots of philips and hex screws of different sizes. I used these baggies and labels so that I could reassemble the iMac. I do the same thing when taking apart a laptop.

Hard Drive Upgrade

While I had the iMac opened, we upgraded from a 500GB to a 1TB hard drive. This required prying off the hard drive’s heat sensor and reapplying it to the new drive with rubber cement.

Not an Easy Job

The video card unfortunately is underneath the motherboard, which Apple refers to as the “logic board”. It is much easier to bring an iMac or MacBook to Apple for repair than attempting it yourself. Even if you are somewhat skilled, the process takes hours. But if you have an out-of-warranty computer, this could save you some money.

Because there are no other photos of the internals of this iMac online, I’m posting a bunch here: