video

The Quiet Revolution in Media Downloading: Faster, Safer, and Simpler

The days of downloading media through traditional peer-to-peer (P2P) file sharing are fading. Today, the “state of the art” for accessing and downloading content has moved to a faster, more secure method that happens almost entirely in the cloud.

This new ecosystem prioritizes speed and security over complexity:

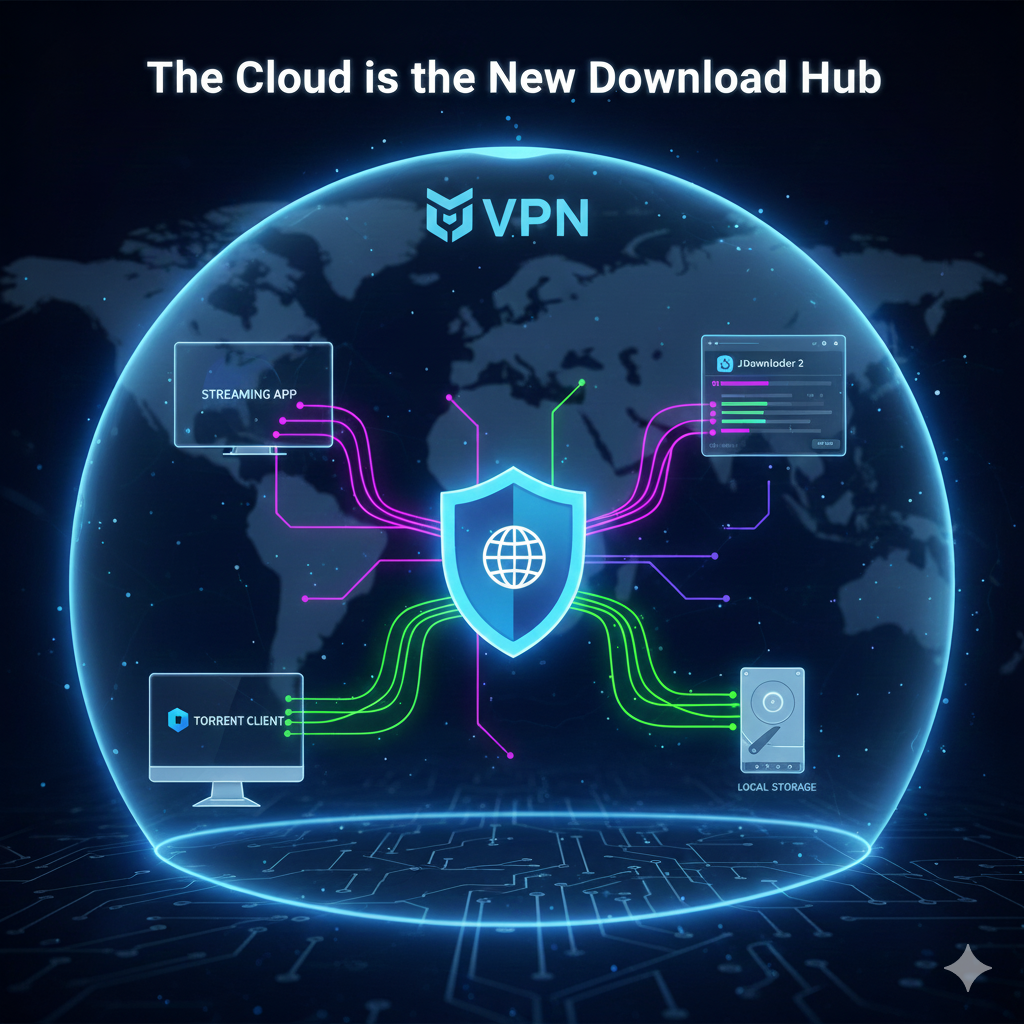
The Cloud is the New Download Hub

The most significant change is the rise of Debrid Services (like Real-Debrid). Instead of exposing their home IP address while downloading, users offload the risk and bandwidth strain to remote cloud servers. These services instantly access massive libraries of content, converting risky files into secure, high-speed HTTP downloads.

The Key Tools Powering the Shift

Whether you want to stream or permanently download a file, the process relies on linking several specialized tools:

  • Stremio: Serves as the modern, user-friendly interface for browsing content that links directly to the Debrid server.
  • qBittorrent: Still used by some as a source or search engine for finding the original files, which are then quickly routed to the Debrid cloud.
  • JDownloader 2: The preferred tool for downloading files from the Debrid server back to a local computer. It maximizes download speed by using multiple connections.
  • VPN (NordVPN, etc.): Remains a core security measure, protecting user privacy during the initial search phase and enhancing security while using Debrid services.

This combination of tools defines the current state of media consumption: a system designed for maximum convenience, high-speed delivery, and a minimal footprint on the user’s home network.

Download Tricky Flash Videos

Many embedded videos are tricky to download. For example, news sites and Hulu do all they can to hide video files so that you can’t easily find them. If the standard browser plug-ins for downloading aren’t working, try StreamTransport, a free Windows program. I found that it is the only solution for many sites.

2011 Mac Mini Hard Drive Upgrade Video

We just upgraded a 2011 Apple Mac Mini to have an SSD, a second hard drive, and new RAM.

Video


Also available on YouTube in High Definition or Standard Definition.

Parts List

  • OCZ 120 GB Vertex 3 SATA III 6.0 Gb-s 2.5-Inch Solid State Drive VTX3-25SAT3-120G
  • Western Digital 1TB Blue WD10JPVT 5400RPM, 8 MB cache, 2.5 inch, 9.5MM height hard drive
  • Corsair 8 GB DDR3 Laptop Memory Kit CMSO8GX3M2A1333C9
  • Apple Mac Mini Model MC816LL/A 2.5 GHz Intel Core i5 dual-core processor, AMD Radeon HD 6630M graphics, 4GB RAM, 500GB hard drive
  • Cable: Apple Part 922-9560, also called “Apple Mac Mini Server (Mid 2010) Bottom Hard Drive Server Flex Cable” or “Hard Drive Flex Cable Bottom”. We used part number 1009005 at welovemacs.com. This is sold as a kit from ifixit.com.

Alternate Parts List

The OCZ Vertex 3 is the fastest consumer SSD at the moment. Other SSD’s that you might consider include:

The Western Digital Blue drive mentioned above is high capacity and quiet. For a faster spinning hard drive consider:

The dedicated graphics in the mid-tier Mac Mini make it worth it for me. But for the cheapest Mini, consider:

  • Apple Mac Mini MC815LL/A 2.3 GHz Intel Core i5 dual-core processor, integrated Intel HD Graphics 3000, 2GB RAM, 500GB hard drive

UPDATE: My video shows adding two 9.5MM height drives. I just upgraded another Mac Mini with a 9.5MM SSD and a 12.5MM standard hard drive. As with my first upgrade, the hard drive goes in the bottom slot (the side closest to the top of the case when upright). This does fit. But first you need to slide the logic board out slightly. Be sure to remove the IR port adapter before sliding out the logic board. The OWC video shows how to do this. I used a cut up coat hanger to insert into the logic board holes and slide it out.

First Boot

Starting with a blank hard drive is easy on the 2011 Mac Mini. Hold down Command-R to boot into Lion Recovery which allows you to format the drives and download Lion over the Internet.

TRIM Support in Lion

For optimal SSD performance, enable TRIM support within OS X Lion. Grant Pannell describes the terminal commands to enable TRIM.

Photos of Upgrade

Opened
Opened

Fan Removal
Fan Removal

WiFi Connection
WiFi Connection

Empty Hard Drive Bay
Empty Drive Bay

Original Hard Drive
Original Hard Drive

Drive Bay Side View 1

Drive Bay Side View 2

New Hard Drive & Cable

New Hard Drive Insertion

New SSD
New SSD

New SSD & Drive Cables Attached

New RAM
New RAM

Attach Fan
Attach Fan

Download Flash Videos

If you want to download Flash videos, such as from YouTube, there are many options. My favorite way is to use the Firefox plug-in called Download Flash and Video. It actually can download anything that’s Flash including Flash games.

Install it like any Firefox Add-on by going to Tools – Add-ons – Get Add-ons. Once installed you will see a down arrow at the the bottom right hand of Firefox. It turns blue when there is content on the current page that you can download. It’s simple.

After downloading a video, you can use Handbrake to change the video to another format you might need.

Wireless Video Sent to a Second Room

It is common for a household to have their DVR in their living room.  But how can you watch your recorded shows in another room?  If you’ve got Tivo, you can transfer some allowed shows between tivos but that requires paying for a second tivo and hence a second monthly fee.  A cheaper alternative is to send the video wirelessly to another room. The RF-Link AVS-5811 Audio and Video Transmission System is a cheap one time purchase alternative to having to pay for an extra tivo, cable box, or satellite box.

wireless videoThere have been wireless video systems in the past similar to this that just never worked very well.  This system improves upon those in 2 ways.  It has an IR repeater so you can bring your tivo remote in the other room and this catches the signal and sends it back to the tivo so it is like you have the box in the room.  Without that, you’d have to run back and forth changing shows.  The second improvement is that it operates at the currently less crowded 5.8GHz.  That gives it more of a chance to have less interference and hence a clearer picture.

There are a few downsides.  This is not HD.  It uses old standard RCA connections.  However, if you send a widescreen picture over it and then set your TV to display in wide mode, the aspect ratio will look correct.  The end result can be a good looking picture that just looks a little fuzzier than HD.  If picture quality is less important in your secondary room, then this is the ideal option.  The biggest possible downside is if you can actually get it to work or not.

The Amazon reviews show that plenty of people can get it to work but there are definitely situations that it won’t perform well.  The biggest factors are how many walls it has to go through and how far away it is.  Generally speaking, the further it has to go wirelessly, the less likely it will be to work well.  When it starts to underperform, you’ll see lines over the video as well as audio distortions or pops.  I recently set this up for a customer sending the signal about 20 feet through 3 walls.  It took about 15 minutes to adjust the directional antennas just right but we eventually got to a point with no audio or video distortions.  Now this customer simply brings their tivo remote into the second room and they’ve got access to the same shows they would in their living room.

Scroll to Top