iMac 24″ Opened and Upgraded
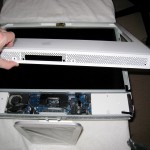 A Fairfax, Virginia customer recently had an iMac 24″ Intel Core 2 Duo 2.16 GHz (the two year old white acrylic plastic model) that had a malfunctioning video card (random lines, ghost windows, static). Otherwise it worked great, so we decided to fix it.
Bad Video Card
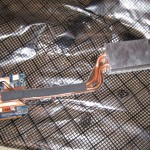 Because the iMac was not under AppleCare warranty, we decided not to have Apple fix it for what would probably be $700-$1000.
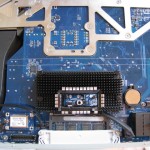
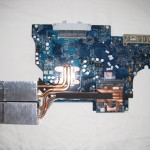
I ordered a new NVIDIA GeForce 7600 GT video card. The GeForce video card for this iMac has a special MXM PCI Express connector. So you can’t just pick up any GeForce 7600 GT or 7300 GT. Only WeLoveMacs.com appears to sell the correct video card.
Screws Galore
 The iMac has lots of philips and hex screws of different sizes. I used these baggies and labels so that I could reassemble the iMac. I do the same thing when taking apart a laptop.
Hard Drive Upgrade
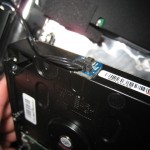
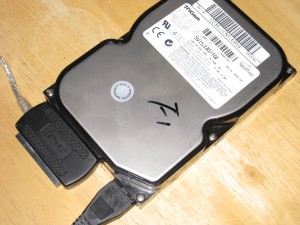
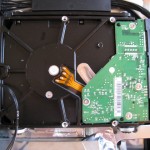 While I had the iMac opened, we upgraded from a 500GB to a 1TB hard drive. This required prying off the hard drive’s heat sensor and reapplying it to the new drive with rubber cement.
Not an Easy Job
The video card unfortunately is underneath the motherboard, which Apple refers to as the “logic board”. It is much easier to bring an iMac or MacBook to Apple for repair than attempting it yourself. Even if you are somewhat skilled, the process takes hours. But if you have an out-of-warranty computer, this could save you some money.
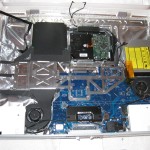
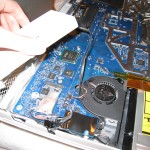
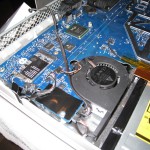
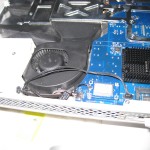
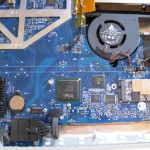
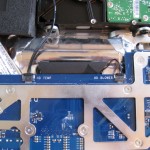
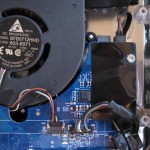
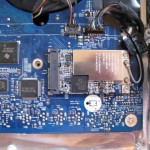
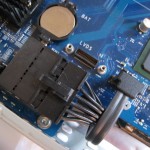
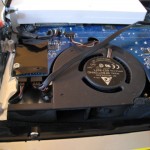
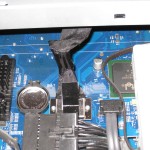
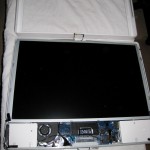
Because there are no other photos of the internals of this iMac online, I’m posting a bunch here:
